
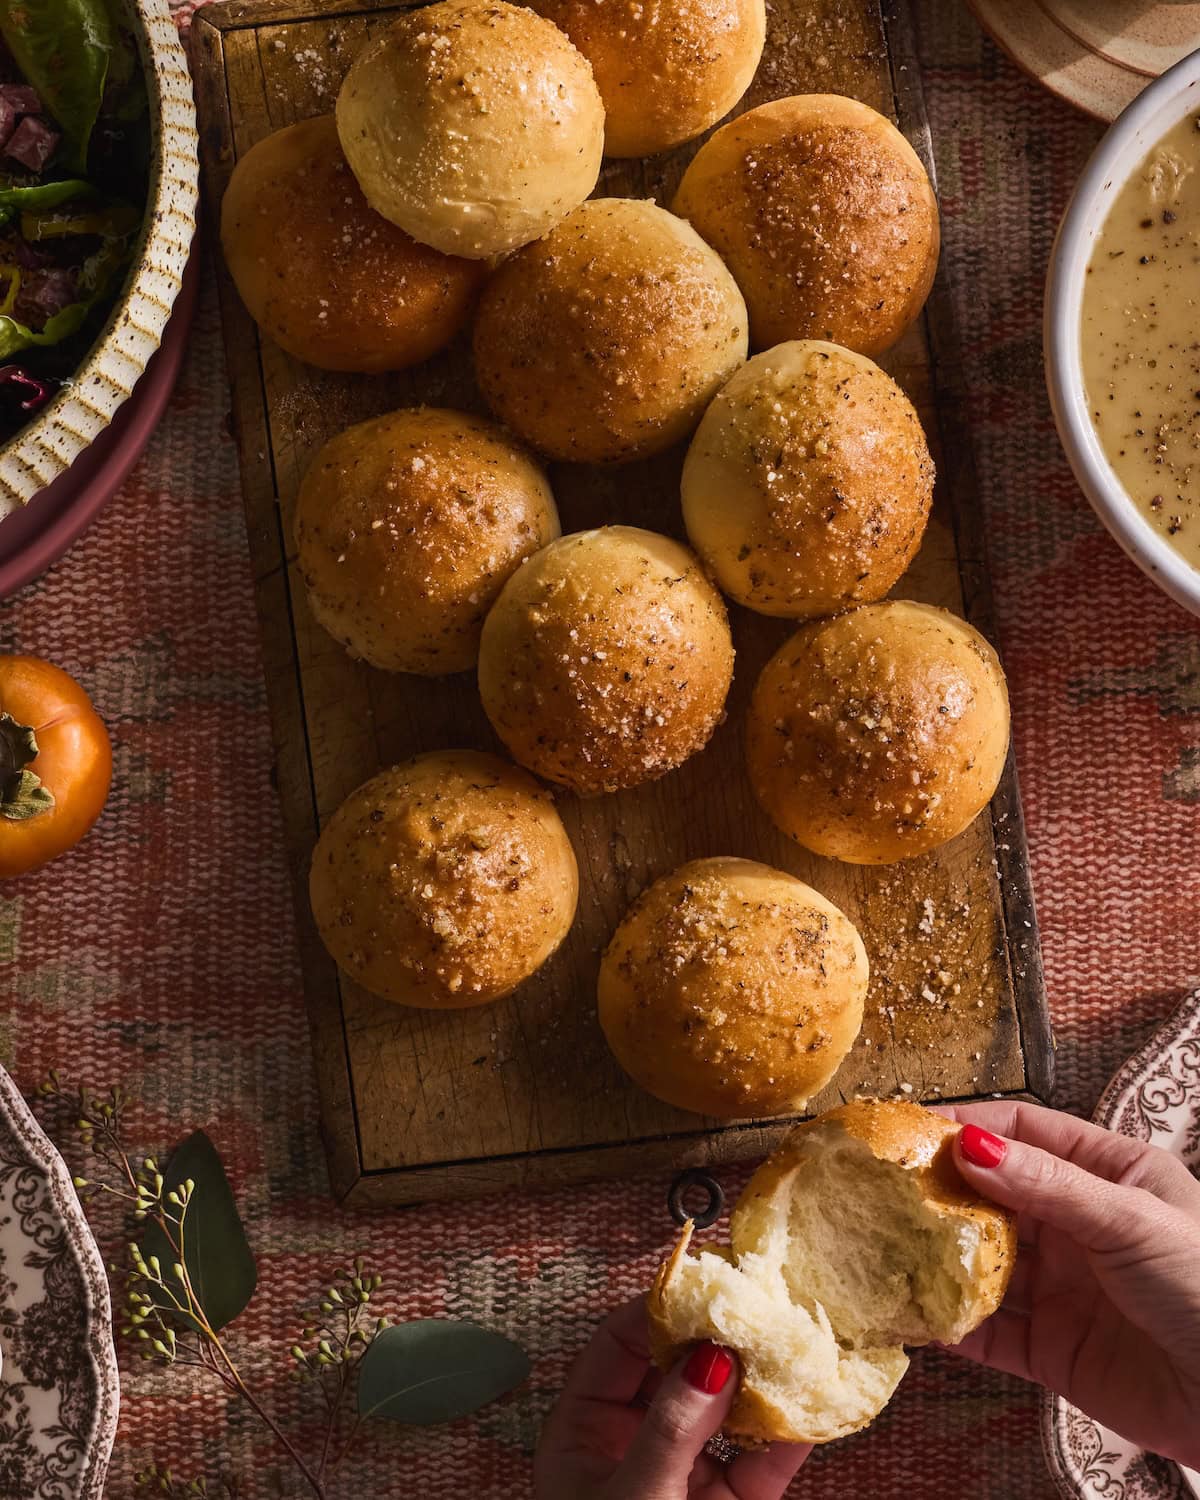
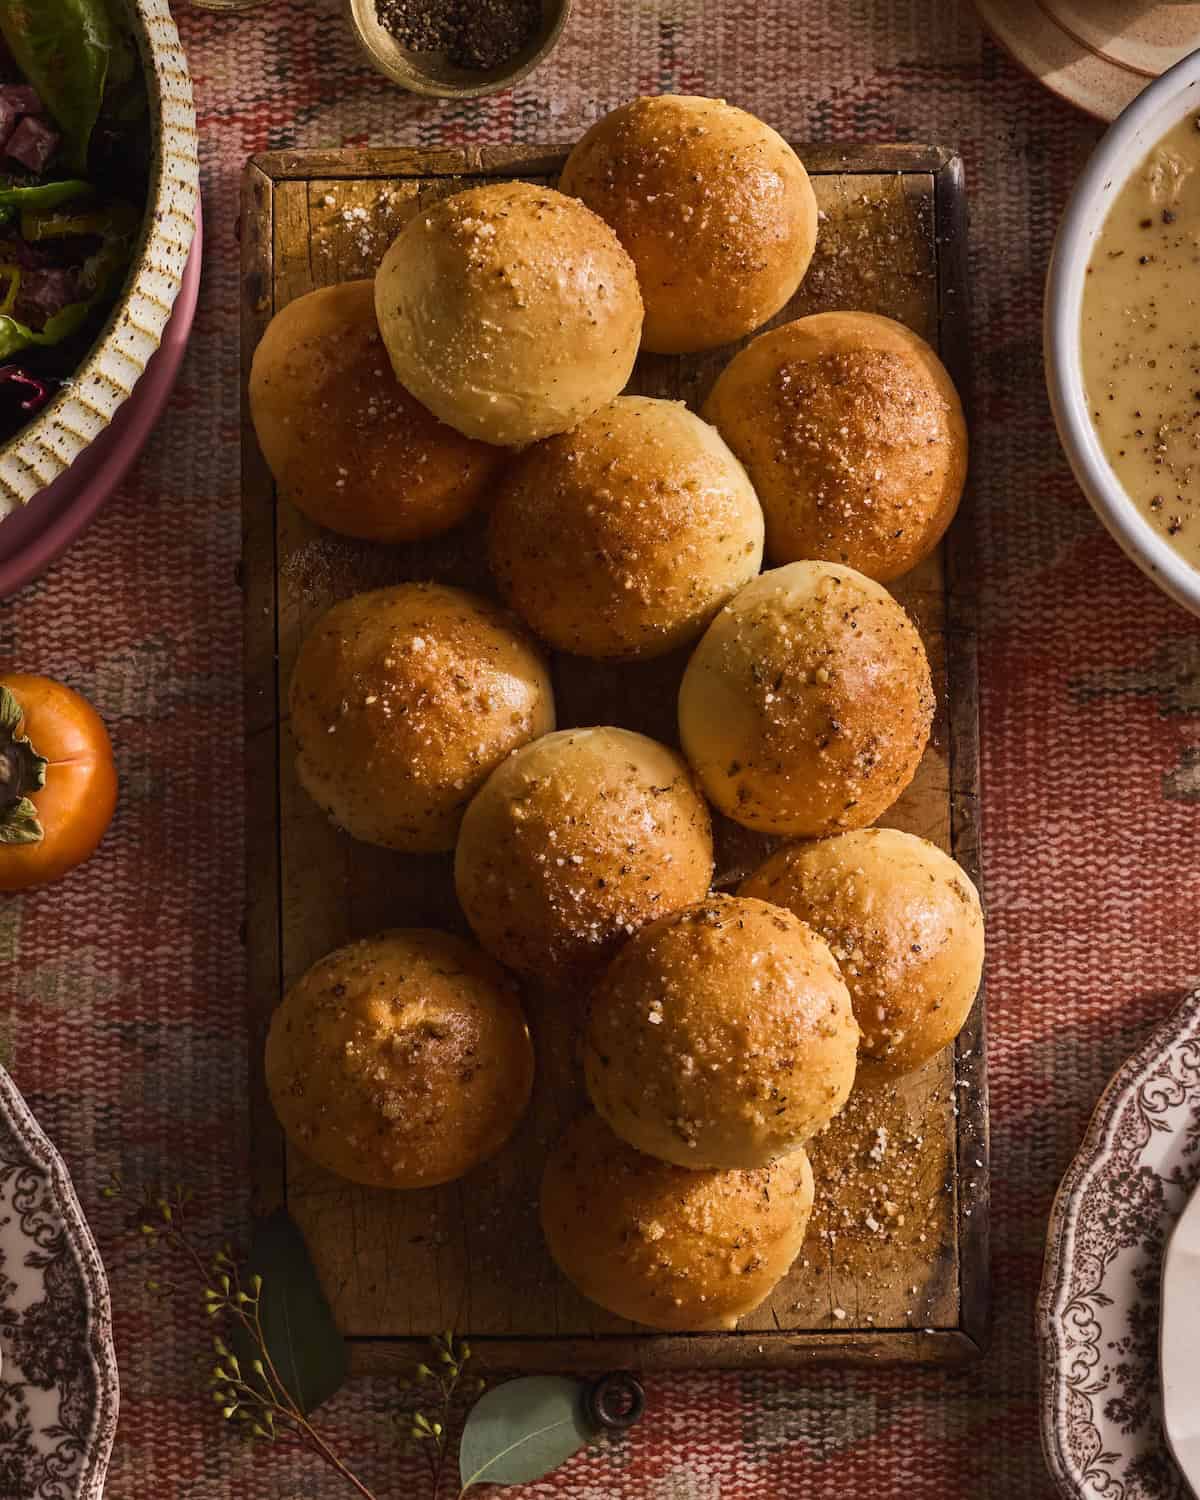
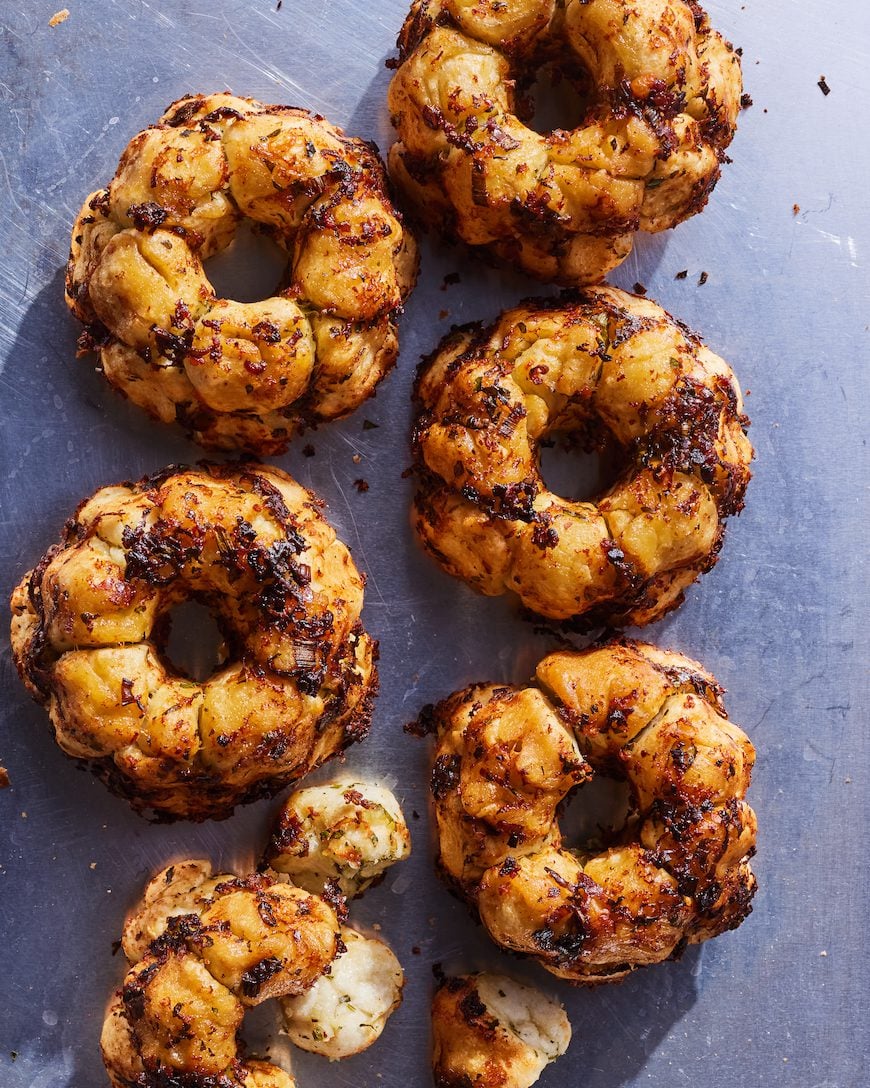
There is nothing quite like a warm, fluffy roll fresh from the oven, especially when it is loaded with garlic and herbs. These Homemade Garlic Herb Rolls are the side dish that makes every holiday table feel extra special.
And if you’re rounding out the rest of the menu, pair them with The Best Mashed Potatoes, a big bowl of Sautéed Brussels Sprouts , or my creamy, dreamy Cheesy Creamed Kale. For something a little heartier, the Wild Mushroom Stuffing brings the perfect savory balance. Together, these recipes make the ultimate holiday spread.
Homemade Garlic Herb Rolls at a Glance
- 🕒 Total Time: 2 hours 25 minutes (35 min prep + 1 hr 30 rest + 20 min bake)
- 👪 Servings: 18 rolls
- 🍝 Cuisine Type: American / Holiday Side Dish
- 🧂 Flavor Profile: Soft, pillowy rolls infused with garlic and herbs, brushed with melted butter and Parmesan for extra richness
- 📖 Dietary Info: Contains dairy (butter), garlic, gluten (all-purpose flour); vegetarian
- 📦 Storage Notes: Store at room temperature for a few days; freeze after baking for future reheating
- ⭐ Why You’ll Love It: These rolls elevate any meal with homemade warmth and bold garlic-herb flavor, perfect for holiday dinners or cozy gatherings.
Summarize and save this recipe on
Why I Love This Recipe
I will take any excuse to bake bread, especially when the end result is a basket of pillowy, buttery rolls that make the entire house smell like a dream. These rolls are soft, super flavorful, and deceptively easy, which makes them perfect for Thanksgiving, Sunday dinner, or any night when you want something cozy. The garlic, herbs, and parmesan tucked into every bite take them from basic to totally irresistible, and they stay soft and tender thanks to that brushed butter on top. Trust me, people grab seconds before the basket even makes it halfway around the table.
PS – are you thinking of putting this on your Thanksgiving menu? Check out the full What’s Gaby Cooking menu here along with the master prep schedule to keep things organized and on track!
Jump to:
- Homemade Garlic Herb Rolls at a Glance
- Why I Love This Recipe
- Ingredients & Substitutions
- Substitutions
- How to Make Homemade Garlic Herb Rolls
- How to Store Homemade Garlic Herb Rolls
- How to Freeze Homemade Garlic Herb Rolls
- 10 Tips + Tricks for the Best Homemade Garlic Herb Rolls
- FAQs
- Similar Recipes
- Homemade Garlic Herb Rolls
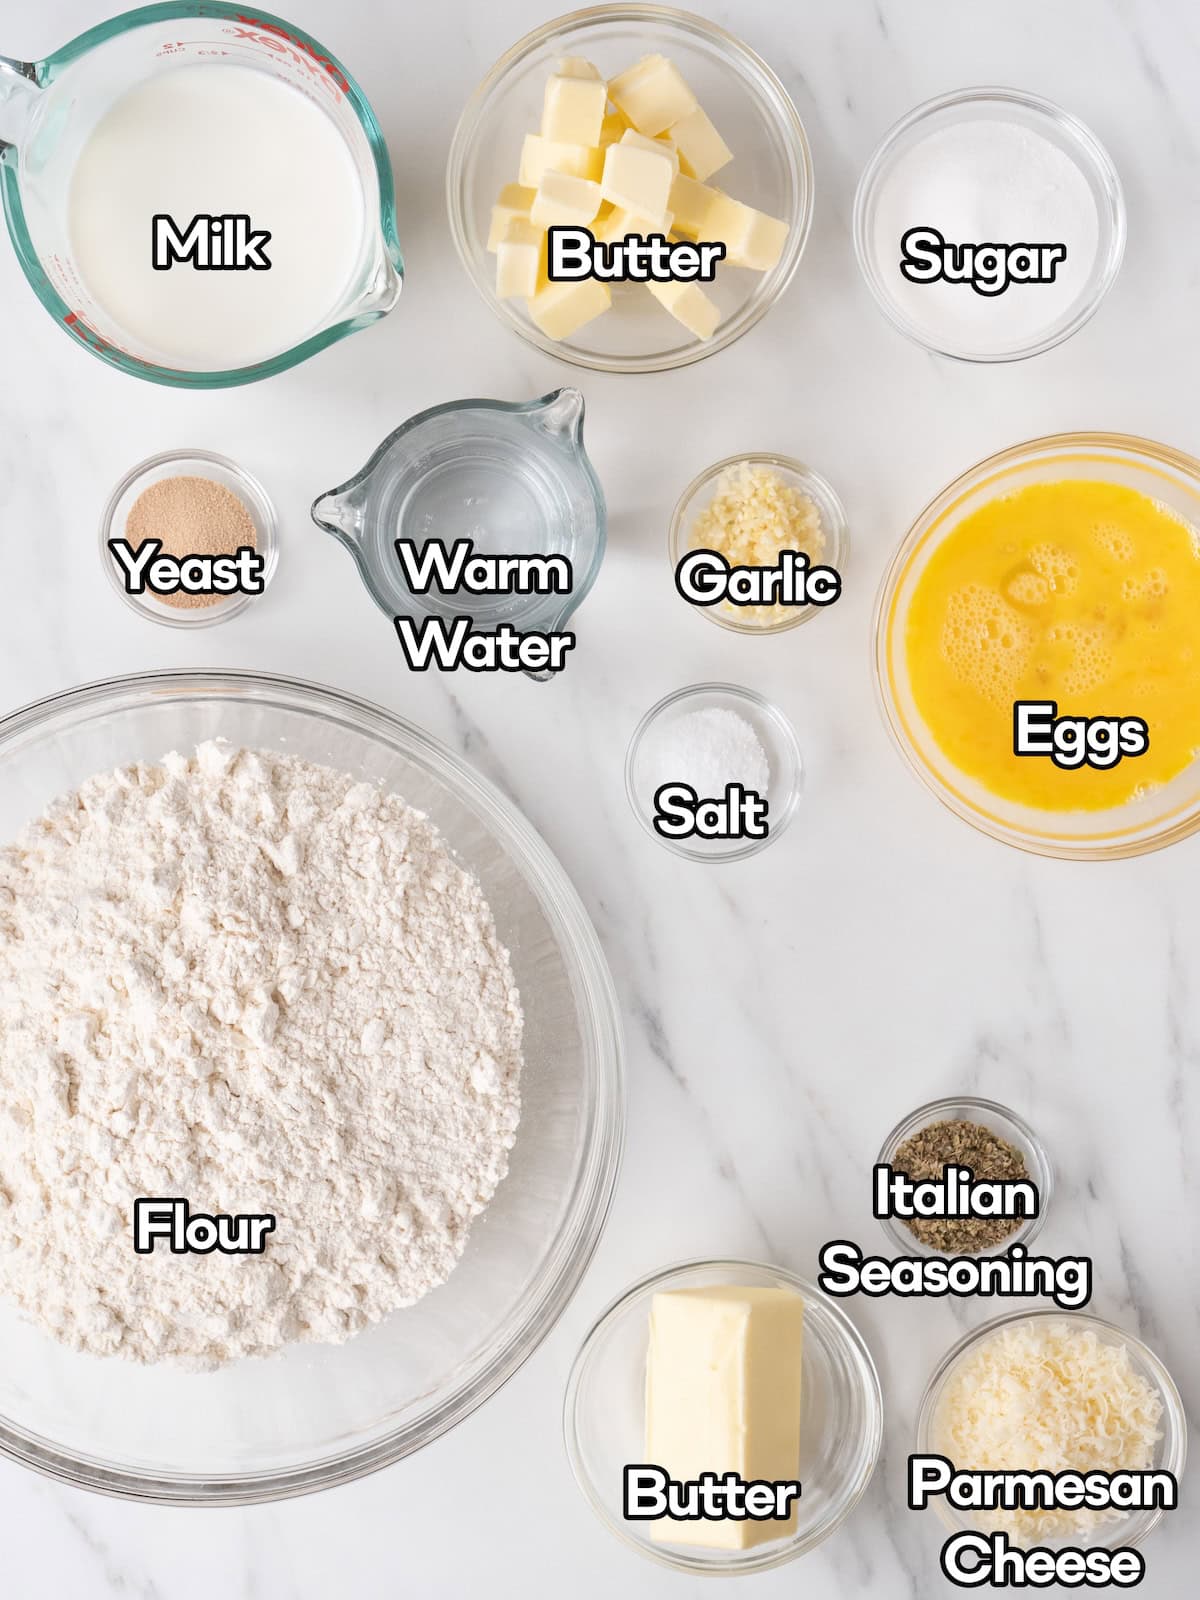
Ingredients & Substitutions
Substitutions
🥖 Flour Options
- All-purpose flour — the standard for light, fluffy rolls.
- Bread flour — gives a chewier texture and more structure.
- Whole wheat flour — for a nuttier flavor (swap up to half the amount to keep them soft).
- Gluten-free blend — use a 1:1 baking mix if needed, but add an extra egg for binding.
🧈 Fat + Dairy Swaps
- Butter — can’t go wrong here for that rich, bakery-style flavor.
- Olive oil — lighter and adds a subtle fruitiness.
- Ghee — brings an extra buttery depth.
- Milk options: whole milk for richness, or almond/oat milk for a dairy-free version.
🧄 Garlic + Herb Variation
- Fresh herbs — parsley, thyme, rosemary, or chives all work beautifully.
- Dried herbs — if that’s what you’ve got, just use half the amount.
- Roasted garlic — mellower, sweeter flavor that melts into the dough.
- Garlic confit or garlic powder — great backups that still pack flavor.
🧂 Flavor Boosters
- Parmesan or Pecorino — adds a salty, nutty finish.
- Everything bagel seasoning — for a fun, crunchy topping.
- Crushed red pepper flakes — if you like a little kick.
- Sea salt flakes — sprinkled on top before baking for texture.
*For a full list of ingredients and instructions please see recipe card below.
How to Make Homemade Garlic Herb Rolls
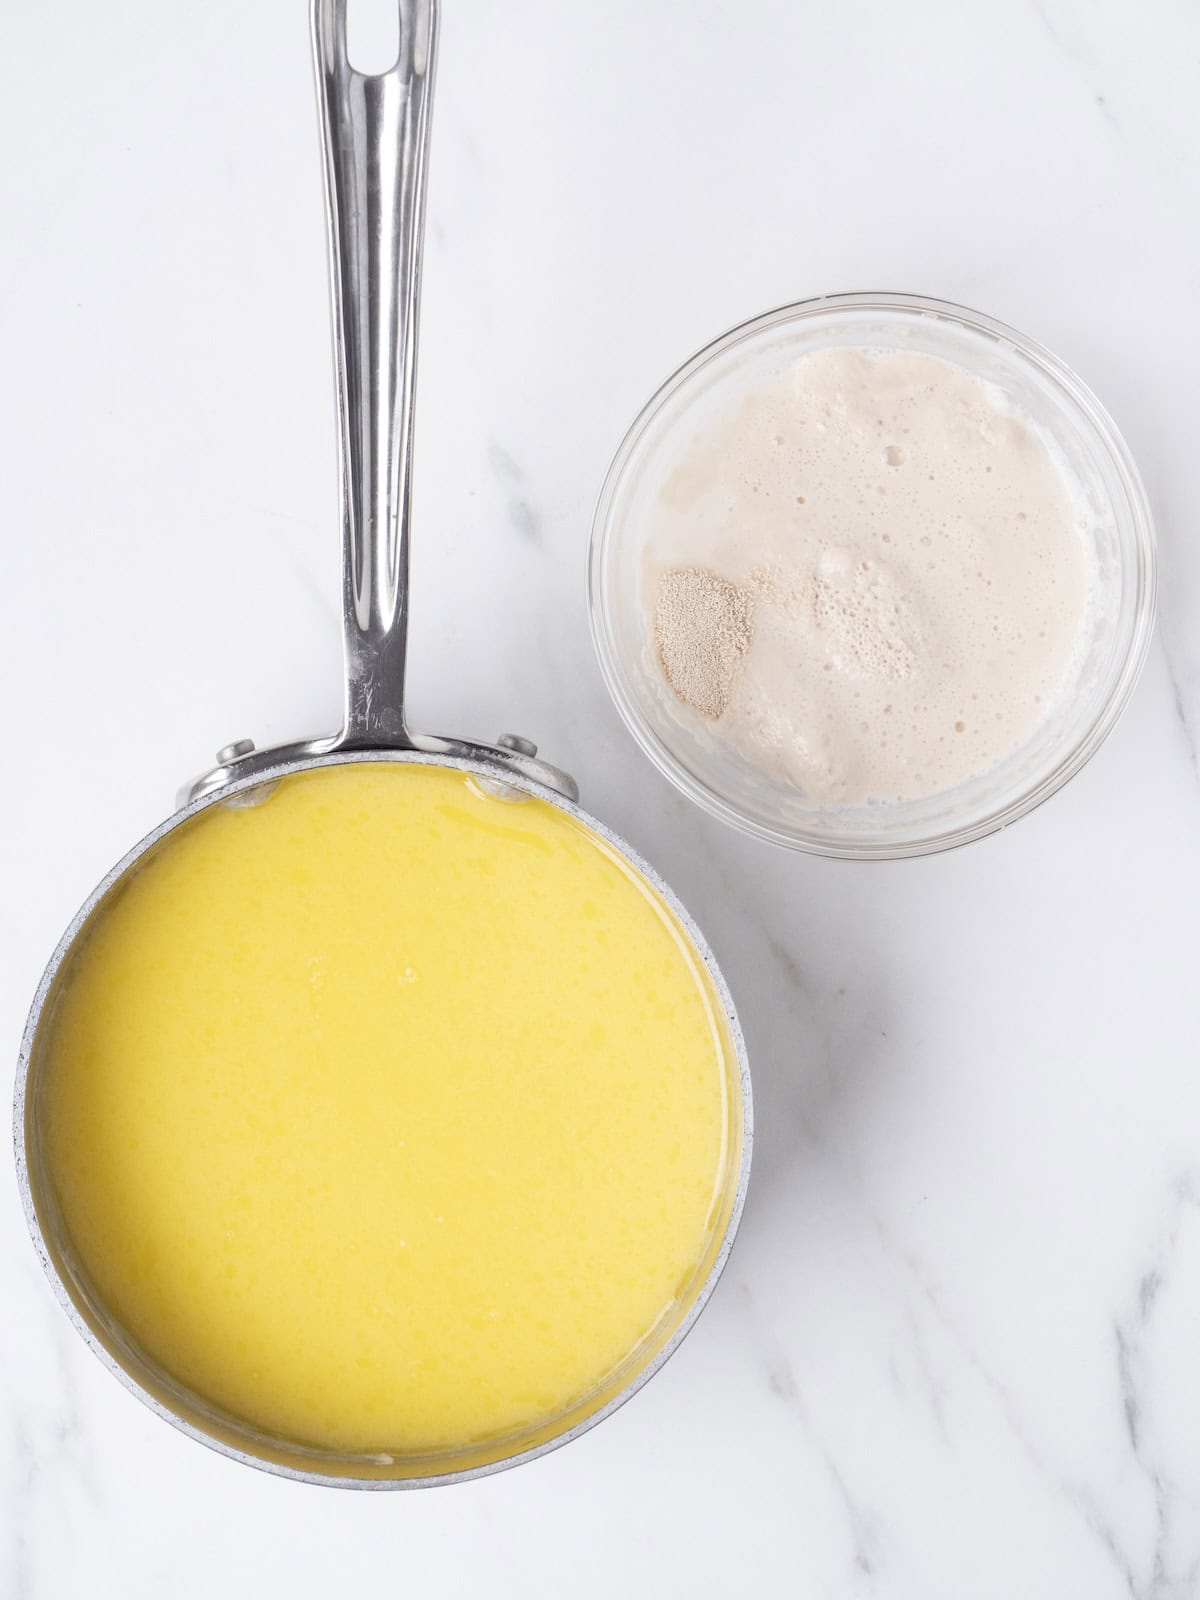
Step 1: Place milk in a small saucepan and bring to a simmer. Remove from the heat, stir in the butter and sugar and let cool. Dissolve yeast in warm water and let sit until foamy.
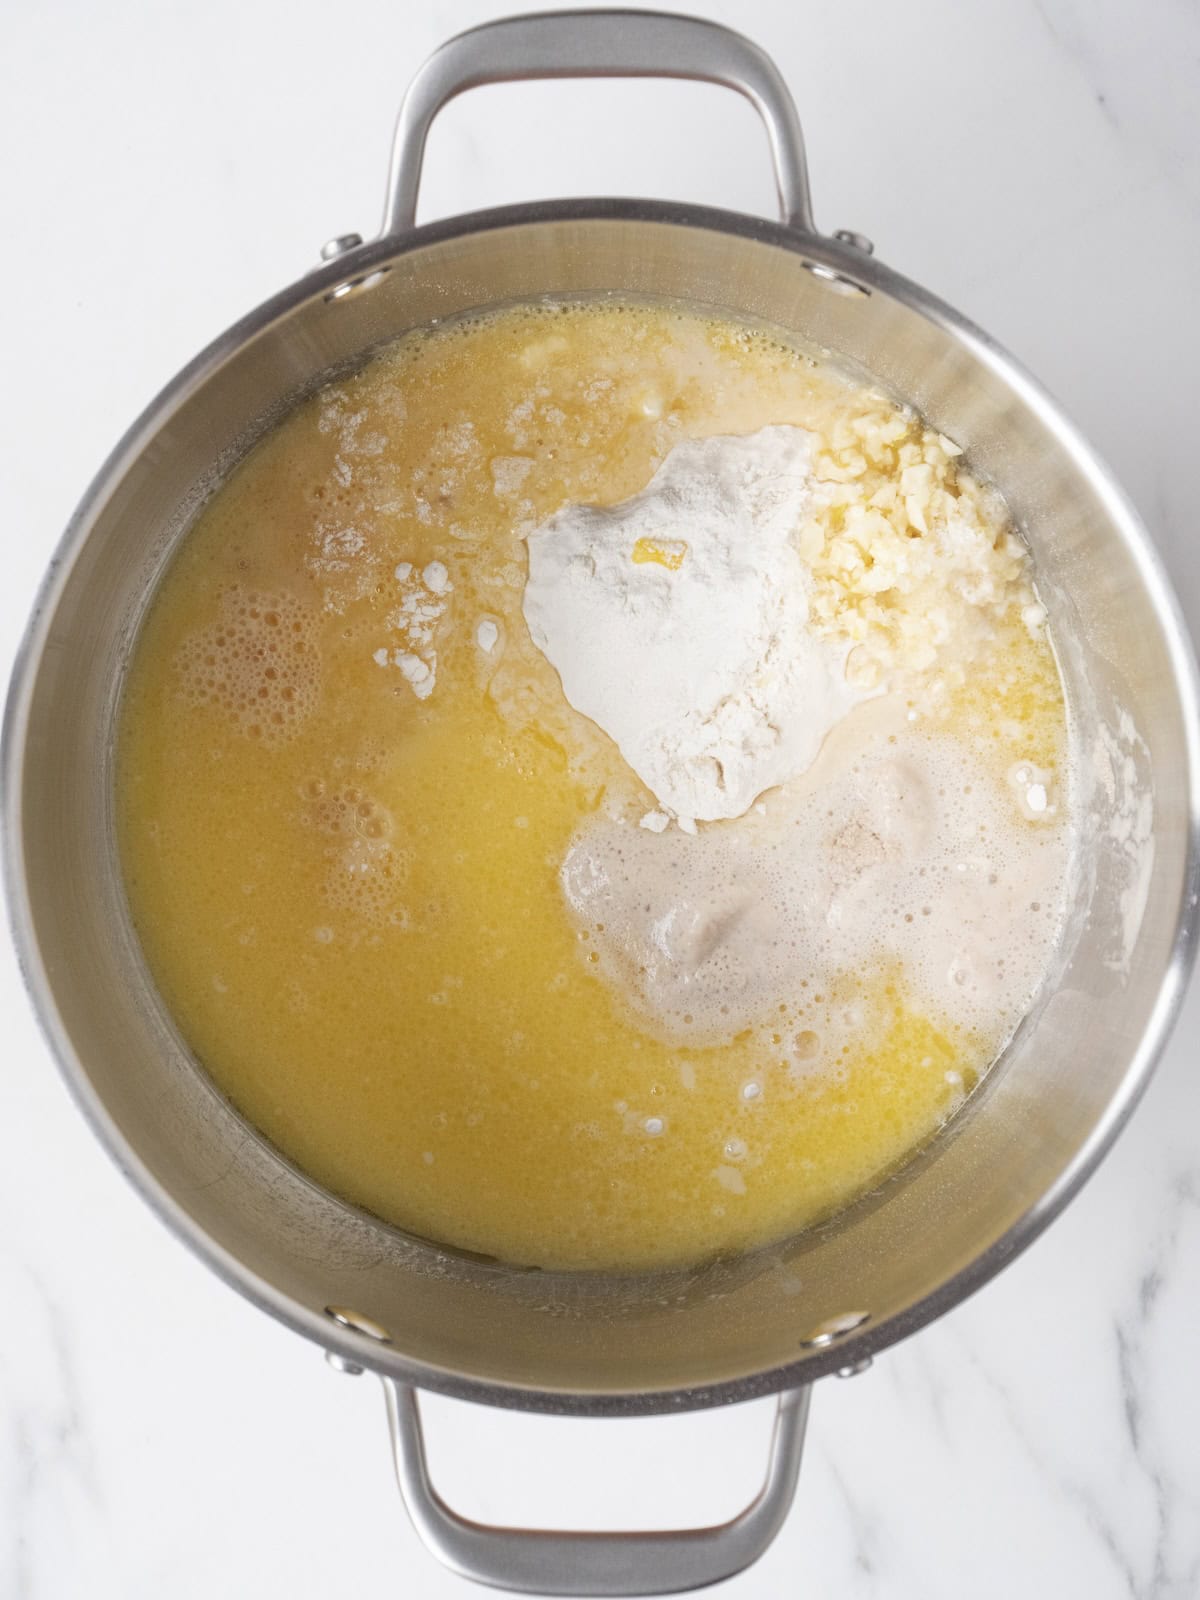
Step 2: Combine milk mixture, garlic, eggs, yeast, salt, and ½ of the flour in a mixer with the dough attachment and mix until smooth.
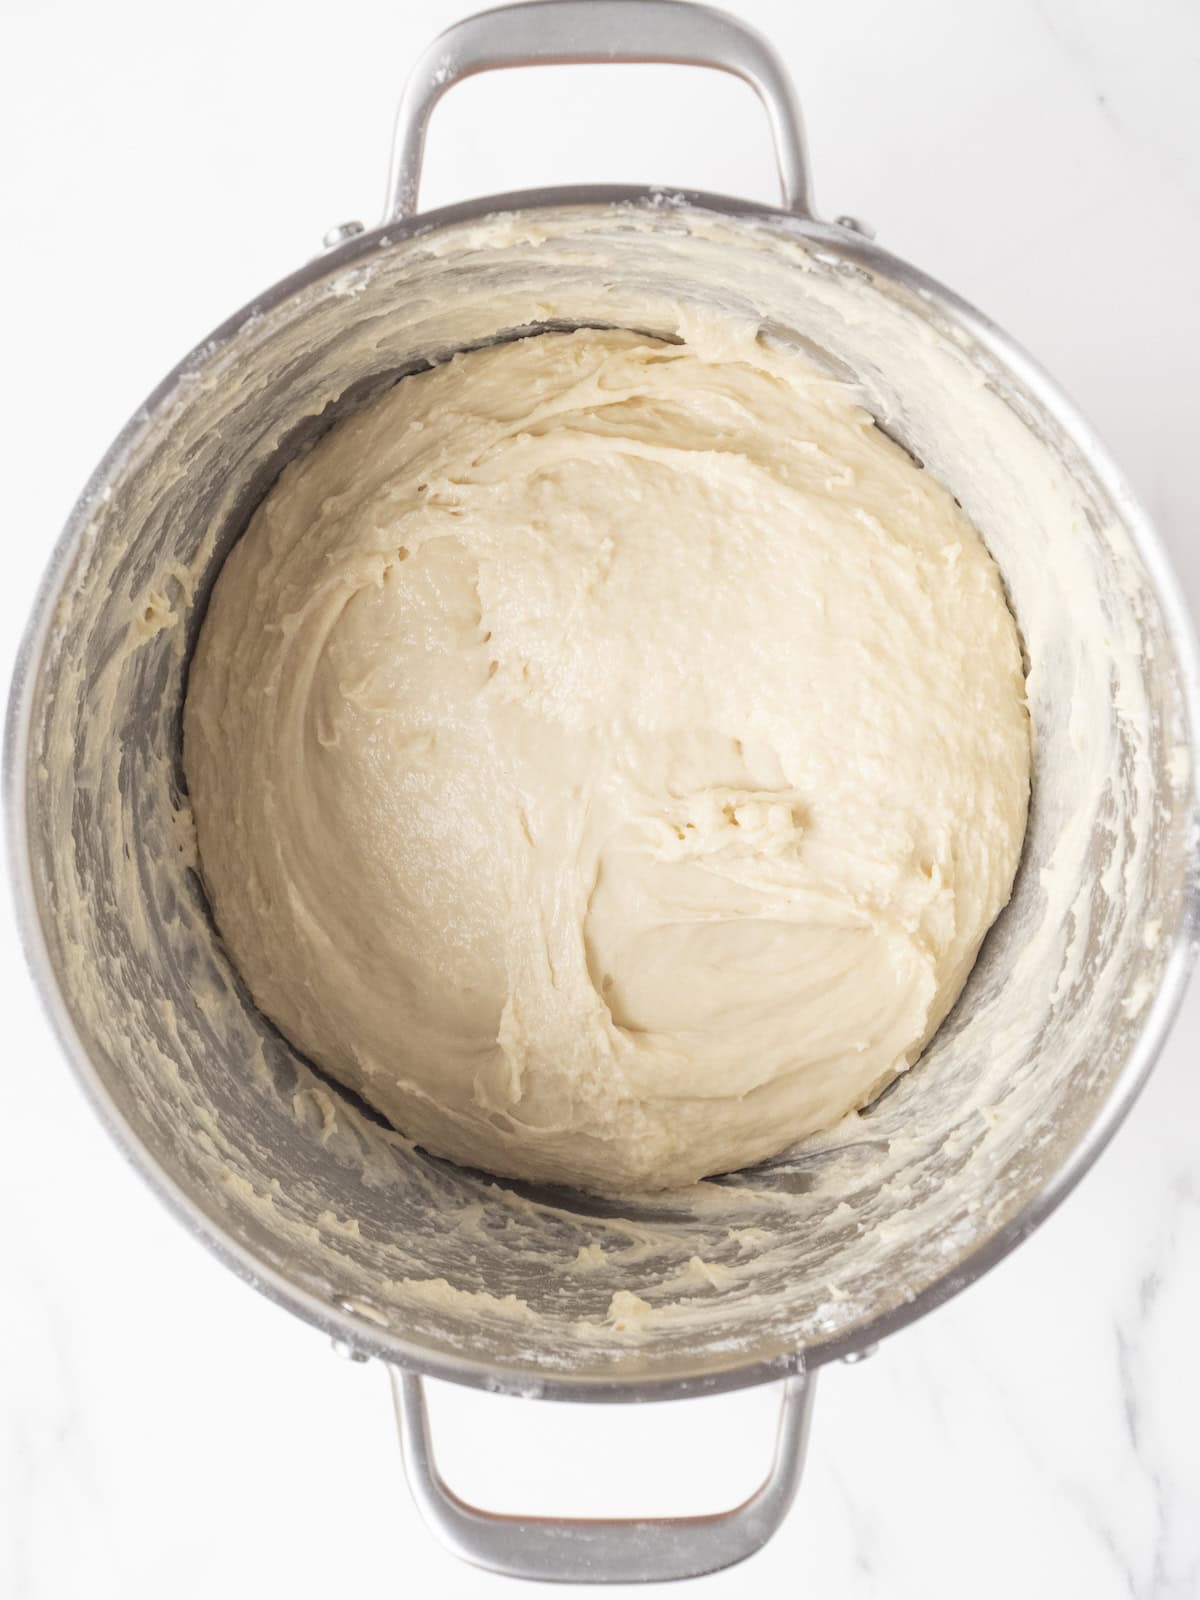
Step 3: Add the remaining flour, ½ cup at a time, and stir until a smooth ball forms.

Step 4: Remove from the bowl and knead by hand on a floured surface for about 5 minutes. Place in greased bowl, cover, and let rise in a warm place until doubled in bulk, about 1 hour.
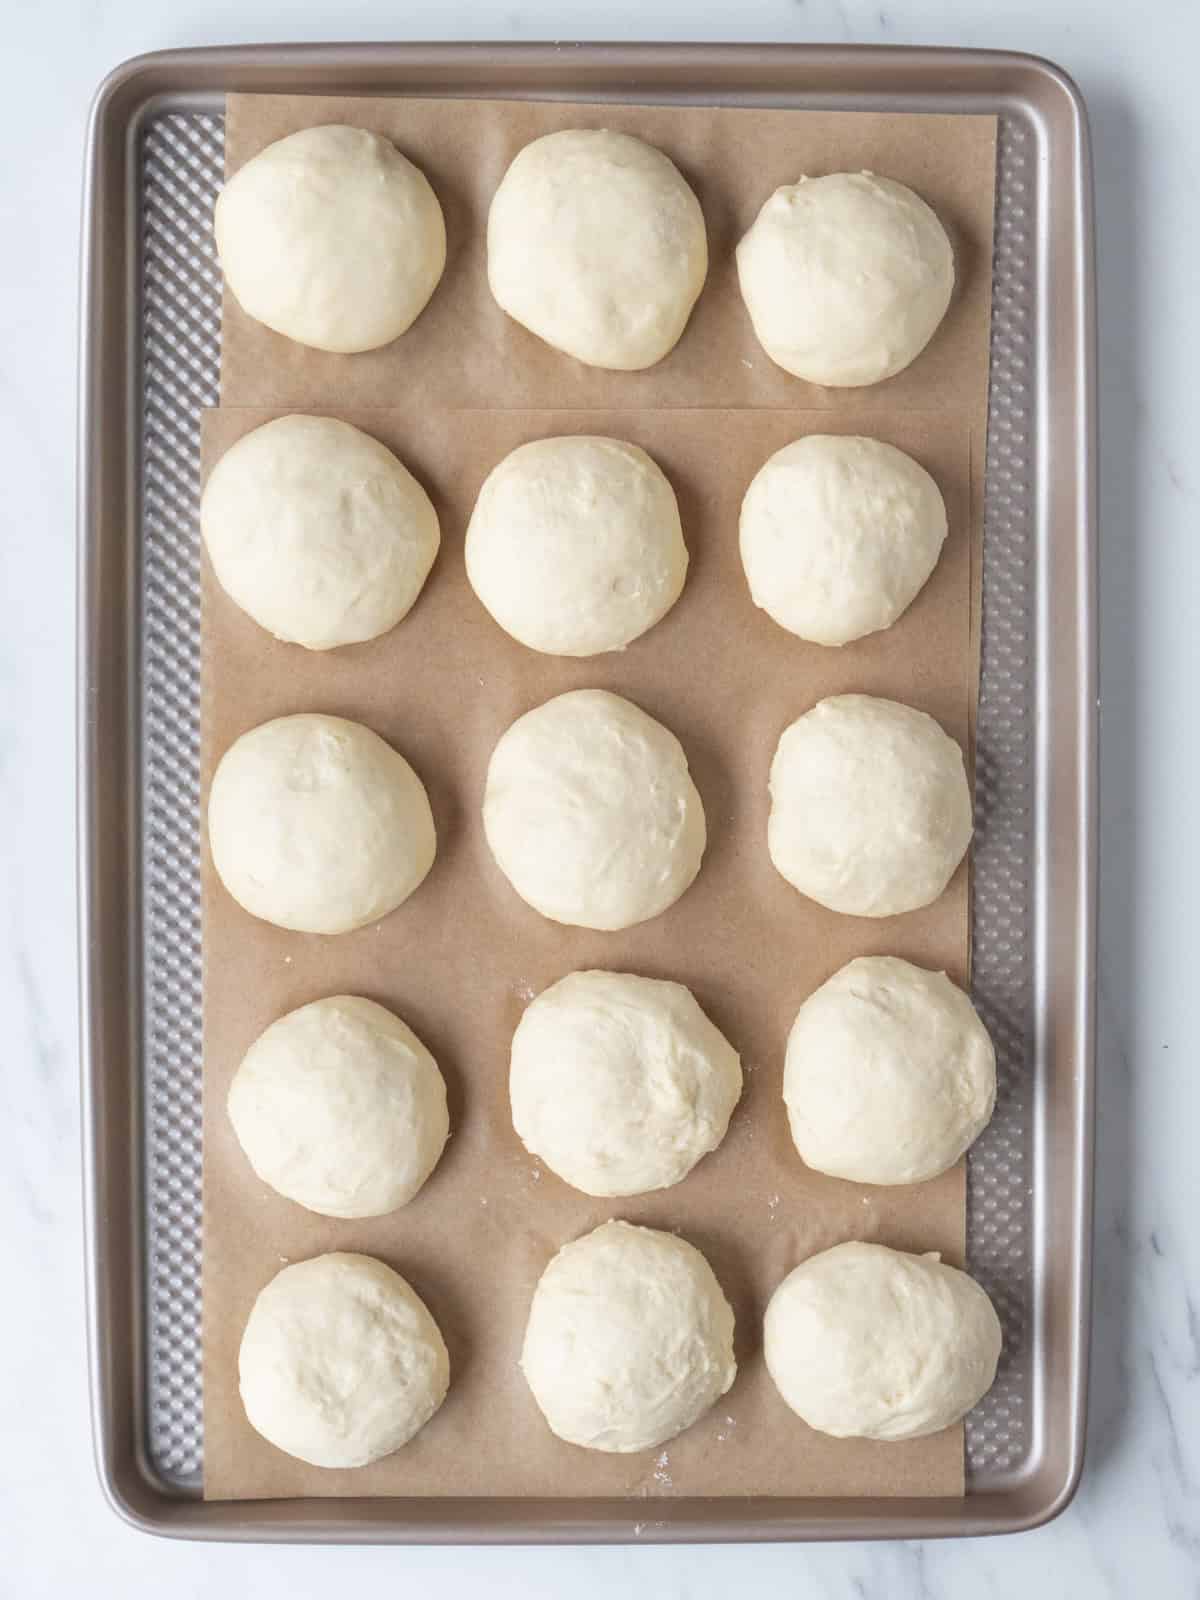
Step 5: On a floured surface, punch down the dough and shape into small balls, just smaller than a tennis ball about 2.5 ounces each. Place on a parchment paper-lined baking sheet. Cover again and let rise until doubled, about 30 to 40 minutes. Preheat the oven 350 degrees F.
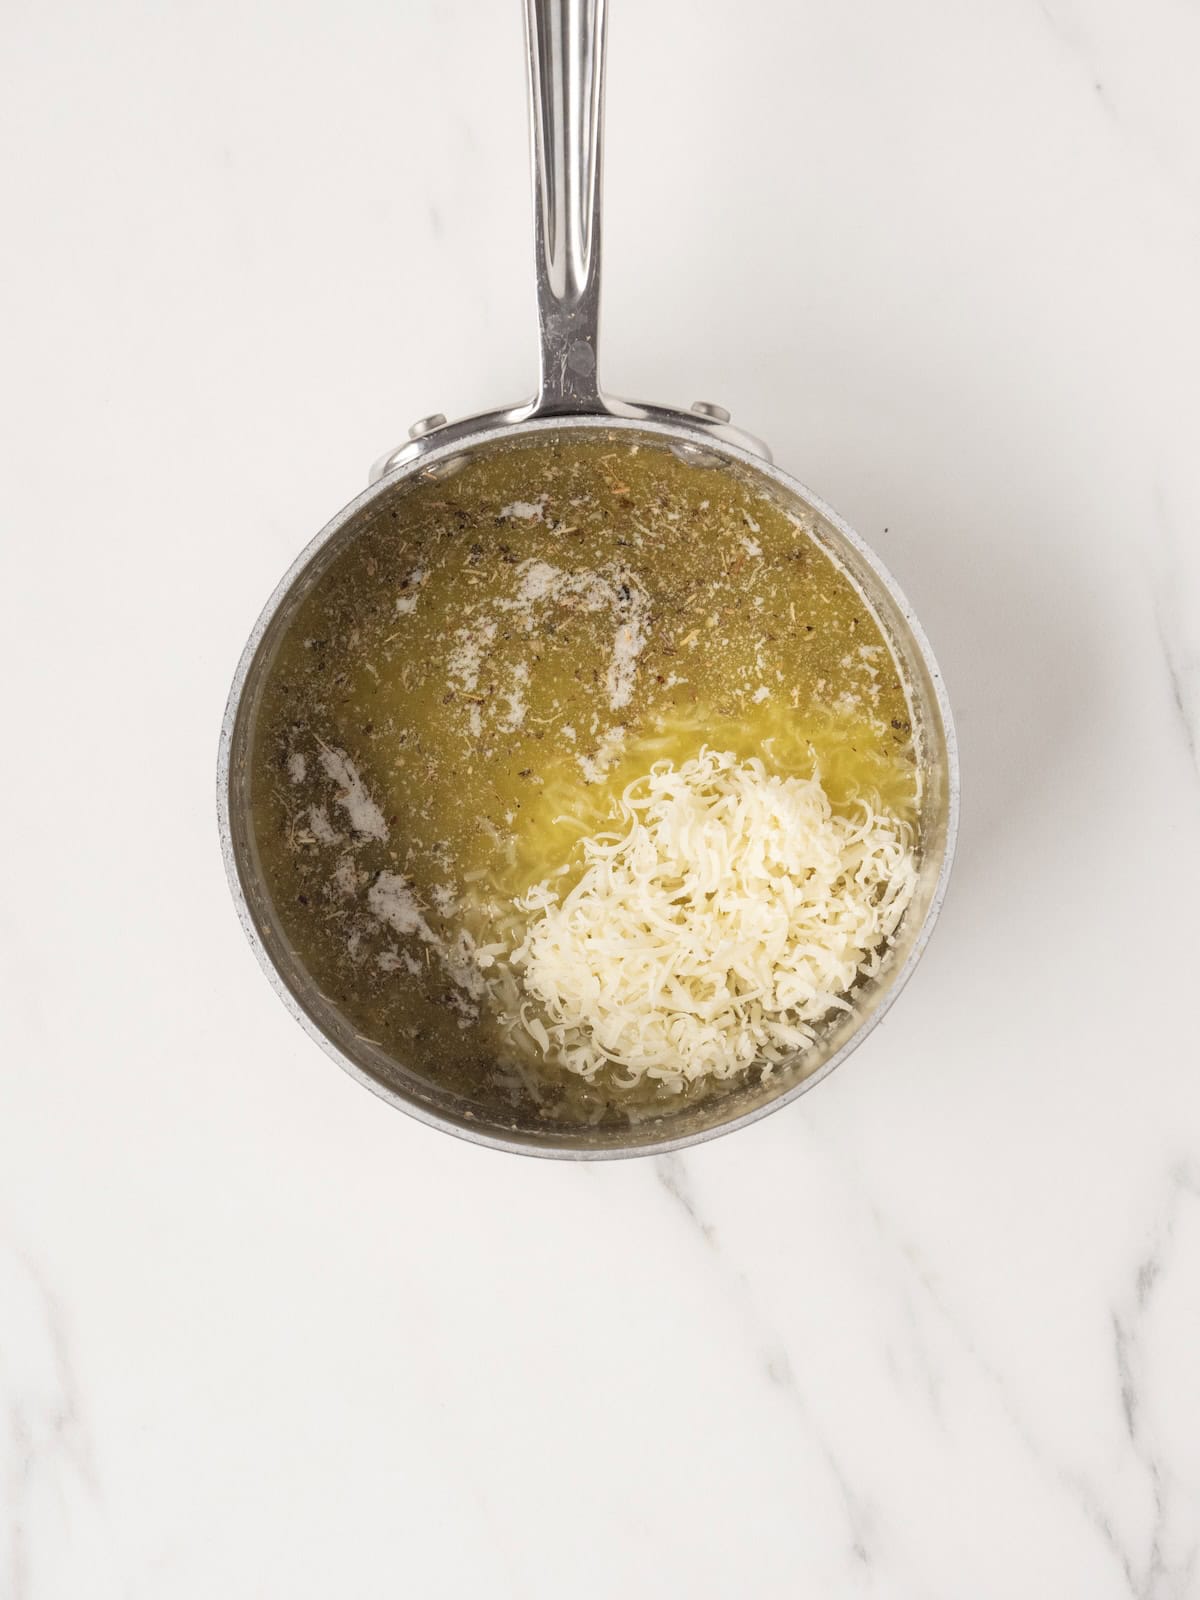
Step 6: Melt the butter in a small saucepan with the Italian seasoning. Once melted, remove from heat. Stir in parmesan.
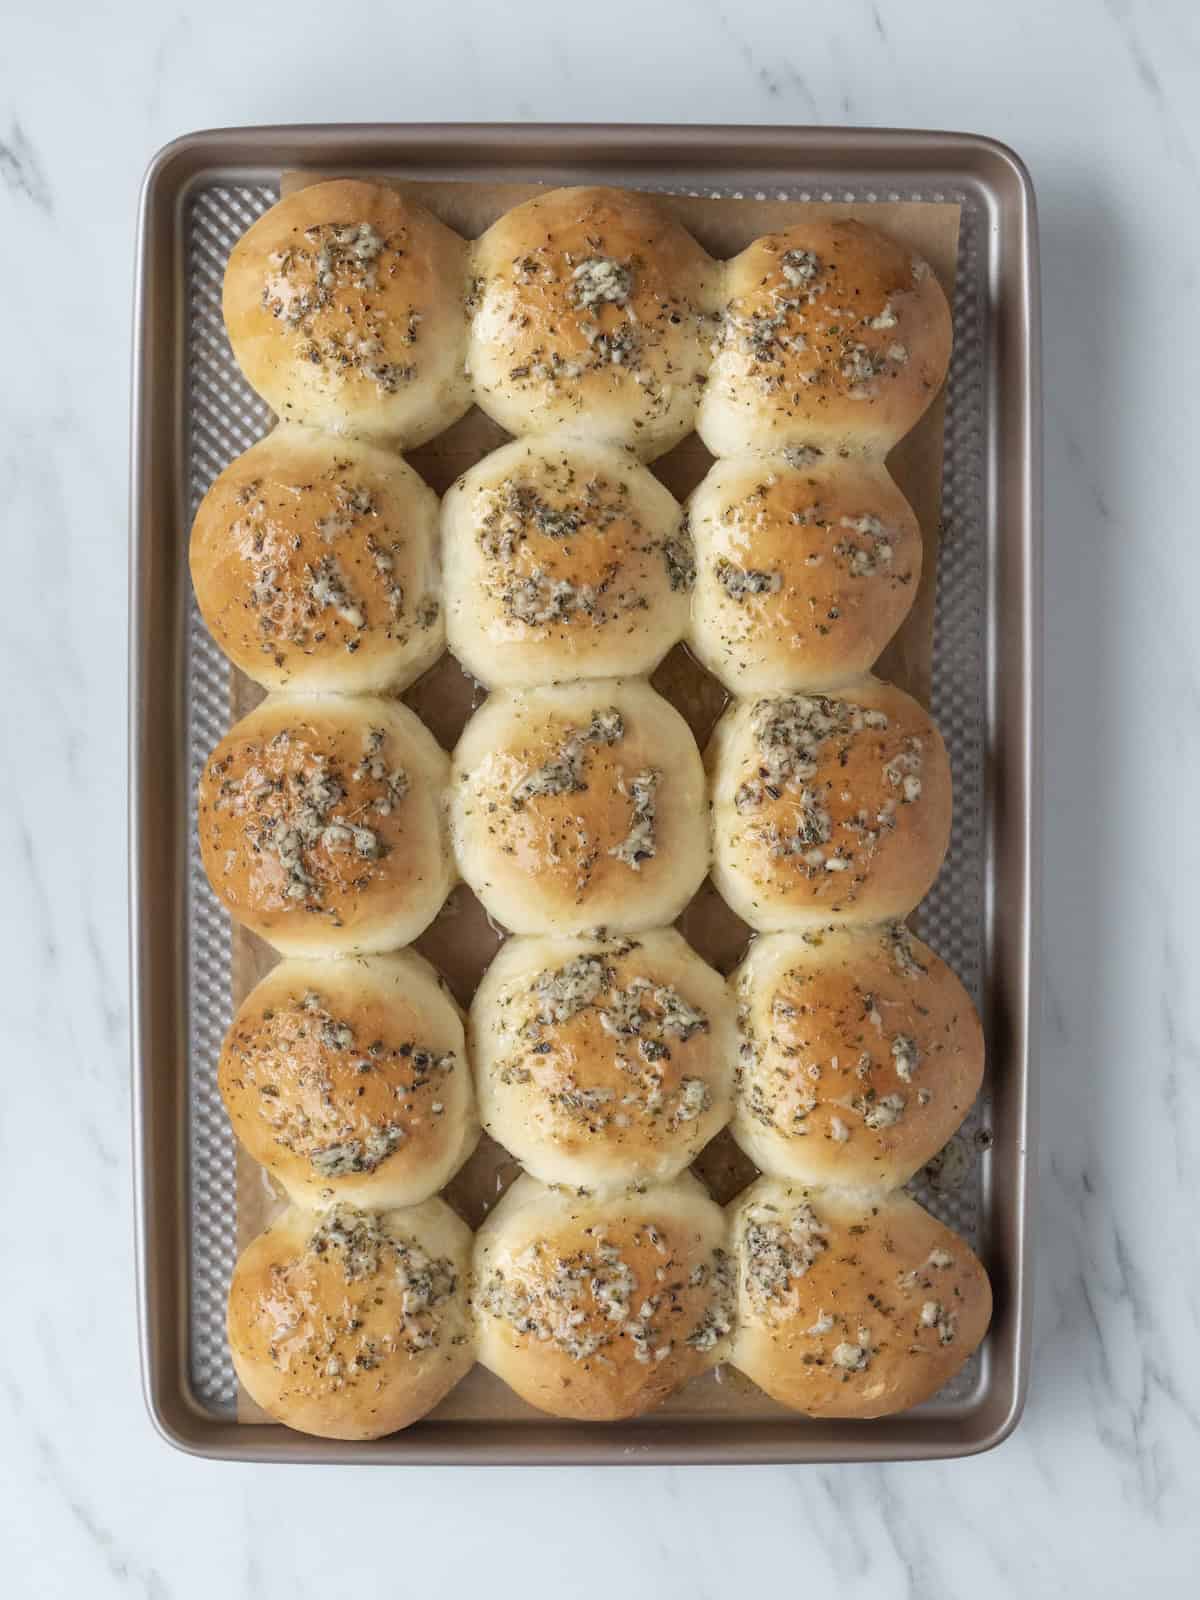
Step 7: Bake for about 20 minutes or until golden brown. Remove rolls from the oven and brush with melted butter before serving.
How to Store Homemade Garlic Herb Rolls
You can store these at room temperature for a few days.
How to Freeze Homemade Garlic Herb Rolls
These are great for freezing if you have tons leftover. Just freeze them in a zip top bag and warm them up in a toaster oven when its time to eat.
10 Tips + Tricks for the Best Homemade Garlic Herb Rolls
- Use warm (not hot!) milk. You want it cozy like bathwater warm. Too hot and it’ll kill the yeast, too cold and the dough won’t rise. This is your Goldilocks moment.
- Let the yeast bloom fully. Give it a few minutes to get foamy. If it’s not bubbling, start over. Good rolls begin with happy yeast.
- Soft butter makes everything easier. When mixing the dough, butter should be truly soft so it melts into the dough without leaving chunks. Room temp is your friend.
- Knead until smooth and stretchy. Whether you’re using a stand mixer or your hands, keep going until the dough is silky, not shaggy. Smooth dough = tender rolls.
- Give the dough time to rise. Don’t rush this step. A warm, draft-free spot is key. Let it double in size. This is how you get ultra-fluffy rolls.
- Use a light touch when shaping. Handle the dough gently so you don’t deflate all that gorgeous air you just built. Roll, tuck, and place in the pan like little dough babies.
- Brush with the garlic herb butter twice. Once before baking to infuse the flavor, and once right when they come out so the rolls soak up all that garlicky goodness.
- Bake until just golden. Overbaking will dry them out, so keep an eye on the tops. You’re looking for light golden brown and springy when touched.
FAQs
Can I freeze the bread rolls?
Yes. Freeze after shaping, then thaw and let rise before baking, or bake them fully and freeze once cooled.
Can I make the dough for the garlic rolls ahead of time?
Absolutely. Make the dough, let it rise once, shape the rolls, and refrigerate overnight.
Can I use instant yeast instead of active dry for garlic rolls?
Yes. Skip the warm water step and add the instant yeast directly to the flour.
Do these garlic rolls work without parmesan?
Totally. They will still be delicious and garlicky, but parmesan adds a savory punch.
How do I keep garlic rolls soft?
The post bake butter brushing is the secret. Do not skip it.
Similar Recipes

If you tried this recipe, please leave a 🌟 star rating and let me know how it goes in the 📝 comments below. Thanks for visiting today

Homemade Garlic Herb Rolls
Ingredients
- 1.5 cups whole milk
- 8 tablespoon unsalted butter cut into pieces
- ⅓ cup sugar
- 1 package active dry yeast
- ½ cup warm water
- 4 cloves garlic finely chopped
- 3 eggs lightly beaten
- 2 teaspoons salt
- 6 cups all-purpose flour
Topping
- ½ cup butter
- 1 tablespoons Tuscan seasoning
- finely grated parmesan cheese
Instructions
- Place the milk in a small saucepan and bring it just to a simmer. Remove from the heat, stir in the butter and sugar, and let the mixture cool slightly.
- In a small bowl, dissolve the yeast in the warm water and let it sit until foamy.
- In the bowl of a stand mixer fitted with a dough hook, combine the milk mixture, garlic, eggs, yeast mixture, salt, and half of the flour. Mix until smooth. Add the remaining flour, ½ cup at a time, and mix until a smooth dough forms.
- Transfer the dough to a floured surface and knead by hand for about 5 minutes. Place the dough in a greased bowl, cover, and let rise in a warm place until doubled in size, about 1 hour.
- Punch down the dough on a floured surface and divide it into small balls, each about 2.5 ounces and slightly smaller than a tennis ball. Place the shaped rolls on a parchment lined baking sheet. Cover and let rise again until doubled, about 30 to 40 minutes.
- Preheat the oven to 350 degrees F.
- Bake for 20 minutes or until golden brown.
- Meanwhile, melt the butter with the Italian seasoning in a small saucepan. Remove from the heat and stir in the parmesan.
- Brush the warm rolls generously with the melted herb butter and serve.
Notes
- Use warm (not hot!) milk. You want it cozy like bathwater warm. Too hot and it’ll kill the yeast, too cold and the dough won’t rise. This is your Goldilocks moment.
- Let the yeast bloom fully. Give it a few minutes to get foamy. If it’s not bubbling, start over. Good rolls begin with happy yeast.
- Soft butter makes everything easier. When mixing the dough, butter should be truly soft so it melts into the dough without leaving chunks. Room temp is your friend.
- Knead until smooth and stretchy. Whether you’re using a stand mixer or your hands, keep going until the dough is silky, not shaggy. Smooth dough = tender rolls.
- Give the dough time to rise. Don’t rush this step. A warm, draft-free spot is key. Let it double in size. This is how you get ultra-fluffy rolls.
- Use a light touch when shaping. Handle the dough gently so you don’t deflate all that gorgeous air you just built. Roll, tuck, and place in the pan like little dough babies.
- Brush with the garlic herb butter twice. Once before baking to infuse the flavor, and once right when they come out so the rolls soak up all that garlicky goodness.
- Bake until just golden. Overbaking will dry them out, so keep an eye on the tops. You’re looking for light golden brown and springy when touched.
Nutrition Information
Photography by Matt Armendariz / Food Styling by Adam Pearson


Has anyone substituted almond milk for regular milk and df margarine for the butter? Our daughter can’t have any dairy.
Would totally work
I’d like to make these the day before. How would I store them & reheat? Oven at 200 for a few ?
I love all your recipes, and lives, congrats on the baby
that sounds like the perfect plan!
Sounds delicious! Can I take the muscle work out of it and let my KitchenAid do the 5 minutes of kneading?
shouldn't be an issue!
Definitely my new favorite dinner roll recipe. Absolutely perfect! Used rosemary for the herb, and asiago cheese. I reduced the quantities by 1/3, still ended up with 12 large rolls. We were going to cook steaks with this, but ended up skipping the steaks, as the rolls were so good (and filling). No stand mixer, made these by hand, worked fine.
How long did you need to hand mix and knead without a stand mixer?
Oh man! Those look AMAZING!
Homemade rolls are the best and these look fabulous!
These roll - love them!
WHOA! Gimme!!!
I don't have an electric mixer with a dough attachment but I have a processor with dough attachment. Should it be fine? I don't want the bread to be too heavy. Thank you!
if it's a dough attachment then you'll totally be fine!!
Hi Gaby, How many does this recipe make?
Makes 12 rolls!
Possible to prepare the day before?
yes absolutely
Hi Gaby, could I let these rise overnight and then bake right before Thanksgiving dinner?
you probably wouldn't want them to rise for 8+ hours - that might be too much rising time
I always love a good bread roll!! Can't wait for the holiday!!
Hi Gaby
These look amazing! Just a question, would you have to make these right before you serve them or could you do them a bit before then slightly reheat in the oven? Thanks, Kimberley
you could make them ahead and then re-heat!! no problemo
Do you think these could survive a 30 minute trip to a friend's house?
100000%