
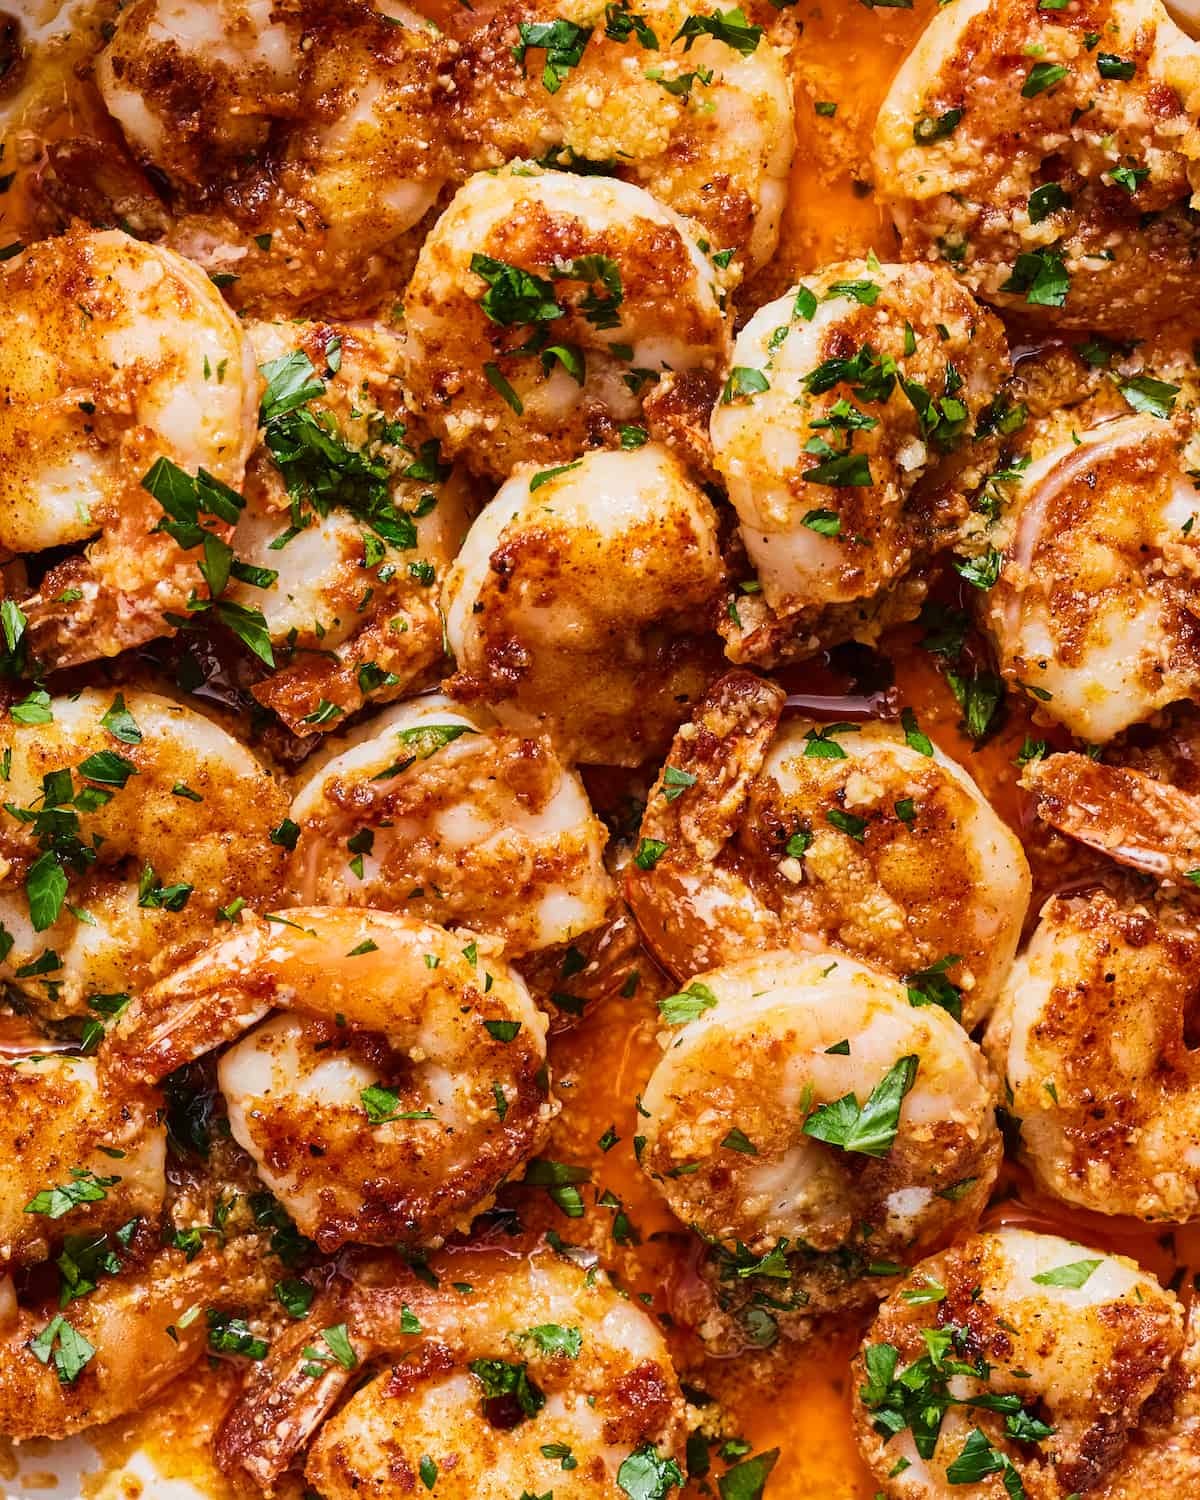
A few months back, while we were on the North Shore of Oahu, we fell in love with Hawaiian Garlic Shrimp. It was on repeat in our rental house for our week on the island and I've been making my own version at home ever since coming back to California. If you love shrimp like I do, you're gonna love this Hawaiian Garlic Shrimp. It is super easy, loaded with flavor and perfect served over rice with all that juicy goodness!
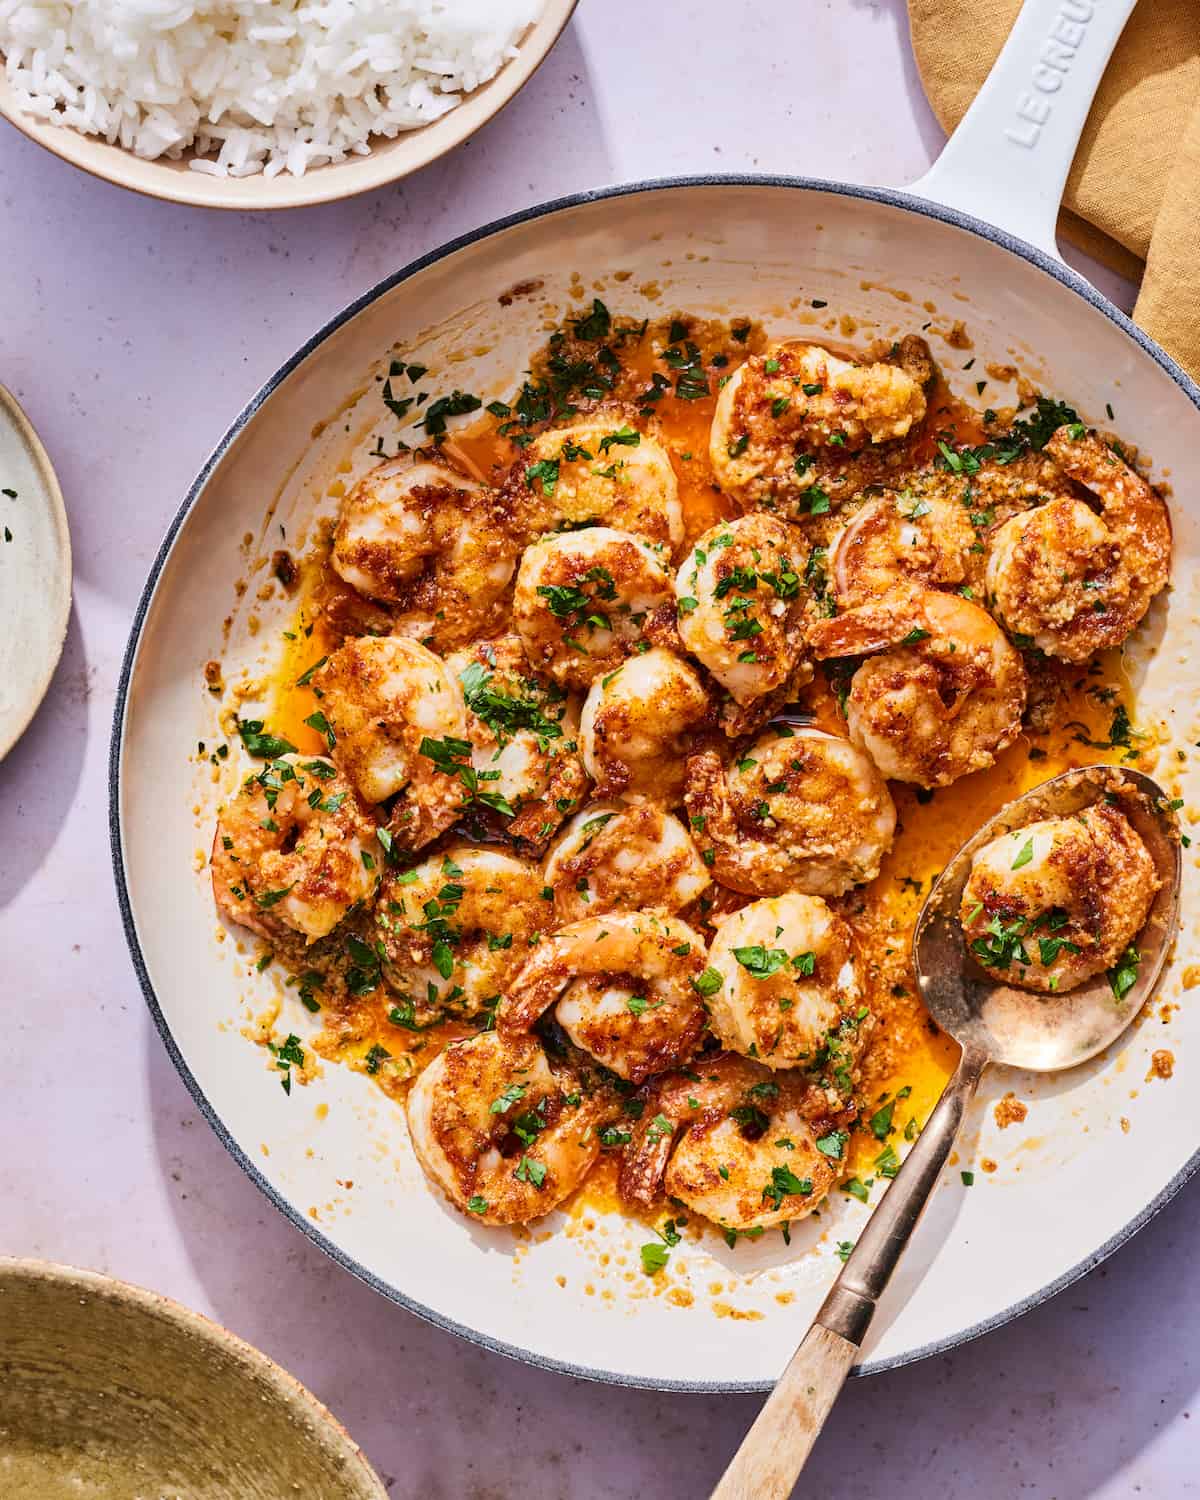
Table of Contents
Why I Love This Recipe
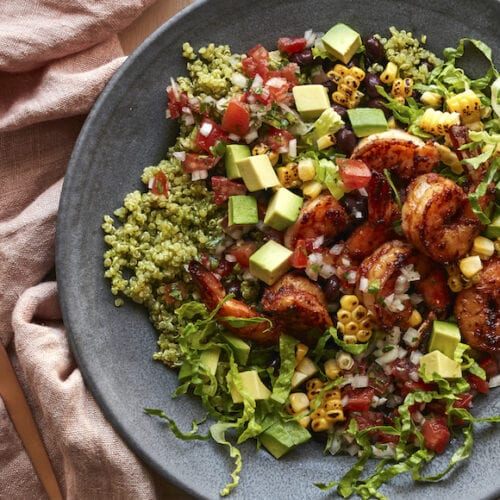
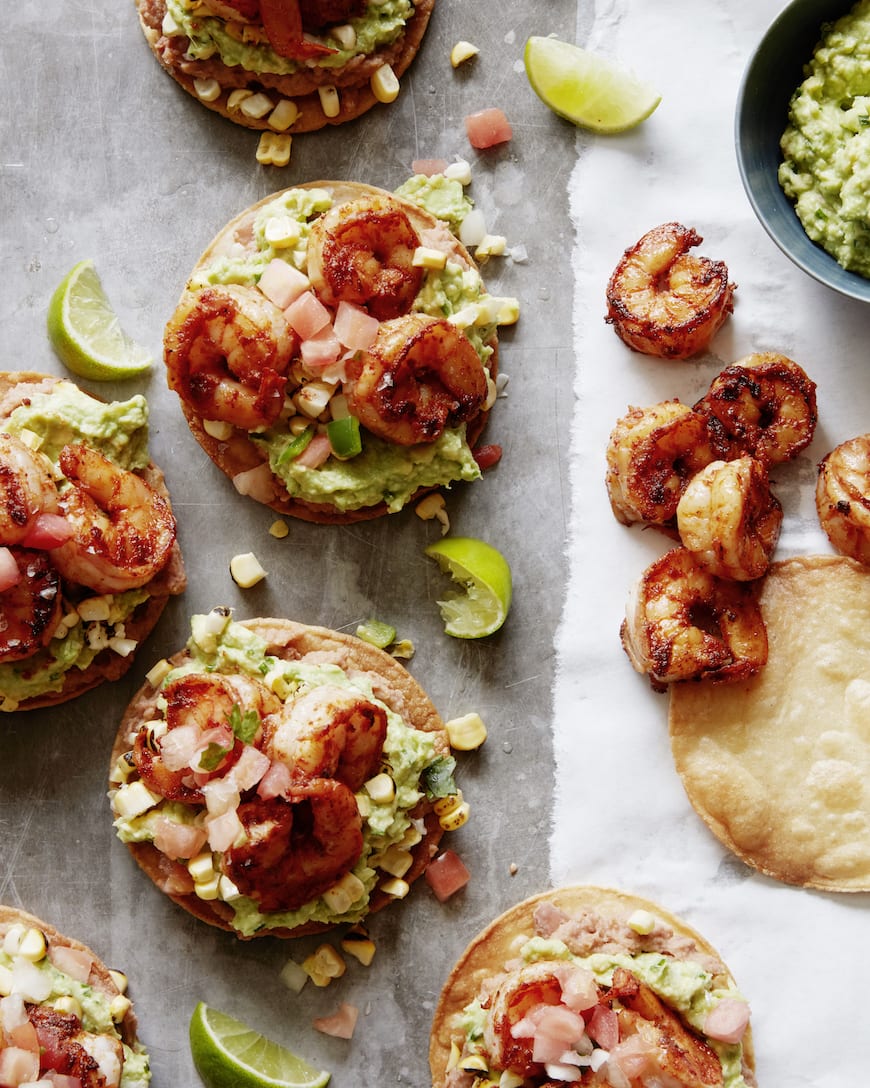
The shrimp trucks on the North Shore of Oahu are responsible for my full blown obsession of Hawaiian Shrimp. While we were on vacation we made a point of barely cooking and making sure to stop at pretty much ever little pod of food trucks we encountered. My sister and I went back for the Hawaiian Garlic Shrimp 4 times... it's that good. Really simple sautéed shrimp with obscene amounts of garlic, some herbs and spices and butter. It's a flavor explosion and I promise you'll want this in your quick and easy weeknight rotation! You can eat it with white rice or even add it to a bowl, like the Avocado Shrimp Quinoa bowl.
Ingredients & Substitutions
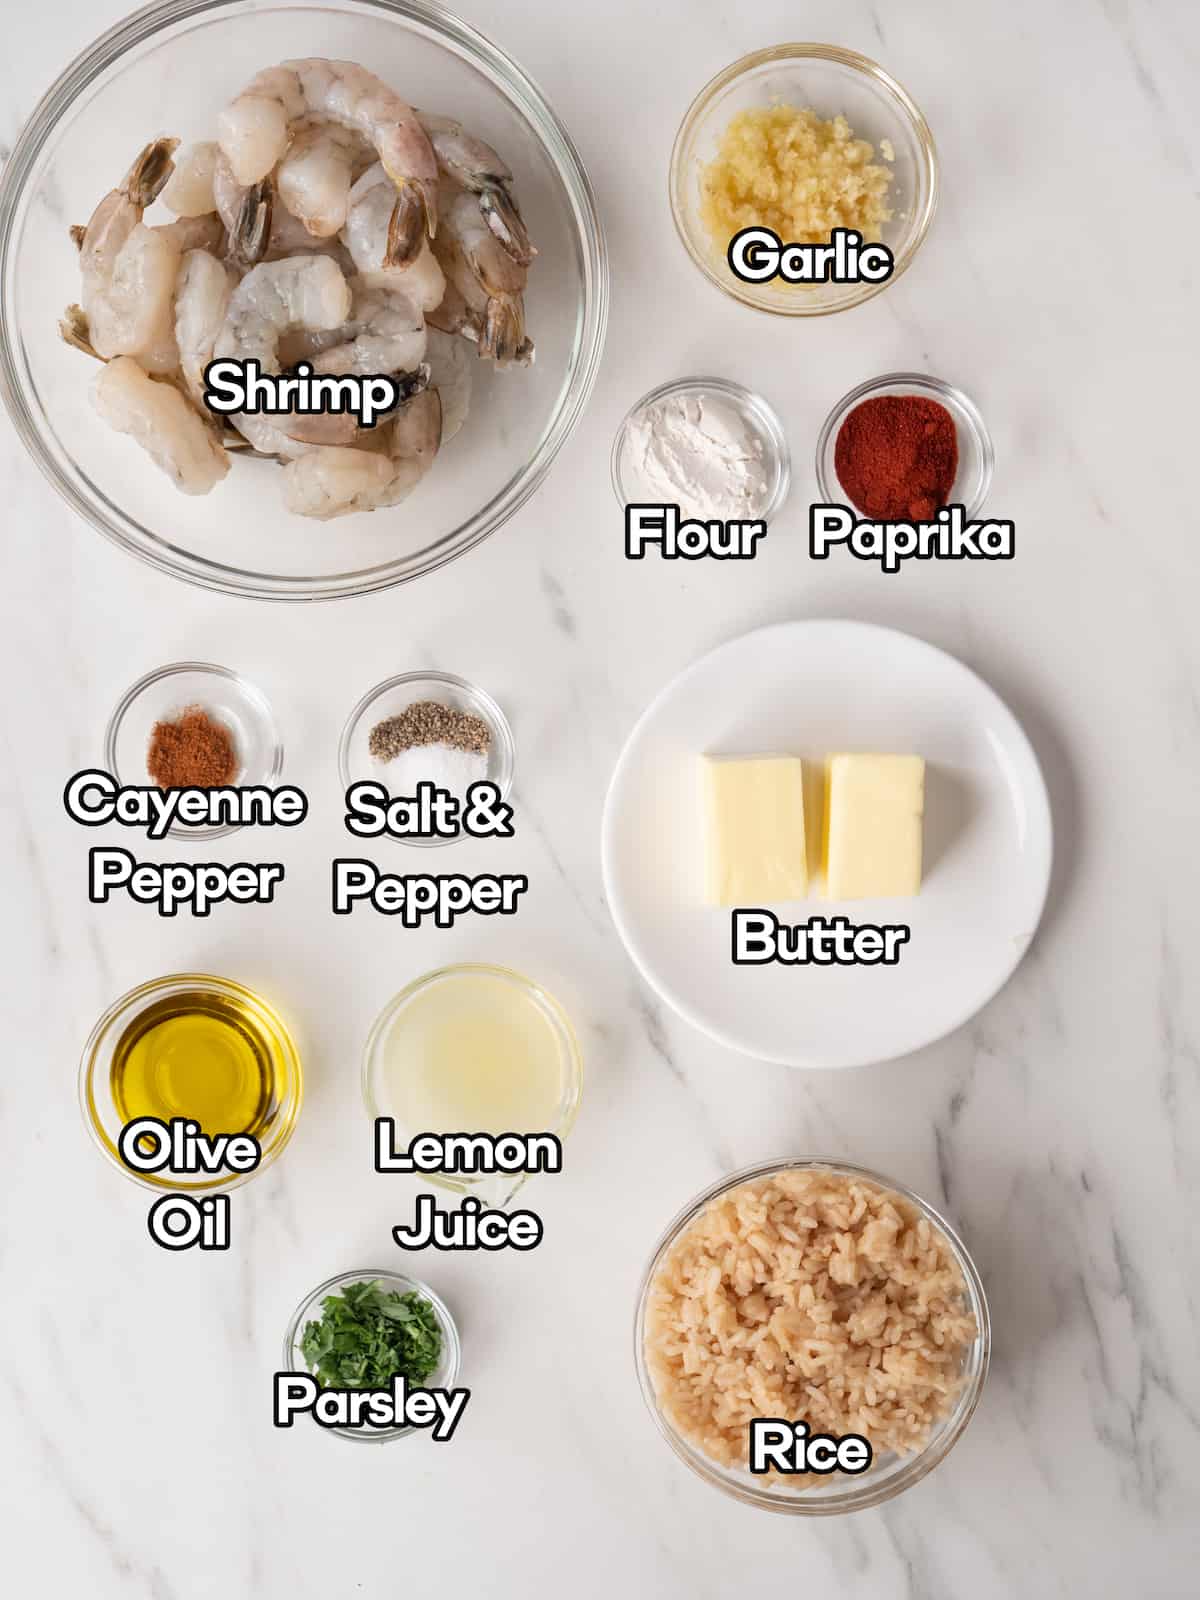
- Extra Large Shrimp – peeled and deveined. If using frozen make sure the shrimp are fully defrosted before starting.
- Garlic
- All-purpose Flour
- Paprika
- Cayenne Pepper
- Salt & Pepper
- Unsalted Butter
- Olive Oil
- Lemon Juice
- Parsley
- White Rice
*For a full list of ingredients and instructions please see recipe card below.
How to Make Hawaiian Garlic Shrimp
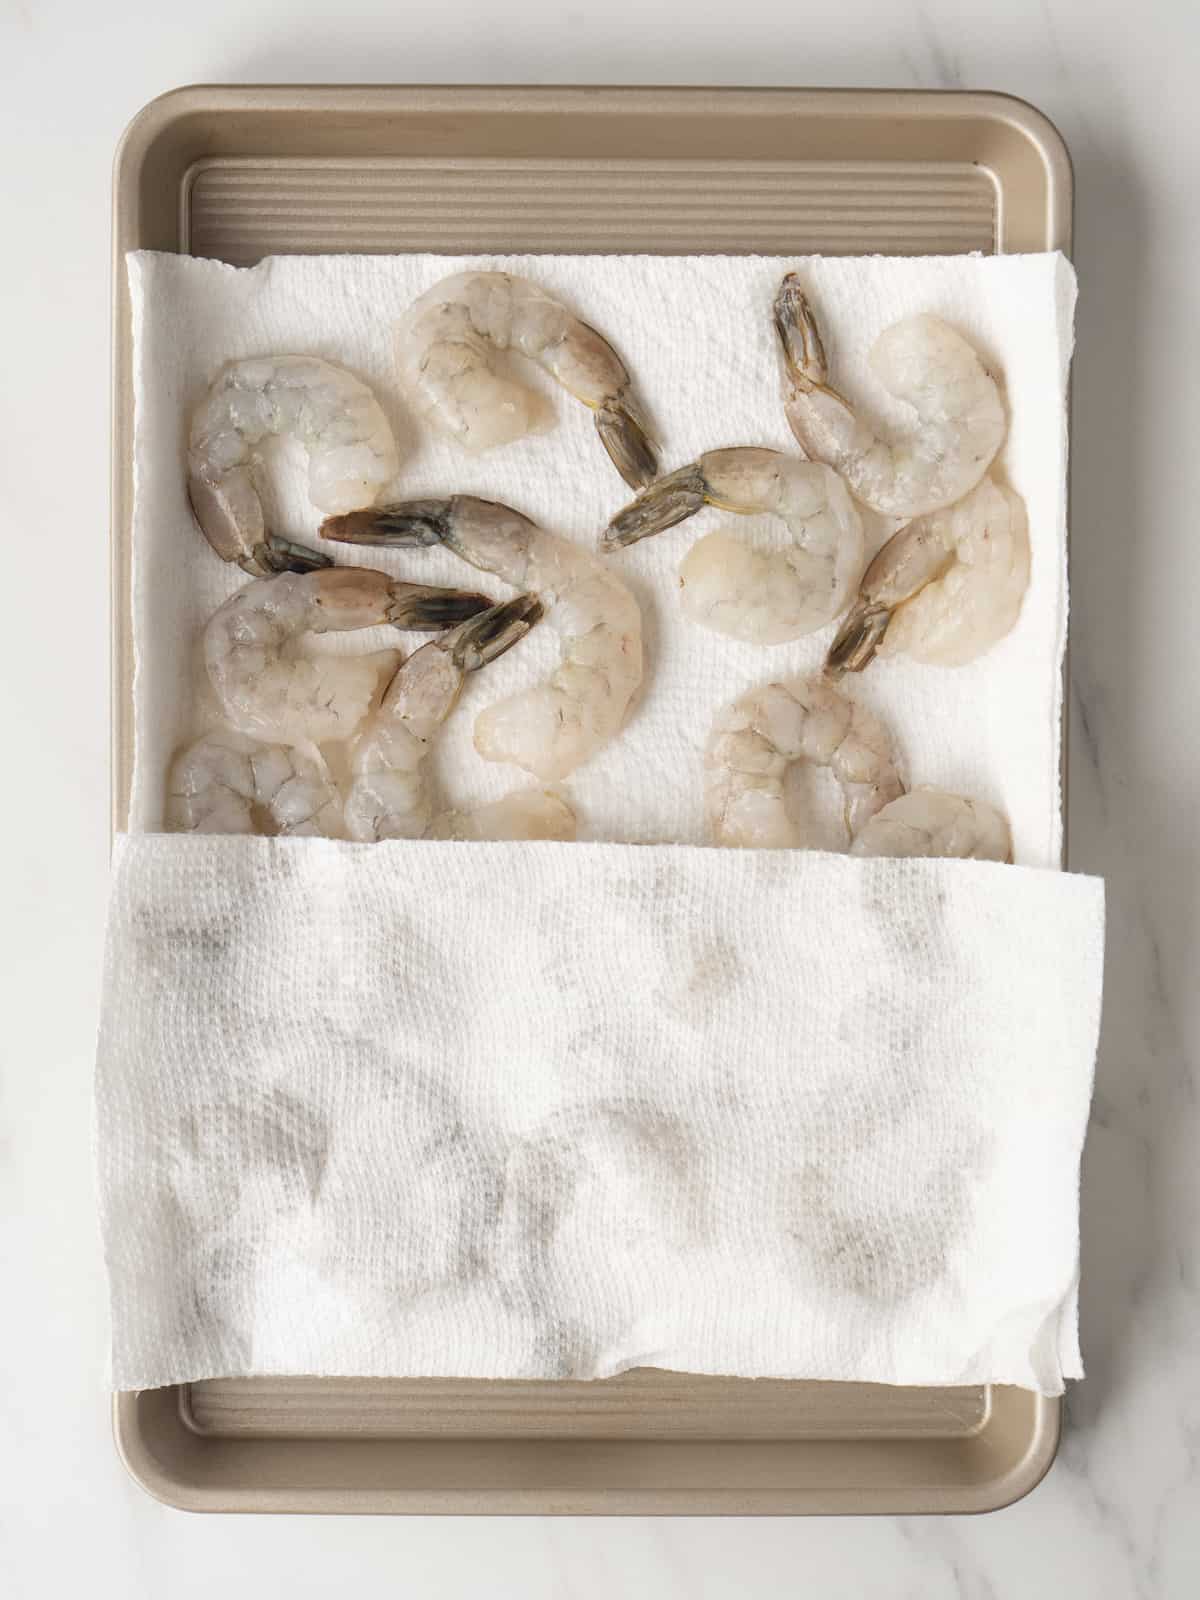
Step 1: Blot the shrimp dry of excess moisture on both sides.
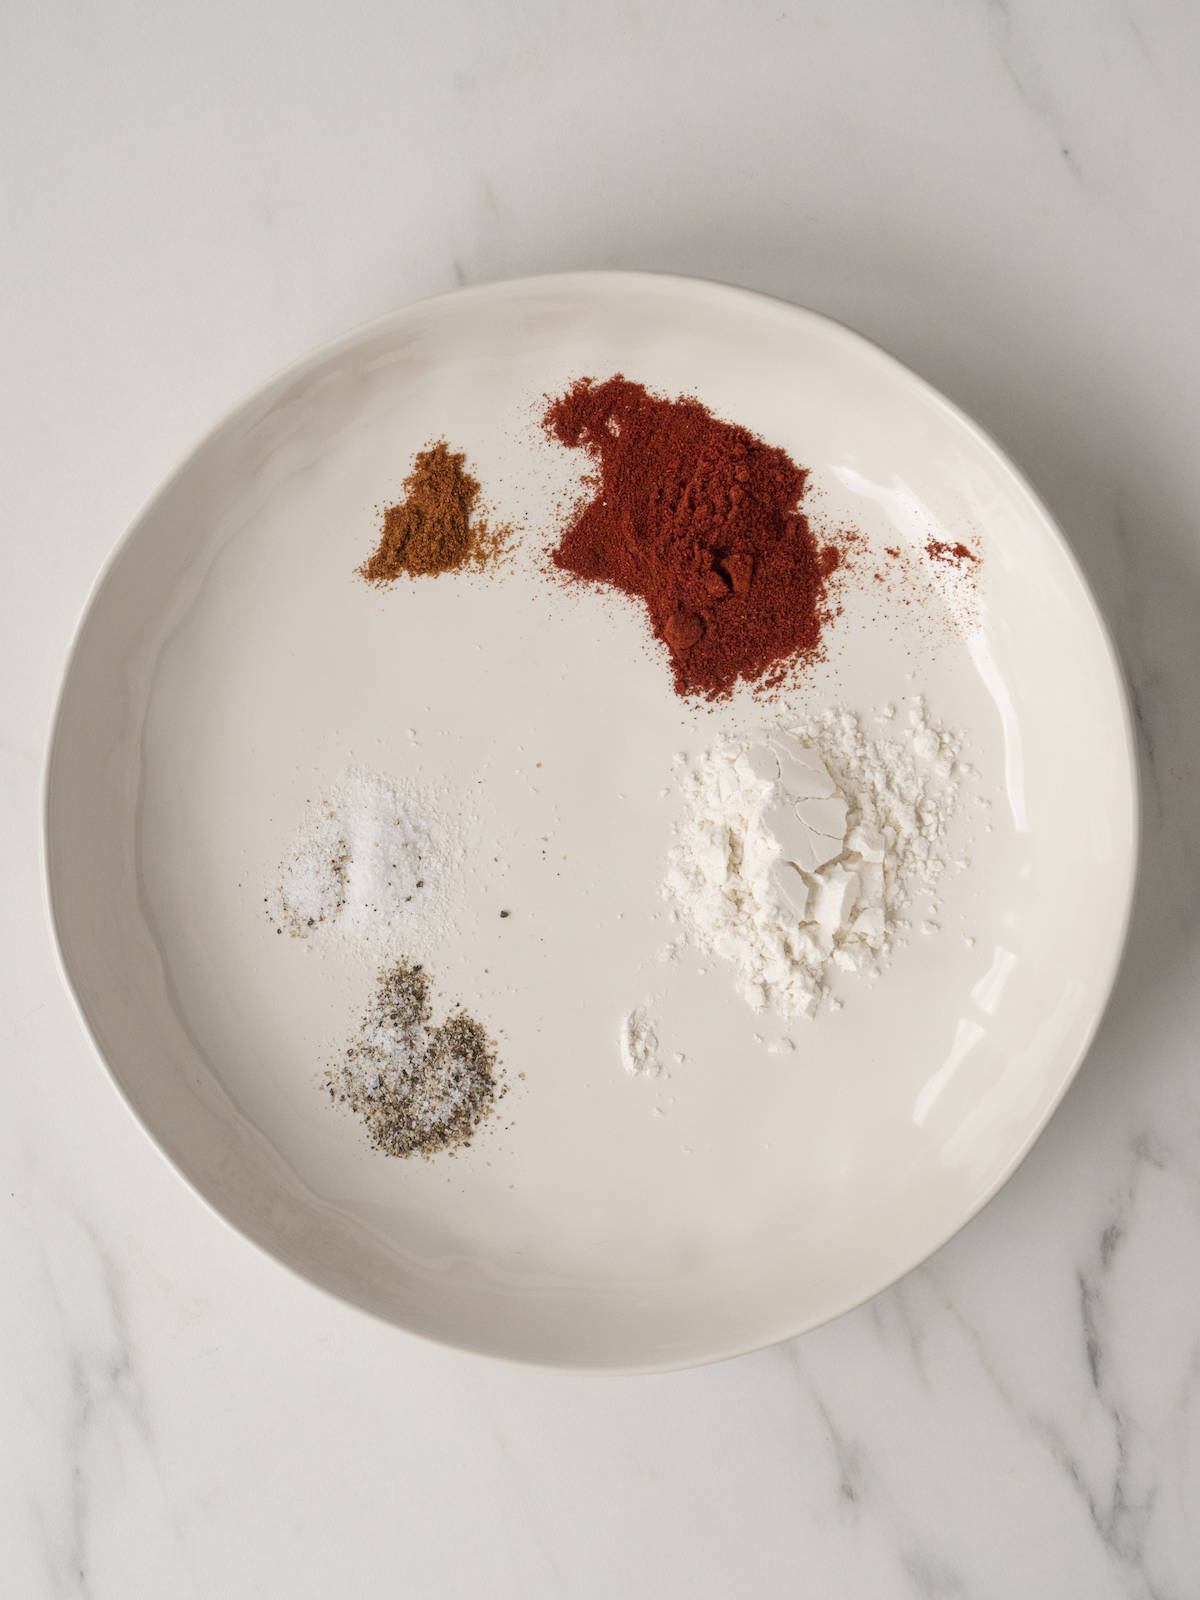
Step 2: In a bowl, sprinkle with flour, paprika, cayenne pepper and salt and pepper.
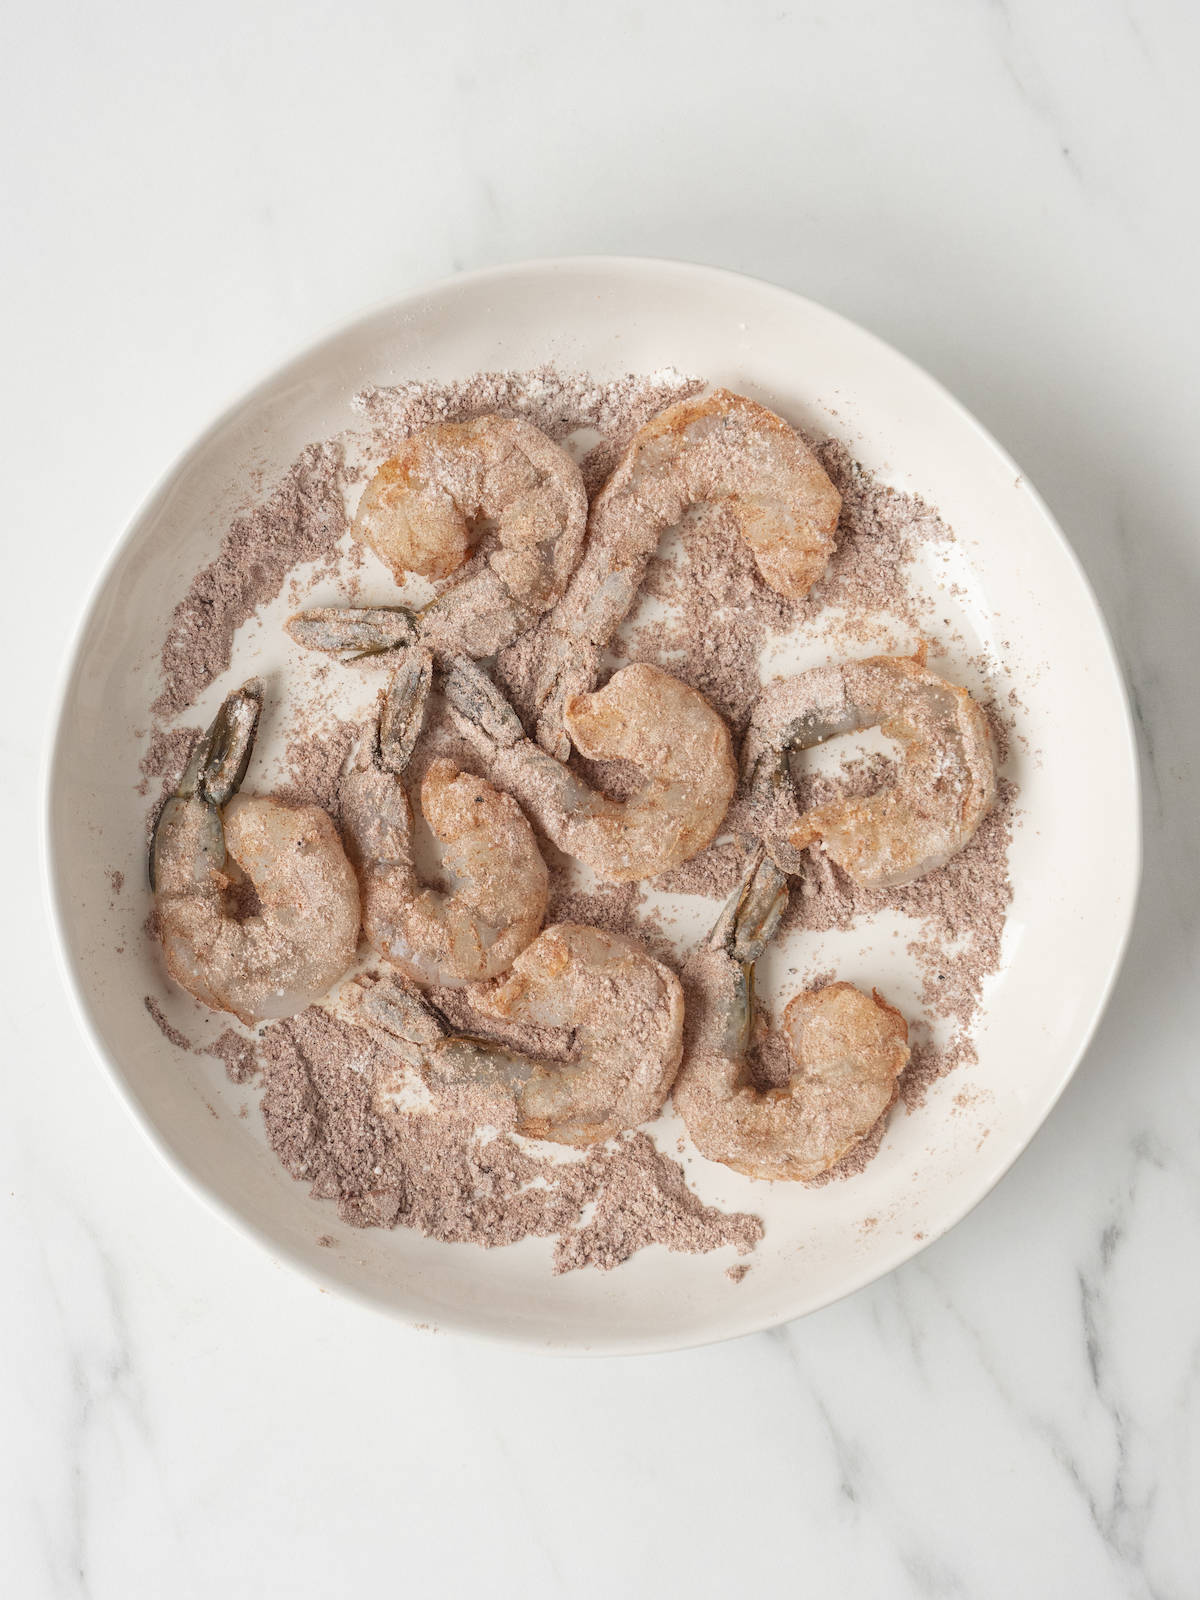
Step 4: Toss to coat the shrimp.
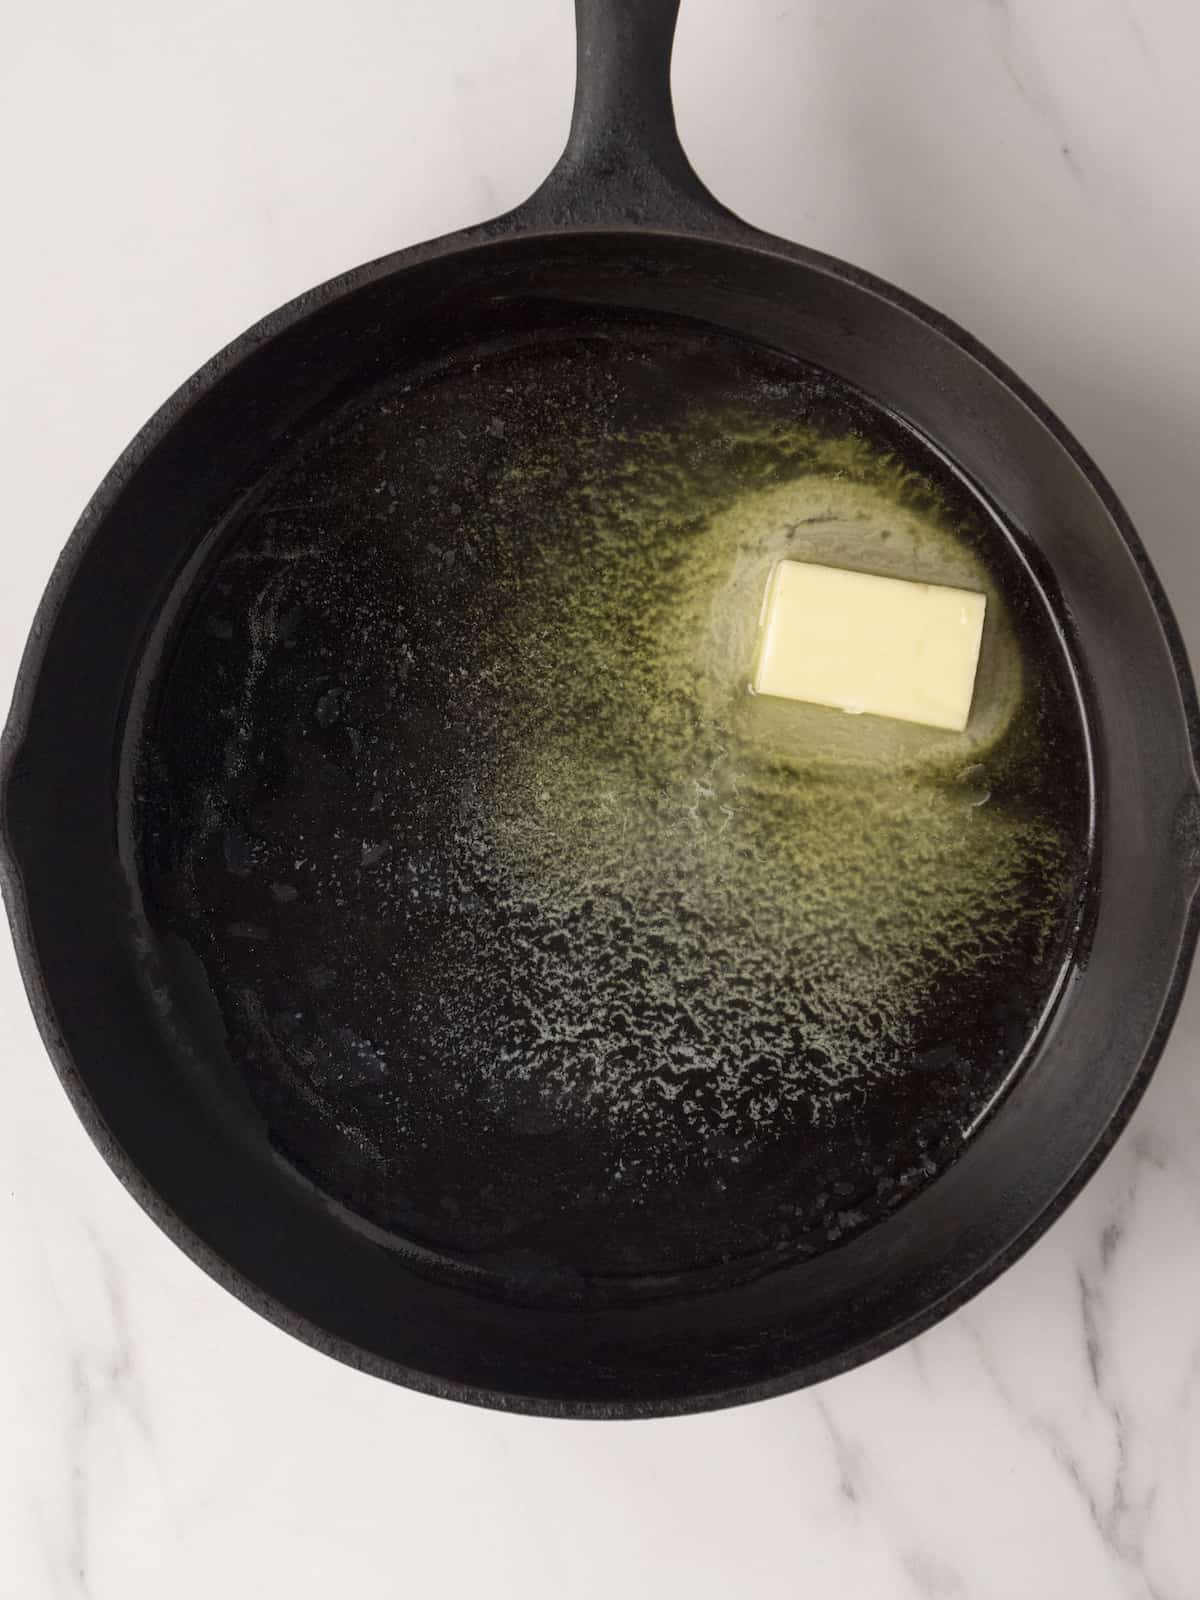
Step 3: Melt butter with olive oil in a large skillet.

Step 5: Add shrimp in an even layer in the skillet. Cook on the first side until pinkish on the bottom, about 2 minutes. Then flip and cook the opposite side until just cooked through, about 2 minutes longer. Add garlic and sauté 30 seconds until fragrant.
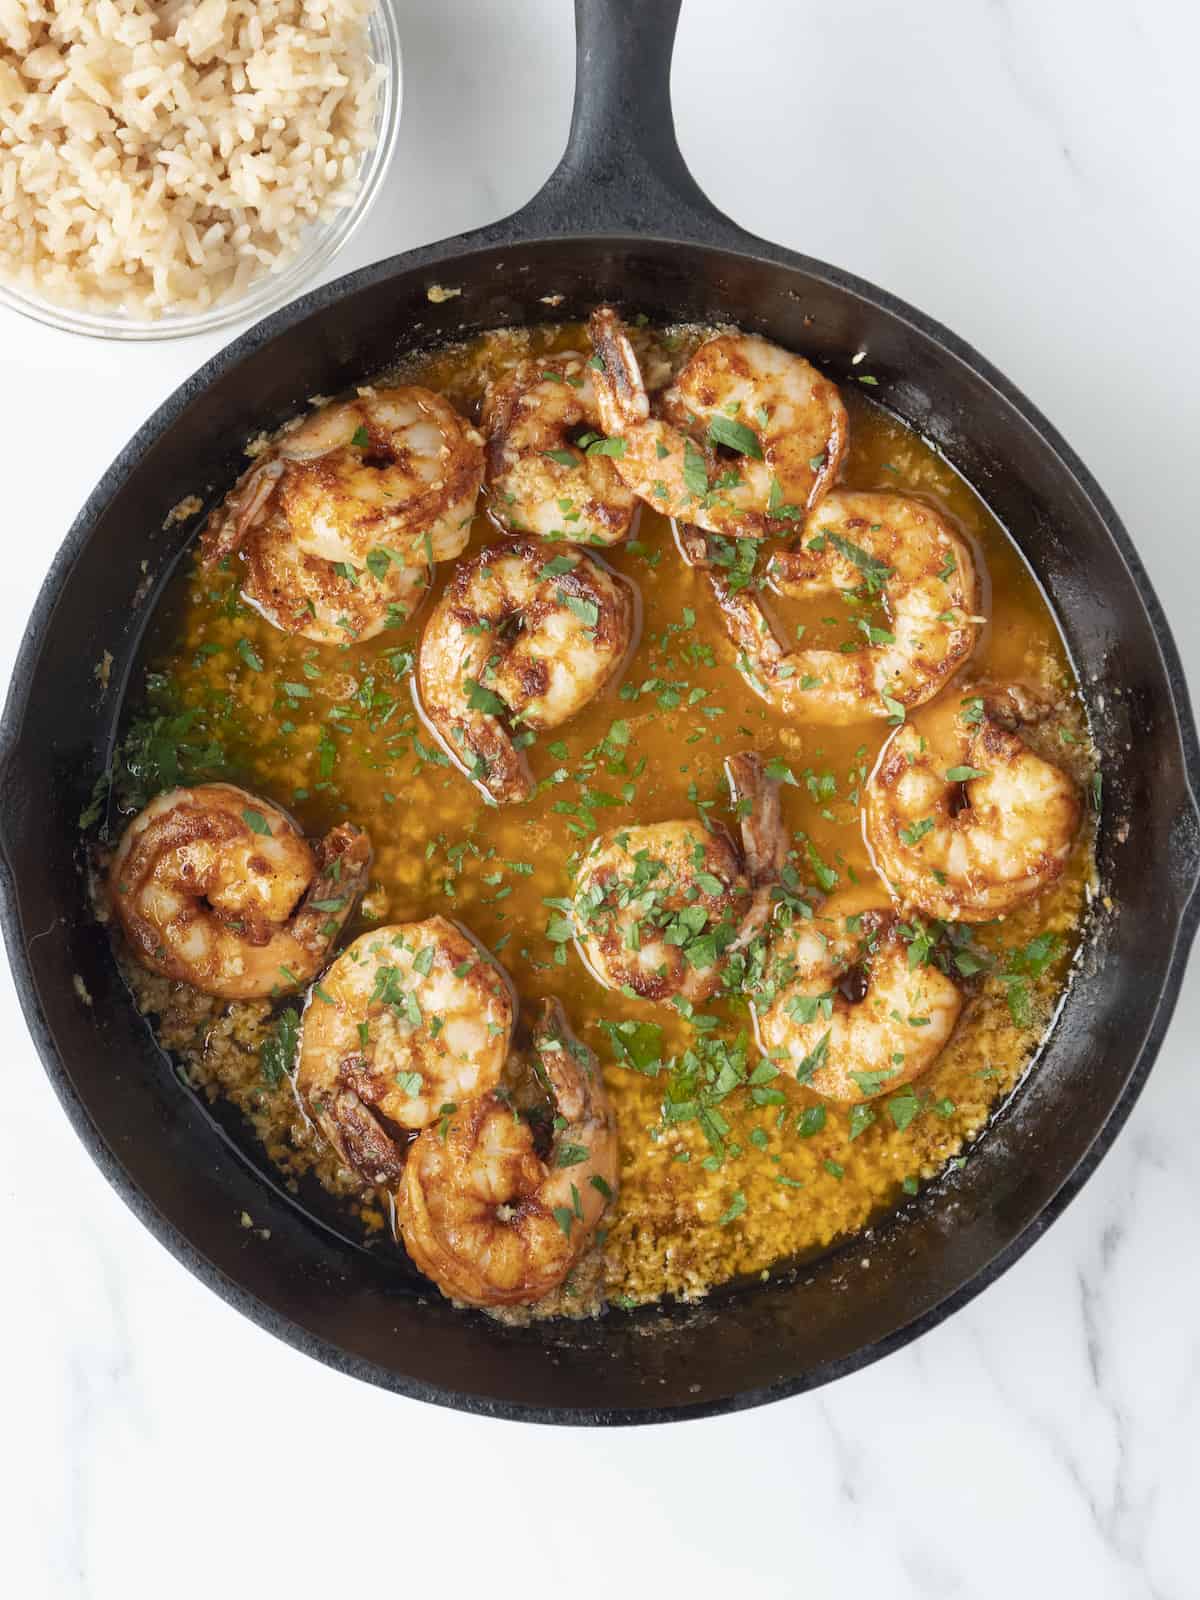
Step 6: Remove from heat, toss with lemon and parsley. Serve right away with steamed white rice topped with extra garlic butter sauce from the pan.
How to Store Hawaiian Garlic Shrimp
Shrimp is always best served immediately. But uou can store leftovers in an airtight container in the refrigerator for 24-36 hours and gently warm it on the stovetop or on the microwave.
How to Freeze Hawaiian Garlic Shrimp
You can freeze this shrimp in a container for up to 5-6 months. When its time to eat, thaw in the fridge overnight and warm it on the stove when its thawed.
Tips & Tricks
When it comes to making Hawaiian Garlic Shrimp - there's not much to it which means we should focus on great quality ingredients! A few thoughts:
- For max garlic flavor - use the kind that comes whole in it's own paper. The pre-peeled stuff doesn't yield as much flavor by a long shot
- The recipe below calls for extra large shrimp but if you can't get your hands on extra large, use any size and adjust cooking time as needed.
- Remember that when you're cooking shrimp a general rule here's what shrimp should look like in it's cooking process: undercooked shrimp are a wide and flexible "U" shape, overcooked shrimp are an "O" shape and completely curls up on itself in a tight O, and perfectly cooked shrimp are a "C" in shape and ready to eat!
FAQs
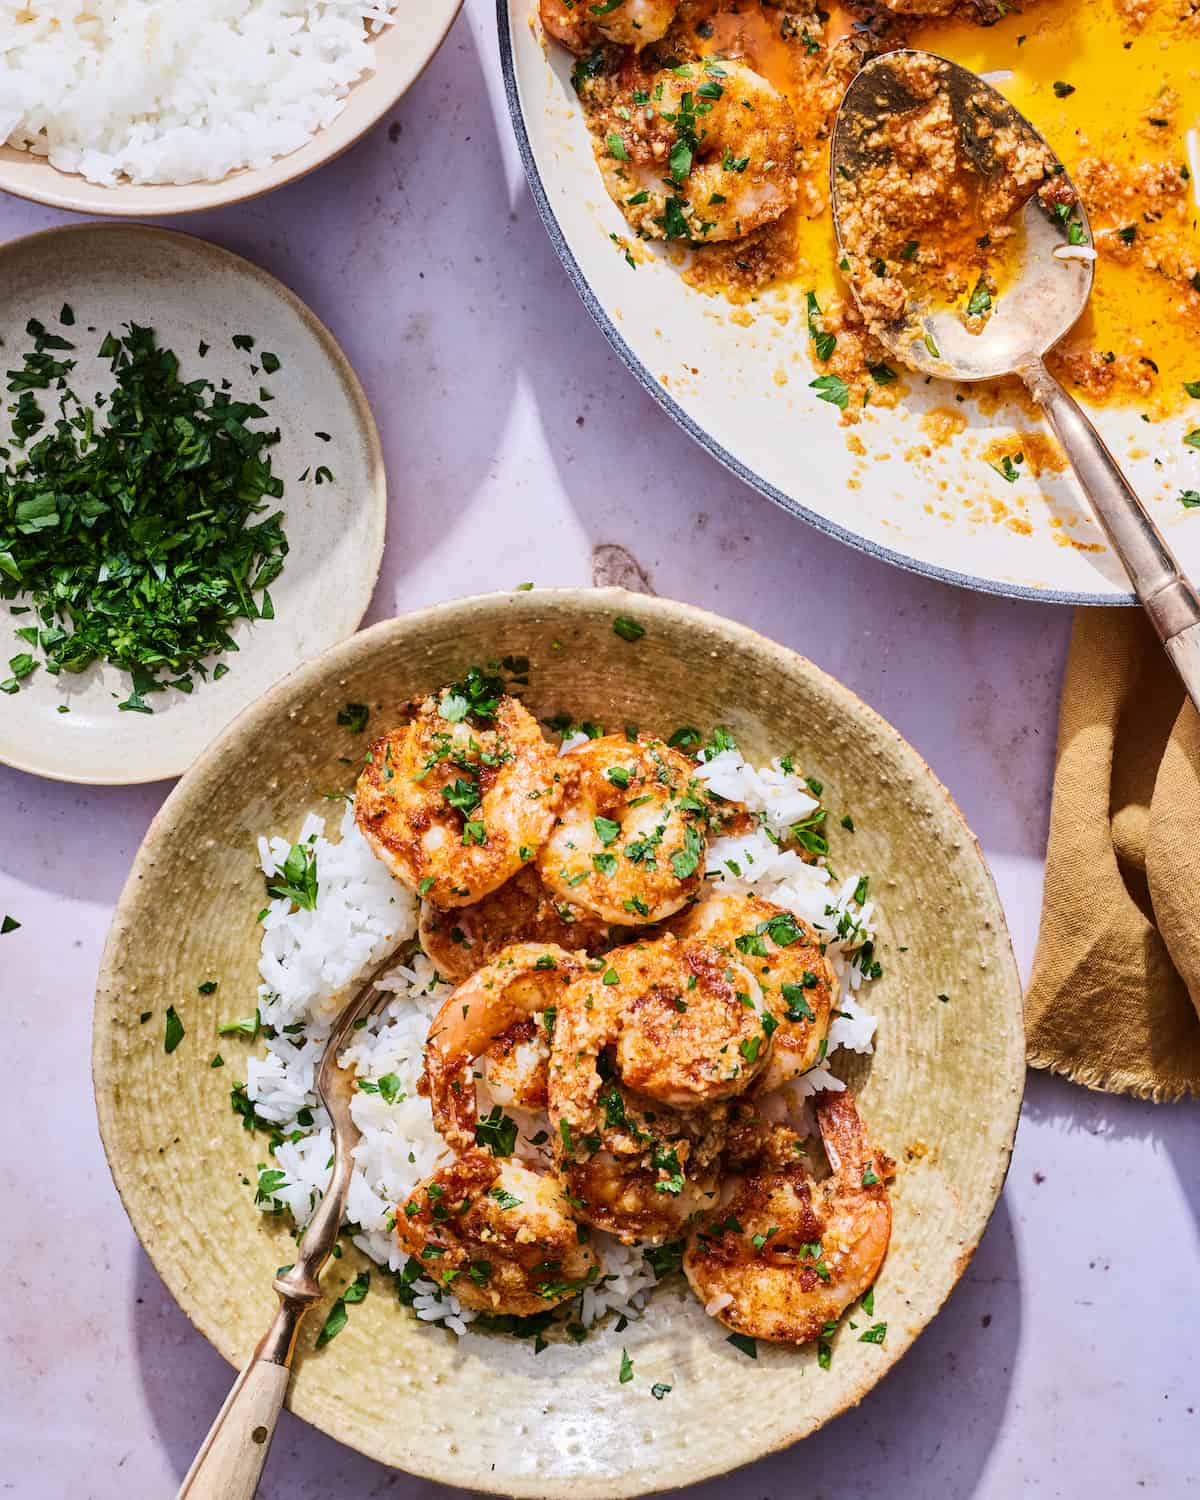
What do you eat Hawaiian Garlic Shrimp with?
White Rice is the answer in our house! All the juices from the cooking liquid are the perfect sauce to pour over a bowl of steamed white rice and enjoy with your Hawaiian Garlic Shrimp.
How to tell when the shrimp is cooked?
A general rule here's what shrimp should look like in it's cooking process: undercooked shrimp are a wide and flexible "U" shape, overcooked shrimp are an "O" shape and completely curls up on itself in a tight O, and perfectly cooked shrimp are a "C" in shape and ready to eat! Also check out my guide on how to cook the perfect shrimp.
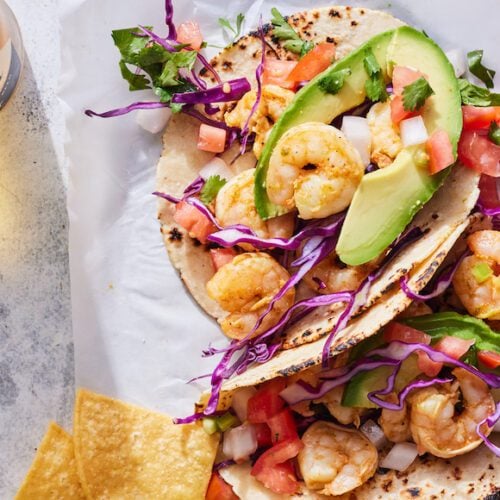
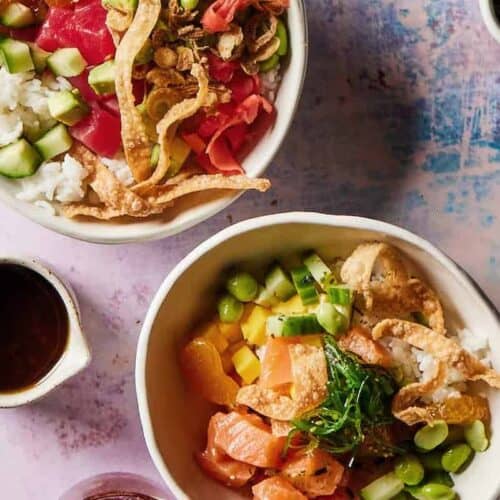
Similar Recipes
If you tried this recipe, please leave a 🌟 star rating and let me know how it goes in the 📝 comments below. Thanks for visiting today!

Hawaiian Garlic Shrimp
Equipment
Ingredients
- 1 pound extra large shrimp peeled and deveined
- ¼ cup minced fresh garlic
- 1 tablespoon all-purpose flour
- 1½ teaspoon paprika
- ¼ teaspoon cayenne pepper
- Kosher salt and freshly ground black pepper
- 6 tablespoons unsalted butter
- 2 tablespoons olive oil
- 2 tablespoons fresh lemon juice
- 1 tablespoon minced fresh parsley
- White rice for serving
Instructions
- Blot the shrimp dry of excess moisture on both sides.
- In a bowl, sprinkle with flour, paprika, cayenne pepper and salt and pepper and toss to coat the shrimp.
- Melt 3 tablespoons of the butter with olive oil in a large skillet.
- Add shrimp in an even layer in the skillet. Cook on the first side until pinkish on the bottom, about 2 minutes. Then flip and cook the opposite side until just cooked through, about 2 minutes longer. Add the remaining butter and garlic and saute 30 seconds until fragrant.
- Remove from heat, toss with lemon and parsley.
- Serve right away with steamed white rice topped with extra garlic butter sauce from the pan.
Notes
- For max garlic flavor - use the kind that comes whole in it's own paper. The pre-peeled stuff doesn't yield as much flavor by a long shot.
- The recipe below calls for extra large shrimp but if you can't get your hands on extra large, use any size and adjust cooking time as needed.
- Remember that when you're cooking shrimp a general rule here's what shrimp should look like in it's cooking process: undercooked shrimp are a wide and flexible "U" shape, overcooked shrimp are an"O" shape and completely curls up on itself in a tight O, and perfectly cooked shrimp are a "C" in shape and ready to eat!


How much kosher salt and pepper?
I made this recipe tonight and it was SO GOOD! My family loves it and asked me to make it again tomorrow!
Great recipe!