
Have you ever made Cheesecake Cookie Bars? If not, stop whatever you're doing, raid your fridge, and get down to business. It's baking season and I didn't come to play. They are the best treats ever, only second to my famous Slutty Brownie recipe. If you are already a fan of bar-style treats, you are going to want to explore my Chocolate Chip Cheesecake Brownies and my Caramel Apple Cheesecake Bars with Streusel as well, because clearly we have a theme going on here. And if you want even more inspiration for your next baking session, my roundup of 26 Best Cookie Recipes is the perfect place to start.
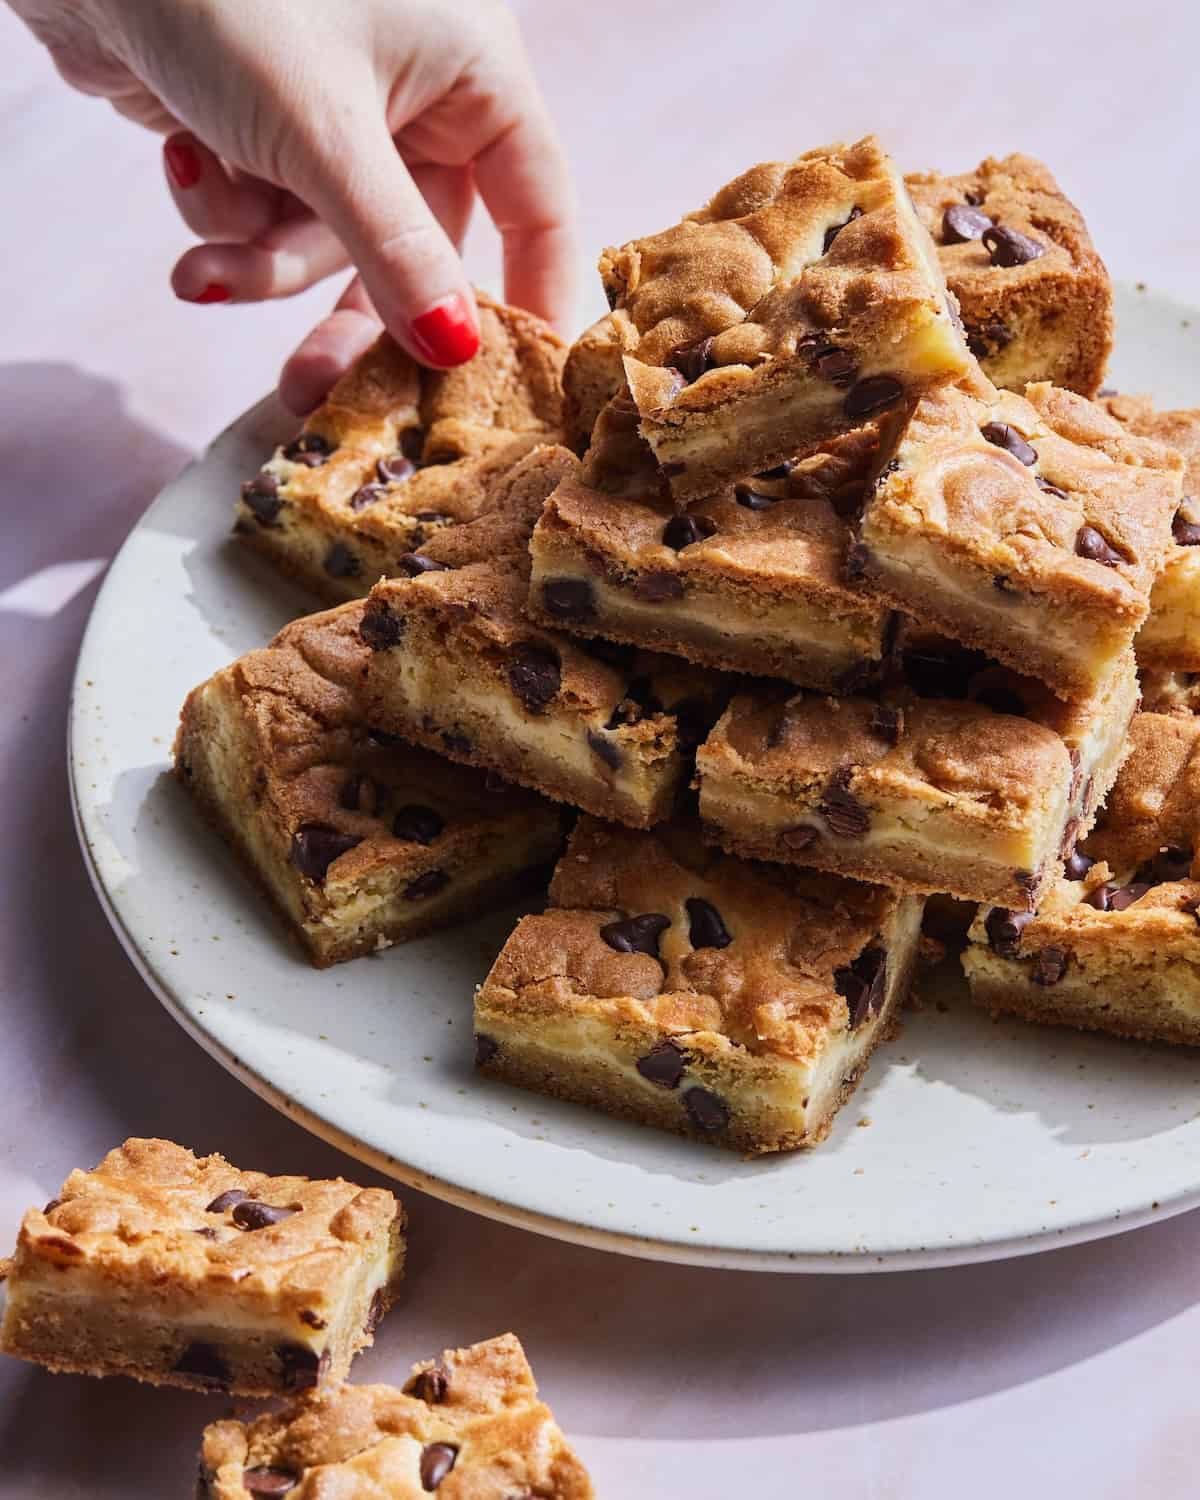
Cheesecake Cookie Bars at a Glance
- 🕒 Total Time: About 3 hours 30 minutes, including cooling and chilling
- 👪 Servings: 12 people
- 🍝 Cuisine Type: American
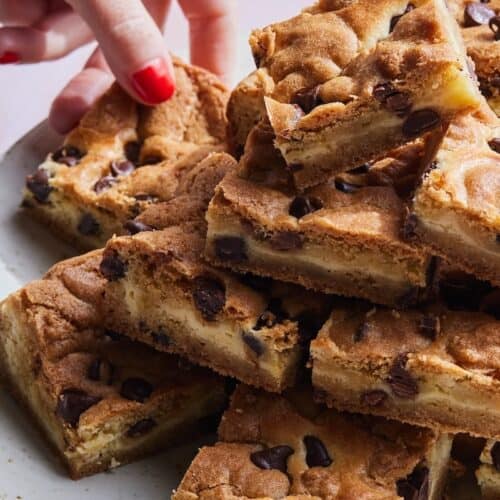
- 🧂 Flavor Profile: Buttery chocolate chip cookie dough layered with a rich, creamy cheesecake filling and topped with golden crumbles of cookie dough.
- 📖 Dietary Info: Vegetarian; contains gluten, dairy, and eggs.
- 📦 Storage Notes: Store the bars covered in the refrigerator for up to 5 days.
- ⭐ Why You'll Love It: These Cheesecake Cookie Bars combine two classic desserts in one seriously good bar. You get buttery chocolate chip cookie layers with a creamy cheesecake center, and they're easy to make ahead since they need time to chill before slicing.
Summarize and save this content on
Why I Love This Recipe
I can remember the first time my aunt made these when I was a kid like it was yesterday. It was the recipe on the back of the cream cheese box and I took one bite and basically decided this was my favorite thing that had ever existed.
Years later, through culinary school and about a hundred iterations in my own kitchen, the recipe has been refined and made significantly better, but the spirit of the thing is exactly the same: two classic desserts in one pan, baked together into something that is greater than either of them on their own.
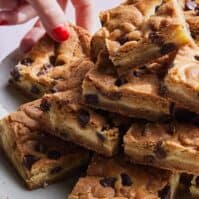
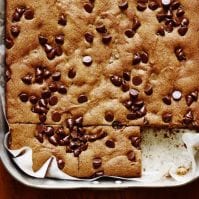
The cookie dough I use now is my absolute all-time favorite chocolate chip cookie dough recipe, which makes these bars dramatically better than the original back-of-the-box version. Rich, buttery, perfect. Half gets pressed into the bottom of the pan to form that sturdy cookie base, the cheesecake layer goes on top in a thick, even spread, and then the remaining dough gets crumbled over in irregular pieces so you get those craggy, golden cookie tops with little peeks of the creamy layer showing through underneath.
The chilling time is non-negotiable and also the part that makes this such a brilliant make-ahead dessert. These are actually better the next day, which means you can make them the night before any party and show up looking like a hero. These alongside my Snickerdoodle Blondies and my Crinkle Top Brownie Bites on a dessert platter is one of the most winning combinations I have ever put out for a crowd.
Jump to:
Ingredients
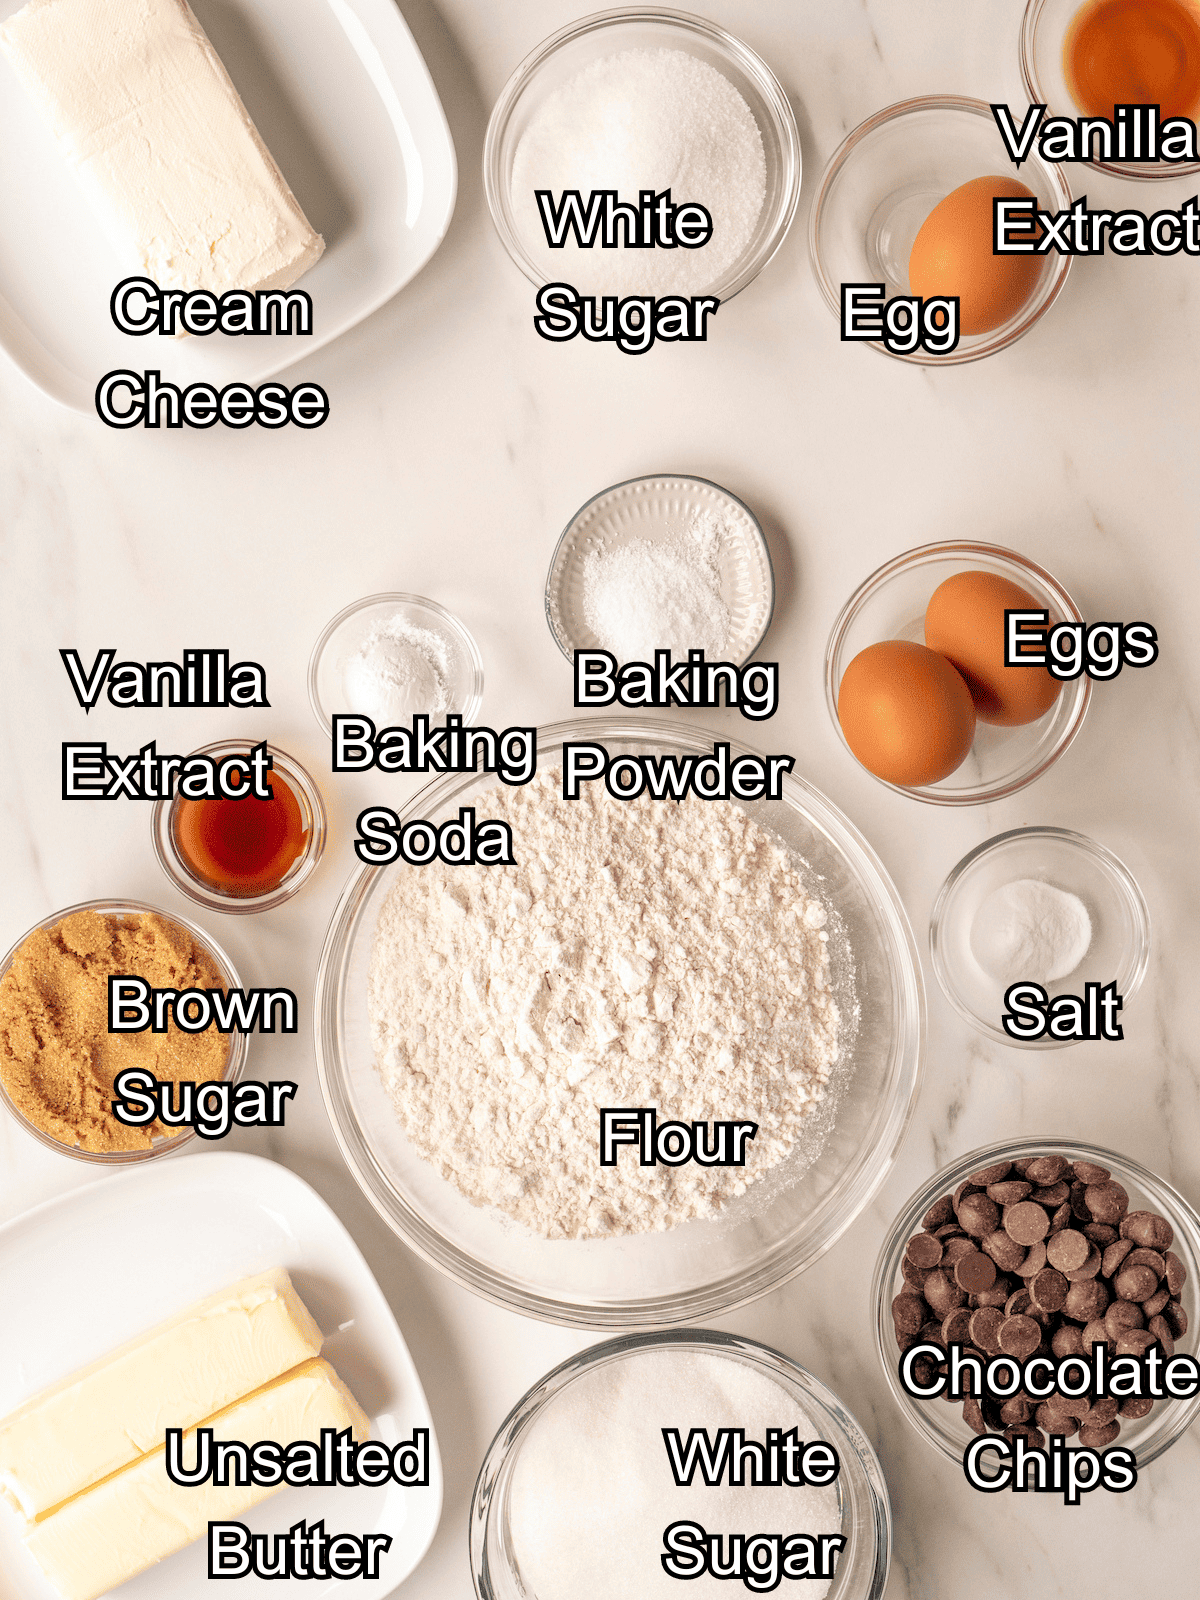
Substitutions & Swaps
🧈 Butter
- Salted Butter - You can use salted butter in place of unsalted butter; just omit the added salt in the cookie dough.
🍫 Chocolate Chips
- Dark or Milk Chocolate Chips - Either works in place of semi-sweet chocolate chips depending on how sweet you want the finished bars.
- Chocolate Chunks - Chopped chocolate or chocolate chunks create larger pockets of melted chocolate throughout the cookie layers.
- Chopped Walnuts or Pecans - Replace some of the chocolate chips with chopped nuts if you want a little extra crunch.
🧀 Cream Cheese
- Neufchâtel Cheese - This can be used in place of regular cream cheese for a slightly lighter option while still giving the cheesecake layer a similar texture.
- For best results, stick with block-style cream cheese rather than whipped cream cheese from a tub. The extra moisture in whipped cream cheese can affect how the cheesecake layer sets.
🌾 All-Purpose Flour
- 1:1 Gluten-Free All-Purpose Flour - A cup-for-cup gluten-free baking blend containing xanthan gum can be used in place of the all-purpose flour.
How to Make Cheesecake Cookie Bars
Cookie Dough
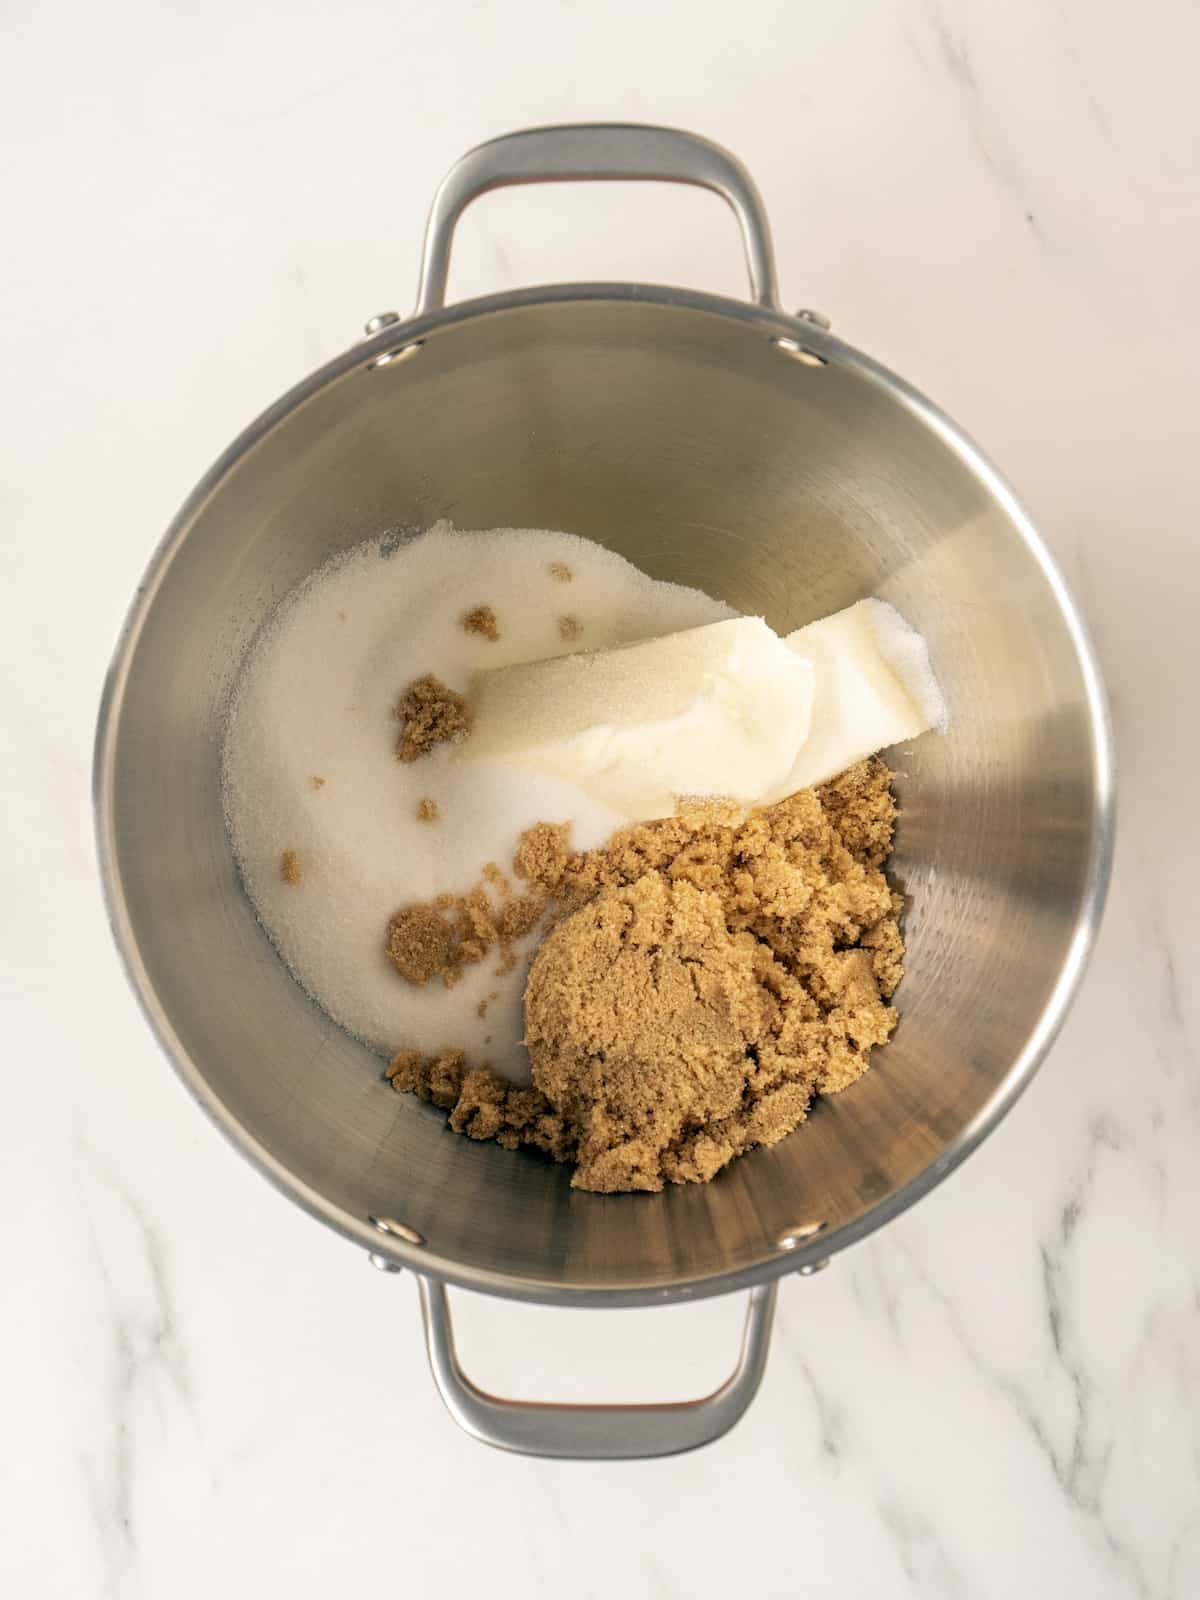
Step 1: Cream together the butter and sugars in a large stand mixer
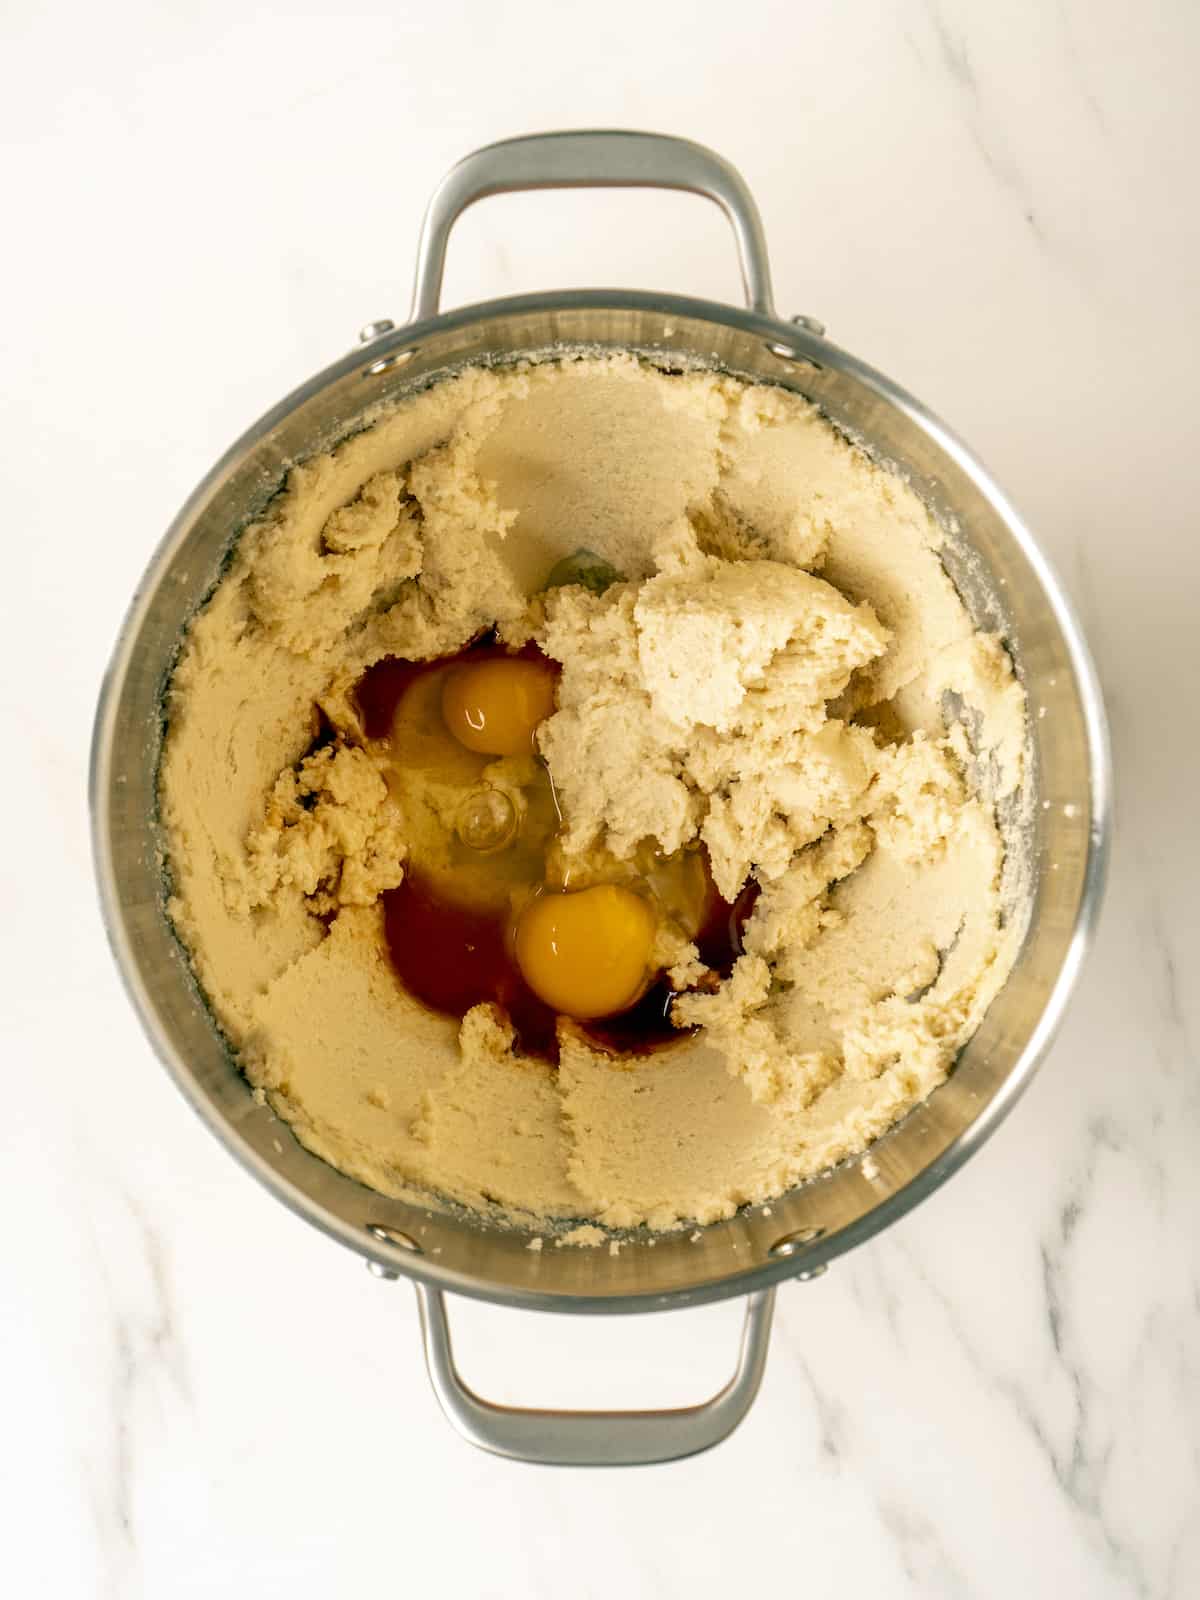
Step 2: Add the eggs and vanilla, making sure to scrape down the sides of the mixing bowl
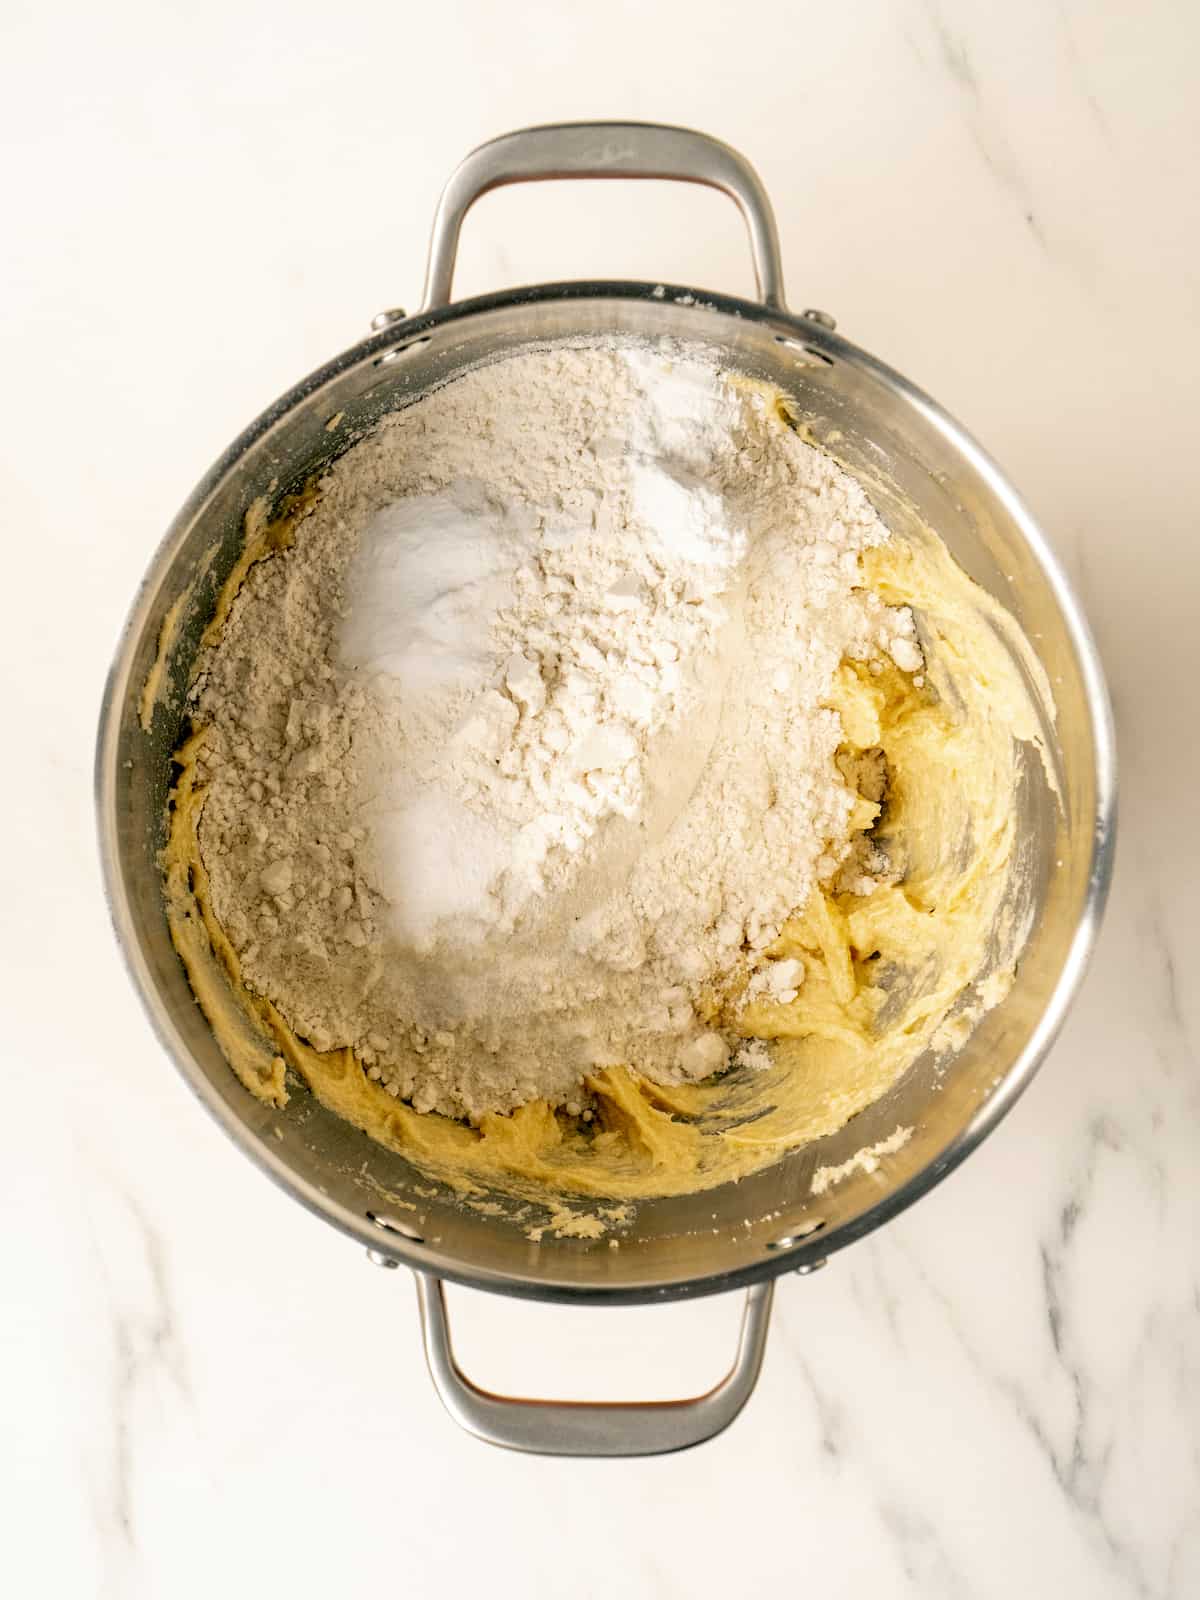
Step 3: Add the flour, salt, baking soda, and baking powder, and mix on low until everything is incorporated.
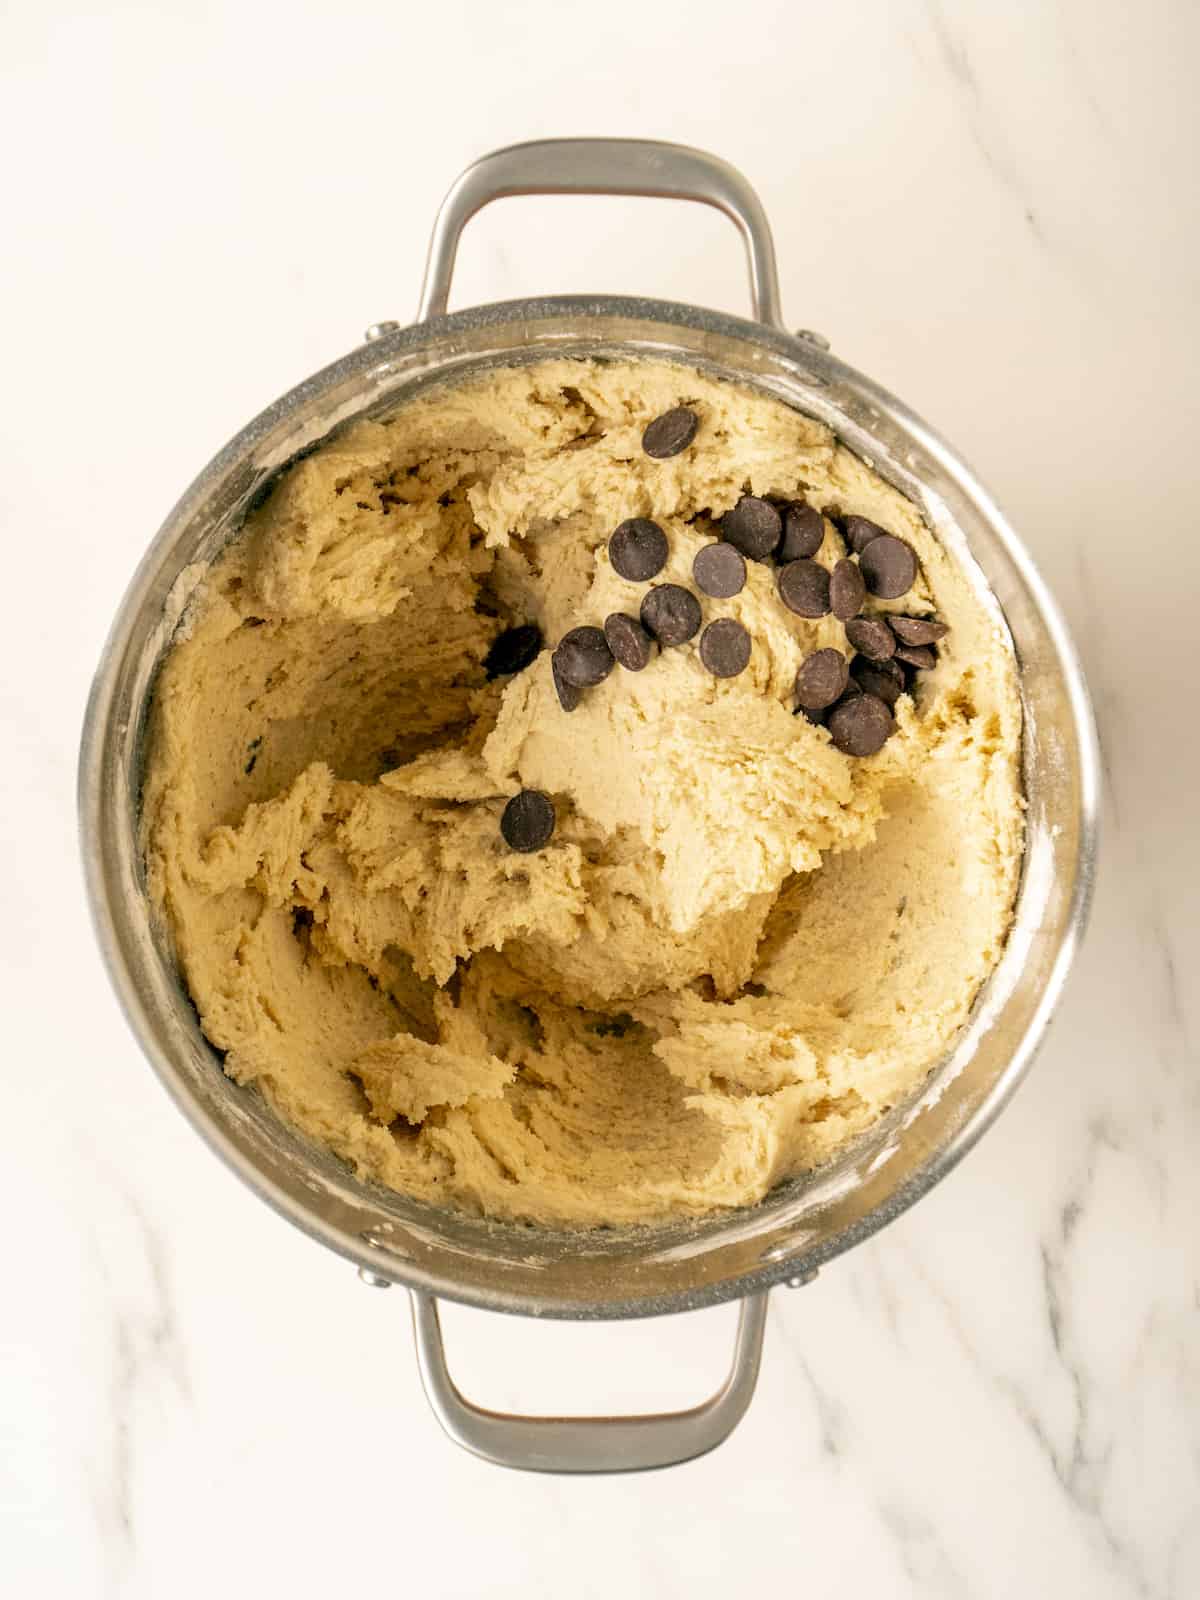
Step 4: Toss in a handful of the chocolate chips and mix for a quick second. Chill the dough while you make the cheesecake layer.
Cheesecake
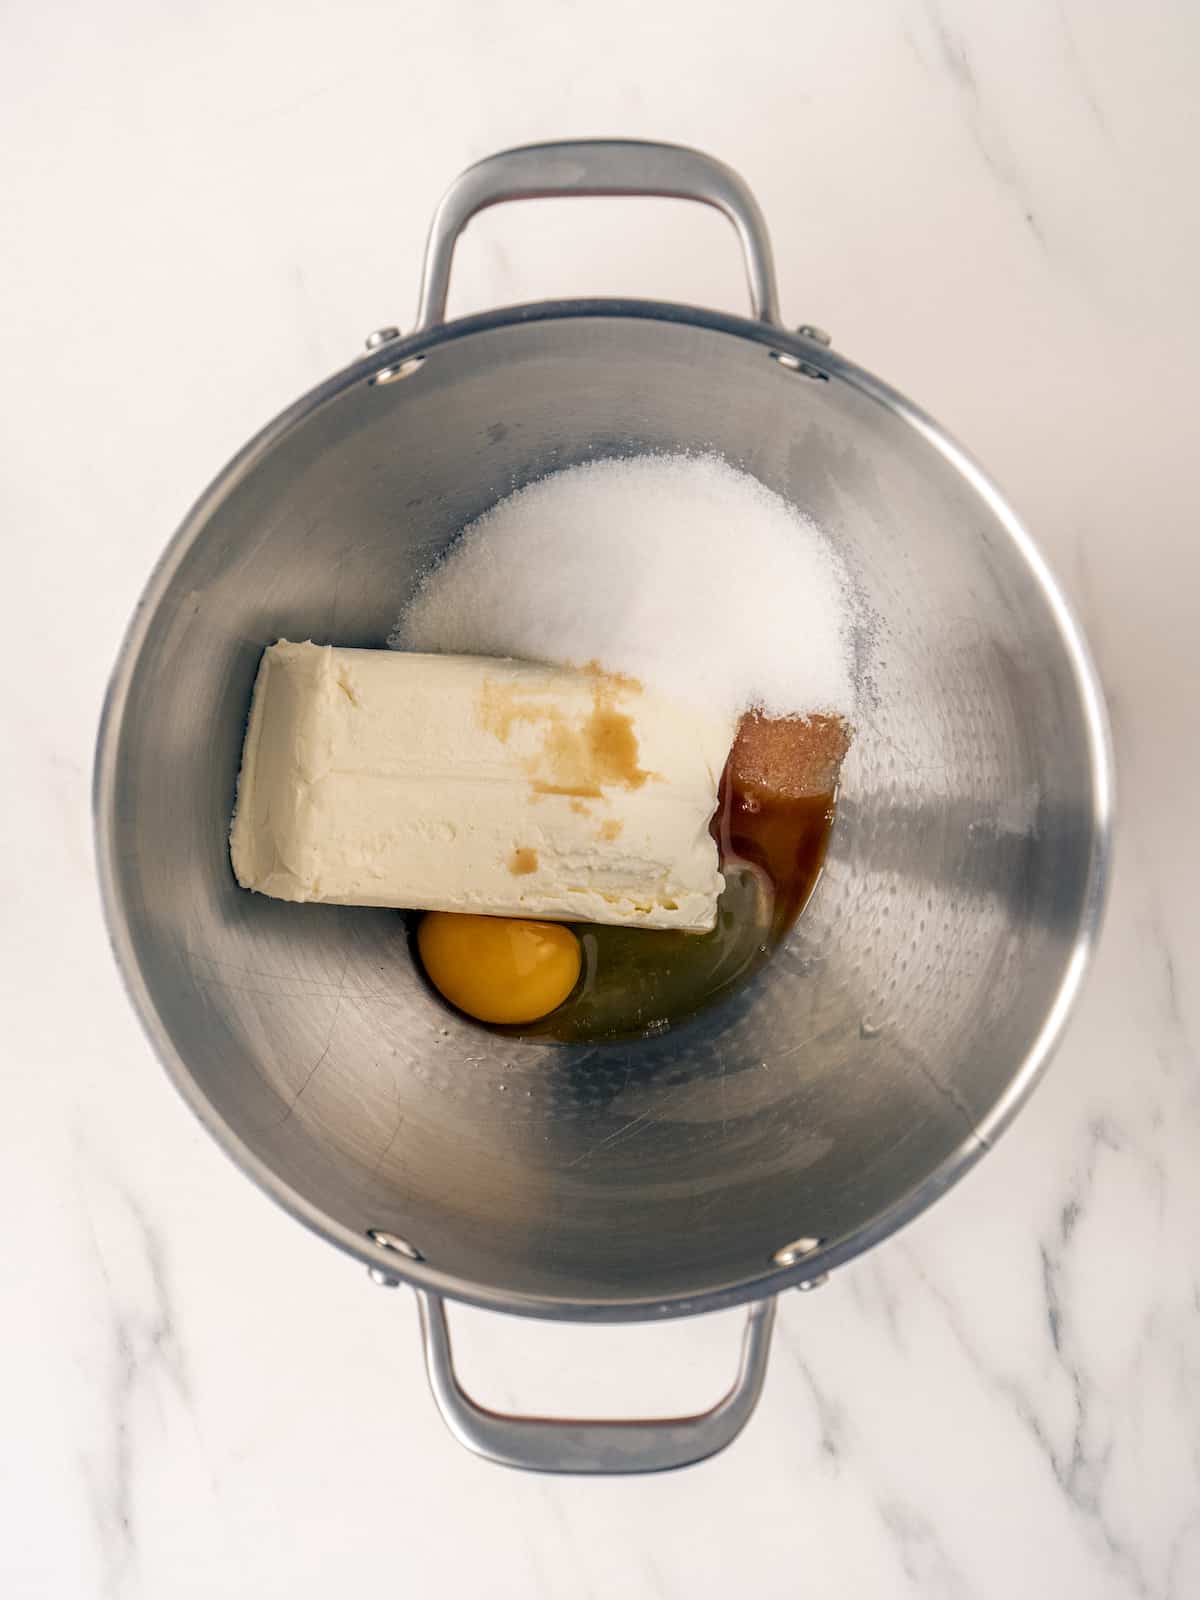
Step 1: Whip together the cream cheese, sugar, egg, and vanilla for 3 minutes until everything is evenly combined and smooth.
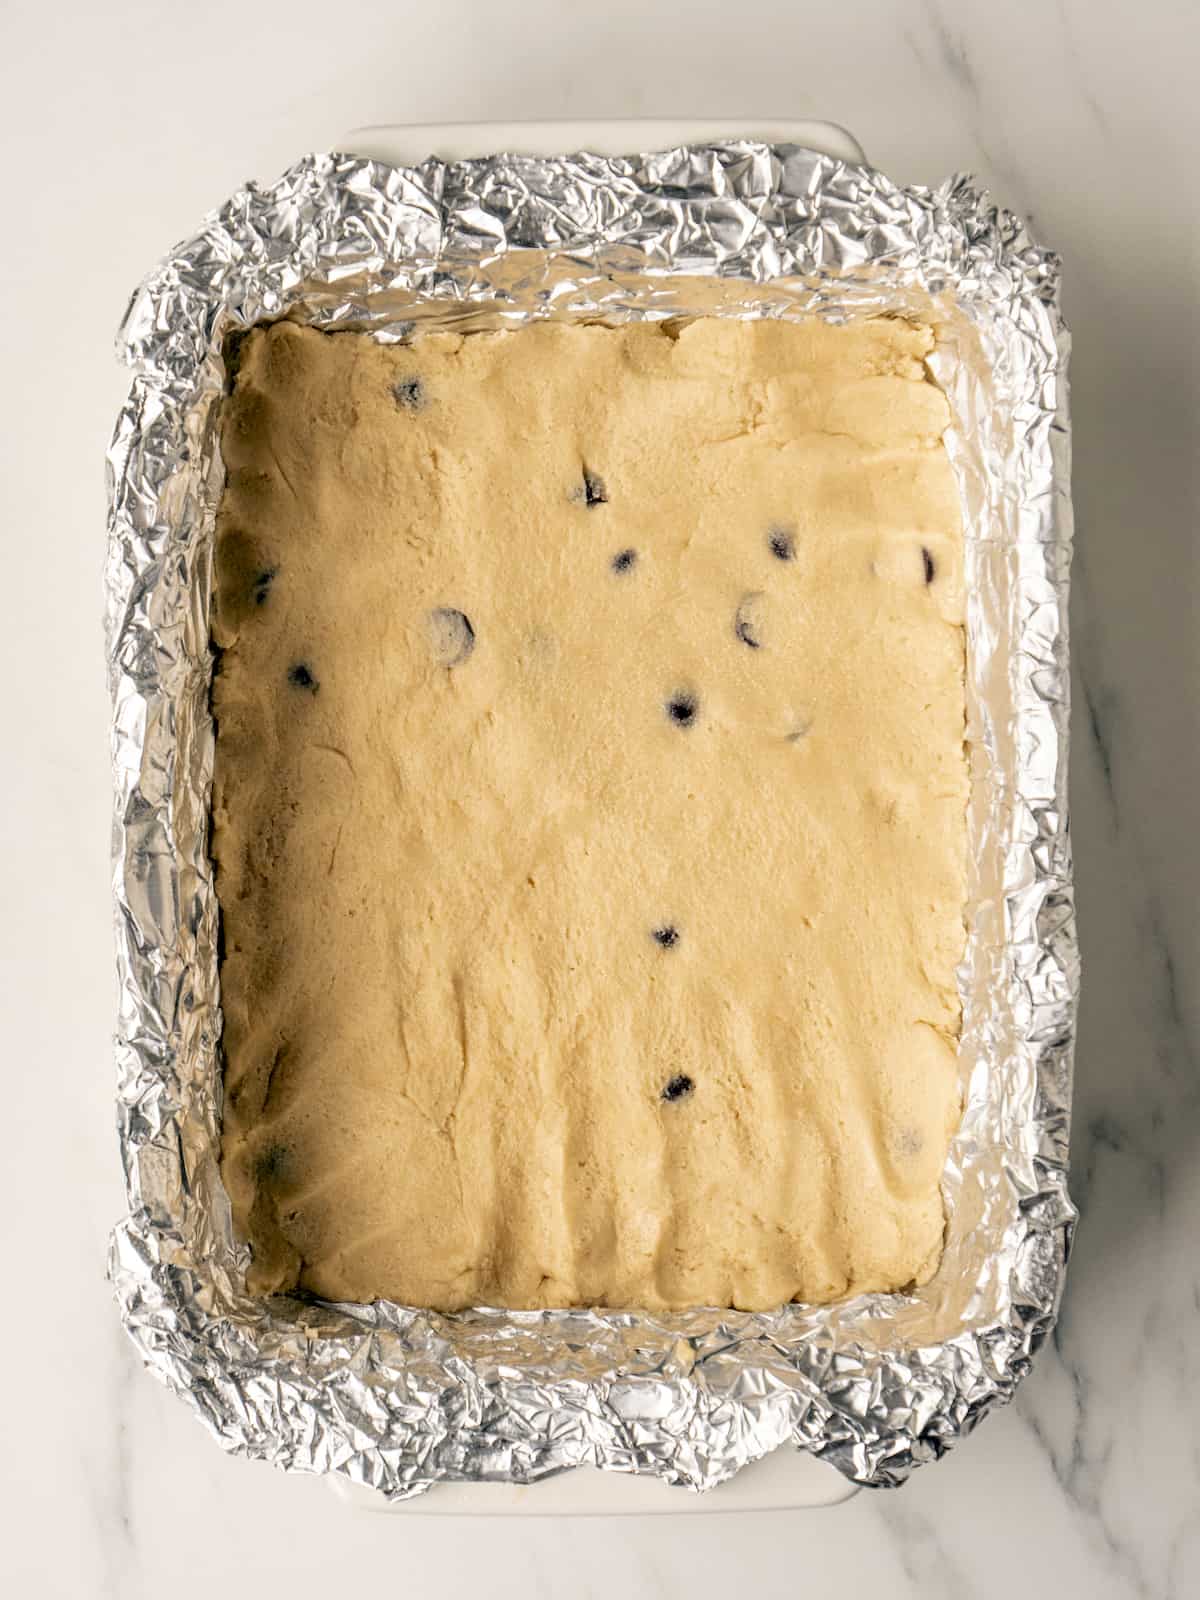
Step 2: Preheat your oven to 350 degrees F. Line a 9x13 baking pan with tin foil and spray it with non-stick baking spray. Press ½ of the cookie dough mixture into the bottom of the pan to make 1 even layer.
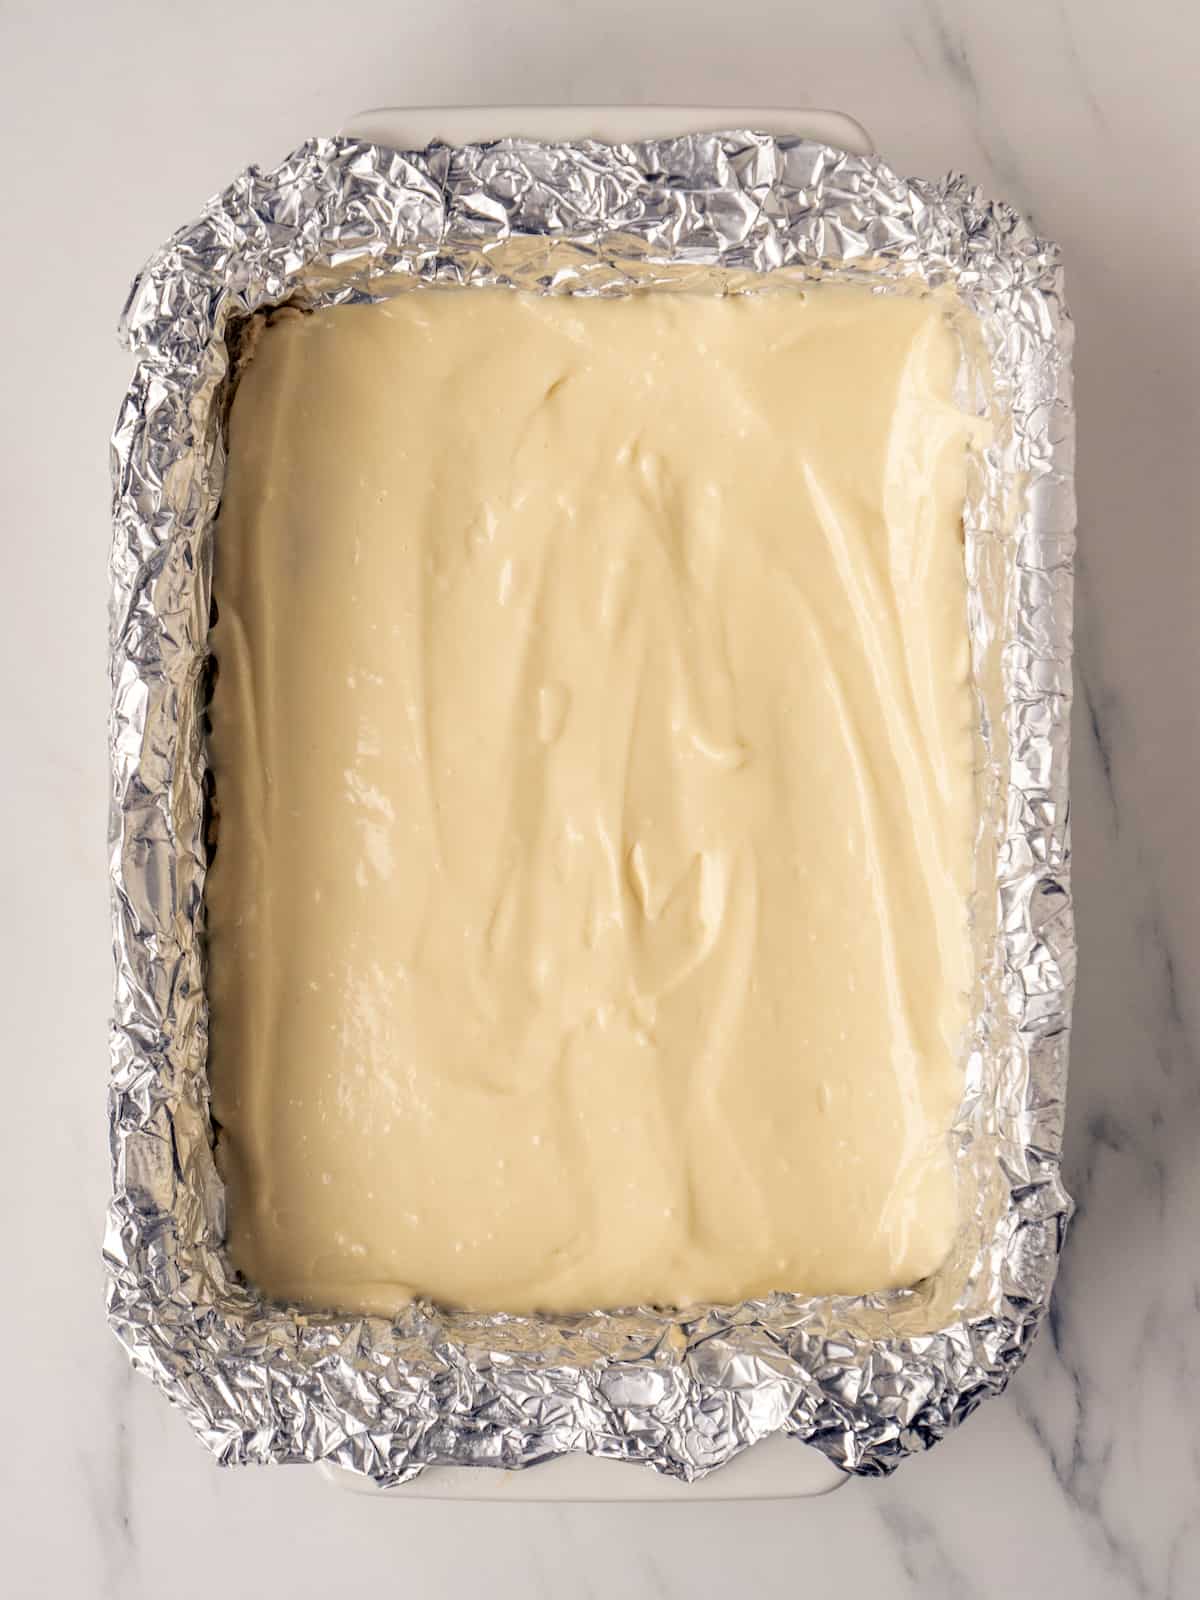
Step 3: Spread the cheesecake mixture on top of the cookie dough.
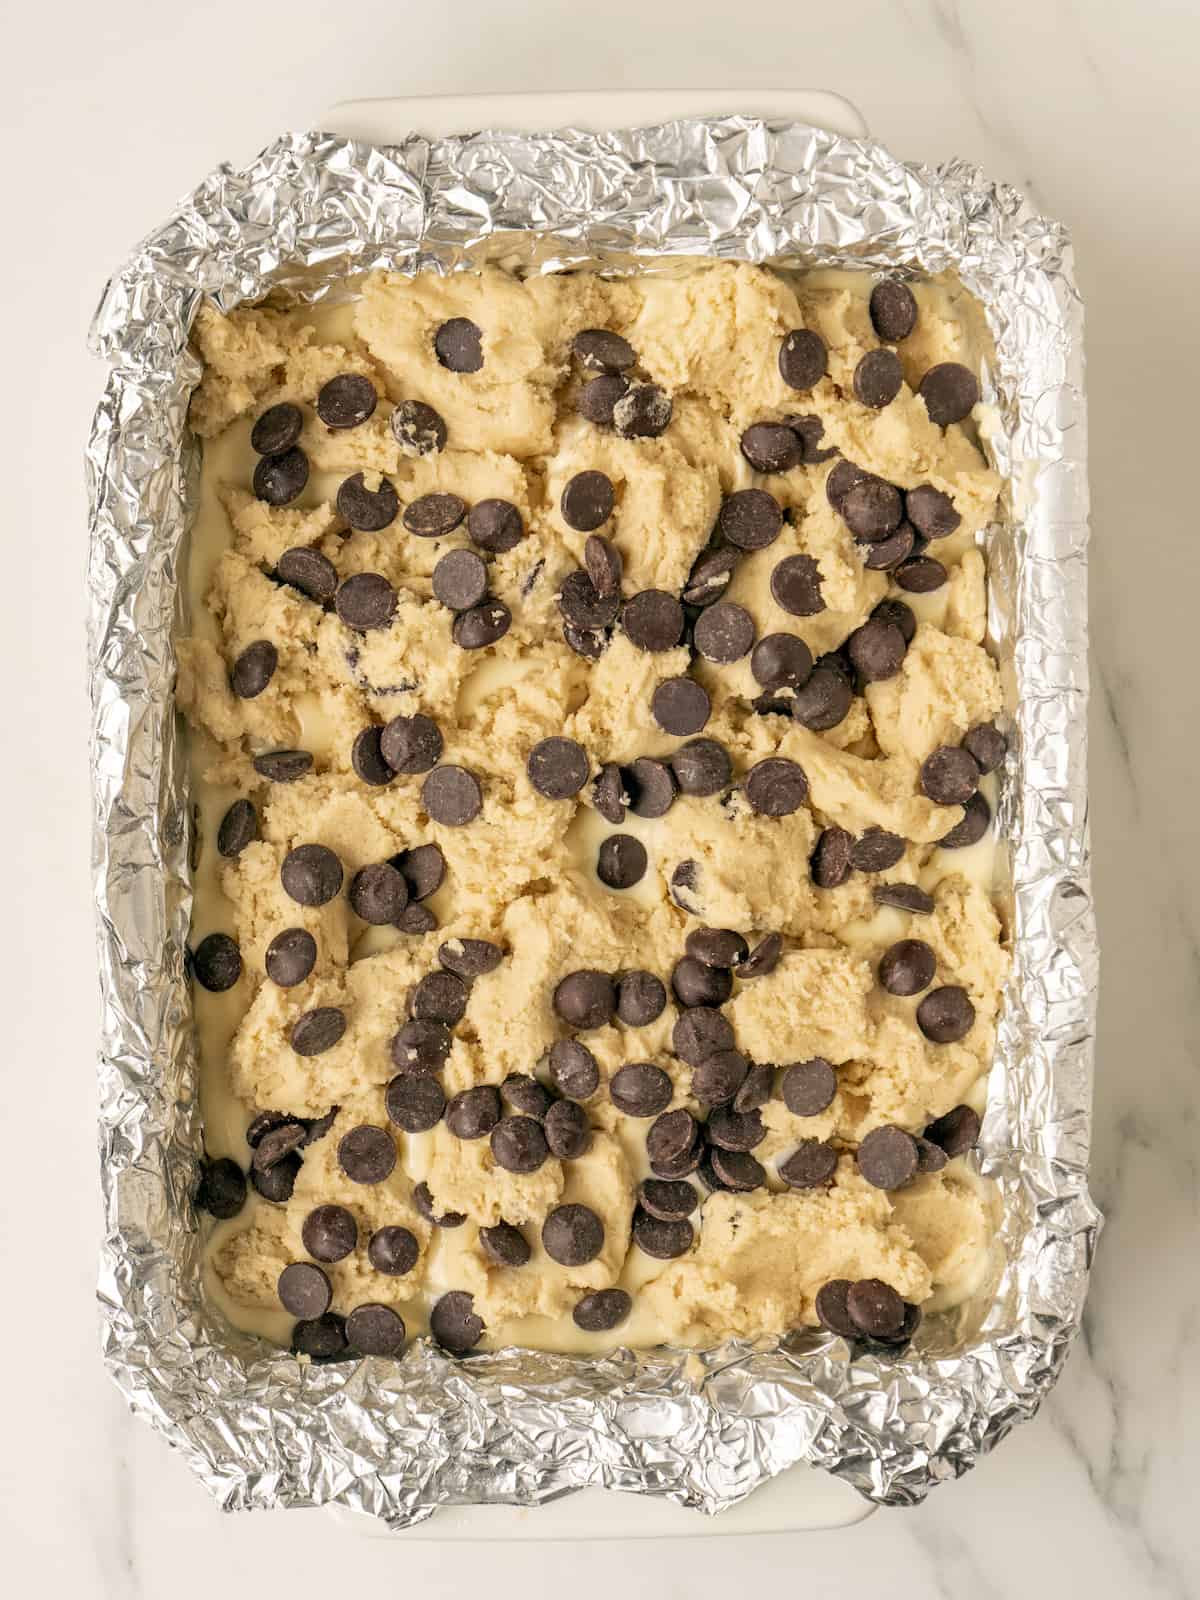
Step 4: Crumble and sprinkle the remaining cookie dough on top of the cheesecake mixture and then sprinkle with the remaining chocolate chips.
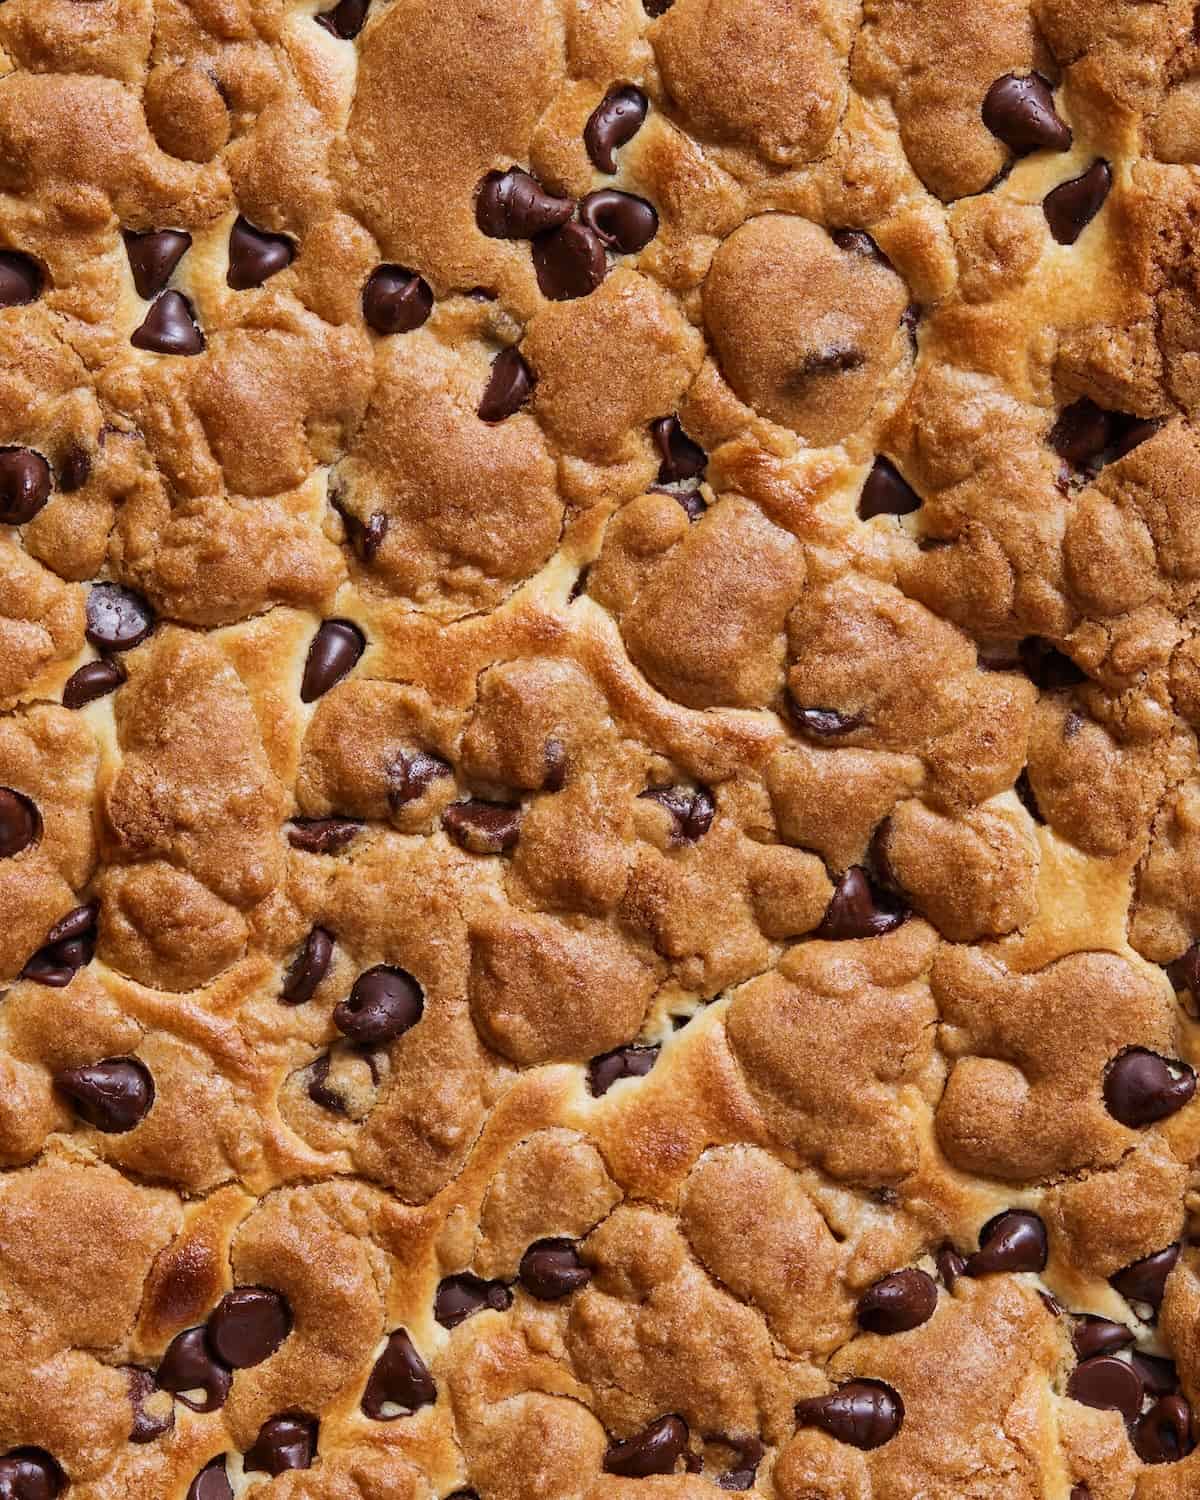
Step 5: Place it into the oven and bake for 40-45 minutes until the cookie dough is golden brown. The inner part of the dish might look a bit jiggly, but not to fear. Once the Cheesecake Cookie Bars have baked, remove them from the oven and let them cool on the counter for 30 minutes. Then transfer them to the fridge and cool completely for at least 2 hours. Cut and serve as needed.
🍪🧀🍫 Tips & Tricks for the Best Cheesecake Cookie Bars
Layers of chocolate chip cookie dough and creamy cheesecake baked together into the most indulgent bar you will ever put in your mouth.
- Start with room-temperature butter and cream cheese. Softened butter creams properly with the sugar, while softened cream cheese blends into a smooth cheesecake filling without lumps.
- Chill the cookie dough before assembling the bars. Cold dough is easier to press into the pan and crumble over the cheesecake layer without sticking to your hands.
- Line the pan with foil and spray it well. The foil acts as a sling, making it much easier to lift the chilled bars from the pan and cut them cleanly.
- Press the bottom cookie layer evenly into the pan. Keep the thickness as uniform as possible so the cookie base bakes evenly from edge to center.
- Crumble the remaining cookie dough over the cheesecake rather than pressing it flat. Irregular pieces create the craggy, golden cookie topping while leaving some of the cheesecake layer exposed.
- Don't overbake the bars. Pull them from the oven when the cookie topping is golden brown. The center may still look slightly jiggly, but it will continue to set as the bars cool and chill.
- Give them the full cooling and chilling time. Let the bars cool for 30 minutes at room temperature, then refrigerate for at least 2 hours so the cheesecake layer can set completely.
- Use a sharp knife for clean slices. Once the bars are thoroughly chilled, lift them from the pan and wipe the knife clean between cuts for neat, distinct layers.
Cheesecake Cookie Bars FAQs
What are Cheesecake Cookie Bars?
Cheesecake Cookie Bars combine two desserts in one: chocolate chip cookie dough layered with a creamy cheesecake filling and more cookie dough on top. They bake together in a 9x13 pan, then chill until the cheesecake layer is completely set.
Do Cheesecake Cookie Bars need to be refrigerated?
Yes. Because of the cream cheese filling, Cheesecake Cookie Bars should be stored covered in the refrigerator. They'll keep well for up to 5 days.
Can I make Cheesecake Cookie Bars ahead of time?
Absolutely. These bars are a great make-ahead dessert because they need at least 2 hours in the refrigerator to set before slicing. You can make them the day before, refrigerate overnight, and slice when you're ready to serve.
How do I know when Cheesecake Cookie Bars are done?
Bake until the cookie dough on top is golden brown, about 40 to 45 minutes. The center may still look slightly jiggly, but it will continue to set as the bars cool and chill. Avoid overbaking, which can dry out the cheesecake layer.
Can I freeze Cheesecake Cookie Bars?
Yes. Once completely cooled and chilled, cut the bars and freeze them in an airtight container with parchment between the layers. Thaw overnight in the refrigerator before serving.
Why do I need to chill the bars before cutting them?
Chilling gives the cheesecake layer time to fully set and makes the bars much easier to slice cleanly. Refrigerate them for at least 2 hours before lifting them from the pan and cutting into squares.
Cheesecake Cookie Bars
Ingredients
For the Cookie Layer
- 1 cup unsalted butter at room temperature
- ½ cup brown sugar
- 1 ½ cups white sugar
- 2 eggs
- 2 ½ teaspoons vanilla extract
- 2 ½ cups all purpose flour
- 1 teaspoon salt
- 1 teaspoon baking soda
- 1 teaspoon baking powder
- 1 cup Chocolate Chips
For the Cheesecake Layer
- 8 oz cream cheese room temp
- ½ cup white sugar
- 1 egg
- 1 teaspoon vanilla extract
Instructions
For the Cookie Layer
- Cream together the butter and sugars in a large stand mixer for 3 minutes. Add the eggs and vanilla, making sure to scrape down the sides of the mixing bowl. Add the flour, salt, baking soda, and baking powder, and mix on low until everything is incorporated. Toss in a handful of the chocolate chips and mix for a quick second. Chill the dough while you make the cheesecake layer.
For the Cheesecake Layer
- Whip together the cream cheese, sugar, egg, and vanilla for 3 minutes until everything is evenly combined and smooth.
- Preheat your oven to 350 degrees F.
- Line a 9x13 baking pan with tin foil and spray it with non-stick baking spray.
- Press ½ of the cookie dough mixture into the bottom of the pan to make 1 even layer.
- Spread the cheesecake mixture on top of the cookie dough.
- Crumble and sprinkle the remaining cookie dough on top of the cheesecake mixture and then sprinkle with the remaining chocolate chips.
- Place it in the oven and bake for 40-45 minutes until the cookie dough is golden brown. The inner part of the dish might look a bit jiggly, but not to fear. Once the Cheesecake Cookie Bars have baked, remove them from the oven and let them cool on the counter for 30 minutes. Then transfer them to the fridge and cool completely for at least 2 hours. Cut and serve as needed.
Notes
- Start with room-temperature butter and cream cheese. Softened butter creams properly with the sugar, while softened cream cheese blends into a smooth cheesecake filling without lumps.
- Chill the cookie dough before assembling the bars. Cold dough is easier to press into the pan and crumble over the cheesecake layer without sticking to your hands.
- Line the pan with foil and spray it well. The foil acts as a sling, making it much easier to lift the chilled bars from the pan and cut them cleanly.
- Press the bottom cookie layer evenly into the pan. Keep the thickness as uniform as possible so the cookie base bakes evenly from edge to center.
- Crumble the remaining cookie dough over the cheesecake rather than pressing it flat. Irregular pieces create the craggy, golden cookie topping while leaving some of the cheesecake layer exposed.
- Don't overbake the bars. Pull them from the oven when the cookie topping is golden brown. The center may still look slightly jiggly, but it will continue to set as the bars cool and chill.
- Give them the full cooling and chilling time. Let the bars cool for 30 minutes at room temperature, then refrigerate for at least 2 hours so the cheesecake layer can set completely.
- Use a sharp knife for clean slices. Once the bars are thoroughly chilled, lift them from the pan and wipe the knife clean between cuts for neat, distinct layers.
Nutrition Information (estimated)
Photo by Matt Armendariz / Food Styling by Adam Pearson / Recipe from What’s Gaby Cooking





These would give me enough energy to climb mountains!! Will have to test out my theory!!
These look so yummy! I'm from UK and so M&Ms aren't so easily sourced (apart from M&M World) so does anyone know if I can just substitute the M&Ms for Smarties? They are just milk chocolate balls covered in a coloured sugar shell? THANKYOU!
you could use any kind of candy you want for sure!!
These are adorable! It looks like the perfect dessert to give to someone as a gift. I love it!
Wow! These look just lovely. I also did a lot of baking and cooking this week...and I'm ready for some take-out. Then again, I might just have to make a batch of these! I'm glad I found your blog! So many great treats here. Thank you for sharing!
Oh yum! My daughter would love these—she's an M&M freak! I'll have to whip up a batch for her!
Loved the flavors but lots of challenges in the baking. I felt there was way too much batter for a 9x9 pan but followed the instructions exactly. The bake time was way off and they were not done at 40 minutes, I went 50 and they were "jiggly" as stated so removed them, but found lots of under cooked (pretty much raw) areas when cutting the bars. The edges puffed way up and the center completely fell in after removing from the oven so I ended up with very few bars that were edible and presentable. A bigger pan could have made all the difference in the overall success of these. I really regret not using a 9x13. But going back to flavor, unbelievable good. My son and I really enjoyed these and would attempt again in the bigger pan.
Thanks for the feedback Deb! I'm going to test it in a 9x13 this week!
I tried these again today in the 9x13 pan and was much happier with the results. Used all green M&M's to keep them in touch with the currant holiday theme. Thanks for the tasty recipe!
yay!! glad they were green for St. Patty's Day! I wish I had some 🙂
Yum! These bars look great. I too try to cook a lot when I know I have a busy week ahead of me.
I've just pulled mine out of the oven, so haven't tasted yet. They smell and look delicious! I followed the recipe exactly, but put them in a 9x13 pan, and let my daughter have enough dough to make 2 large sugar cookies to decorate, and it STILL almost overflowed the 9X13 pan. I can't imagine cooking this in a 9X9. It's okay with me... more cookies to enjoy!
These bars look gorgeous and the recipe sounds easy. Happy V-Day, Gaby!
I used the 9x9 pan but mine are a lot thicker than yours look in the picture...did you change it when you made them?
Hi Elyse - hmmmmm no I didn't change anything when I made them. Have you let them cool for a bit? They will shrink down a bit as they cool. The sides of mine did get a bit thicker - but not so thick that it would make a huge difference. Let me know!
Mine are in the oven right now! Cannot wait to share with my 3 boys tomorrow for Valentine's Day. They look delicious.
Thanks Gaby!
yay!! hugs and kisses to the whole Whipple clan! Happy V-Day!
Hi Gaby! I have an 8x8 pan- any suggestions on cooking time or modifications to the recipe?!
I want one of these RIGHT. NOW.
Two of my favorites... Cheesecake & cookies! These sound and look amazing! Off to pin 🙂
The perfect treat for Valentines Day, or indeed any other day, as far as I am concerned!! Yum!