Chocolate lovers - this one is for you and it will NOT let you down! You know I love a chocolate brownie and a I love a pudding but this Chocolate Brownie Pudding is literally what your dreams are made of!
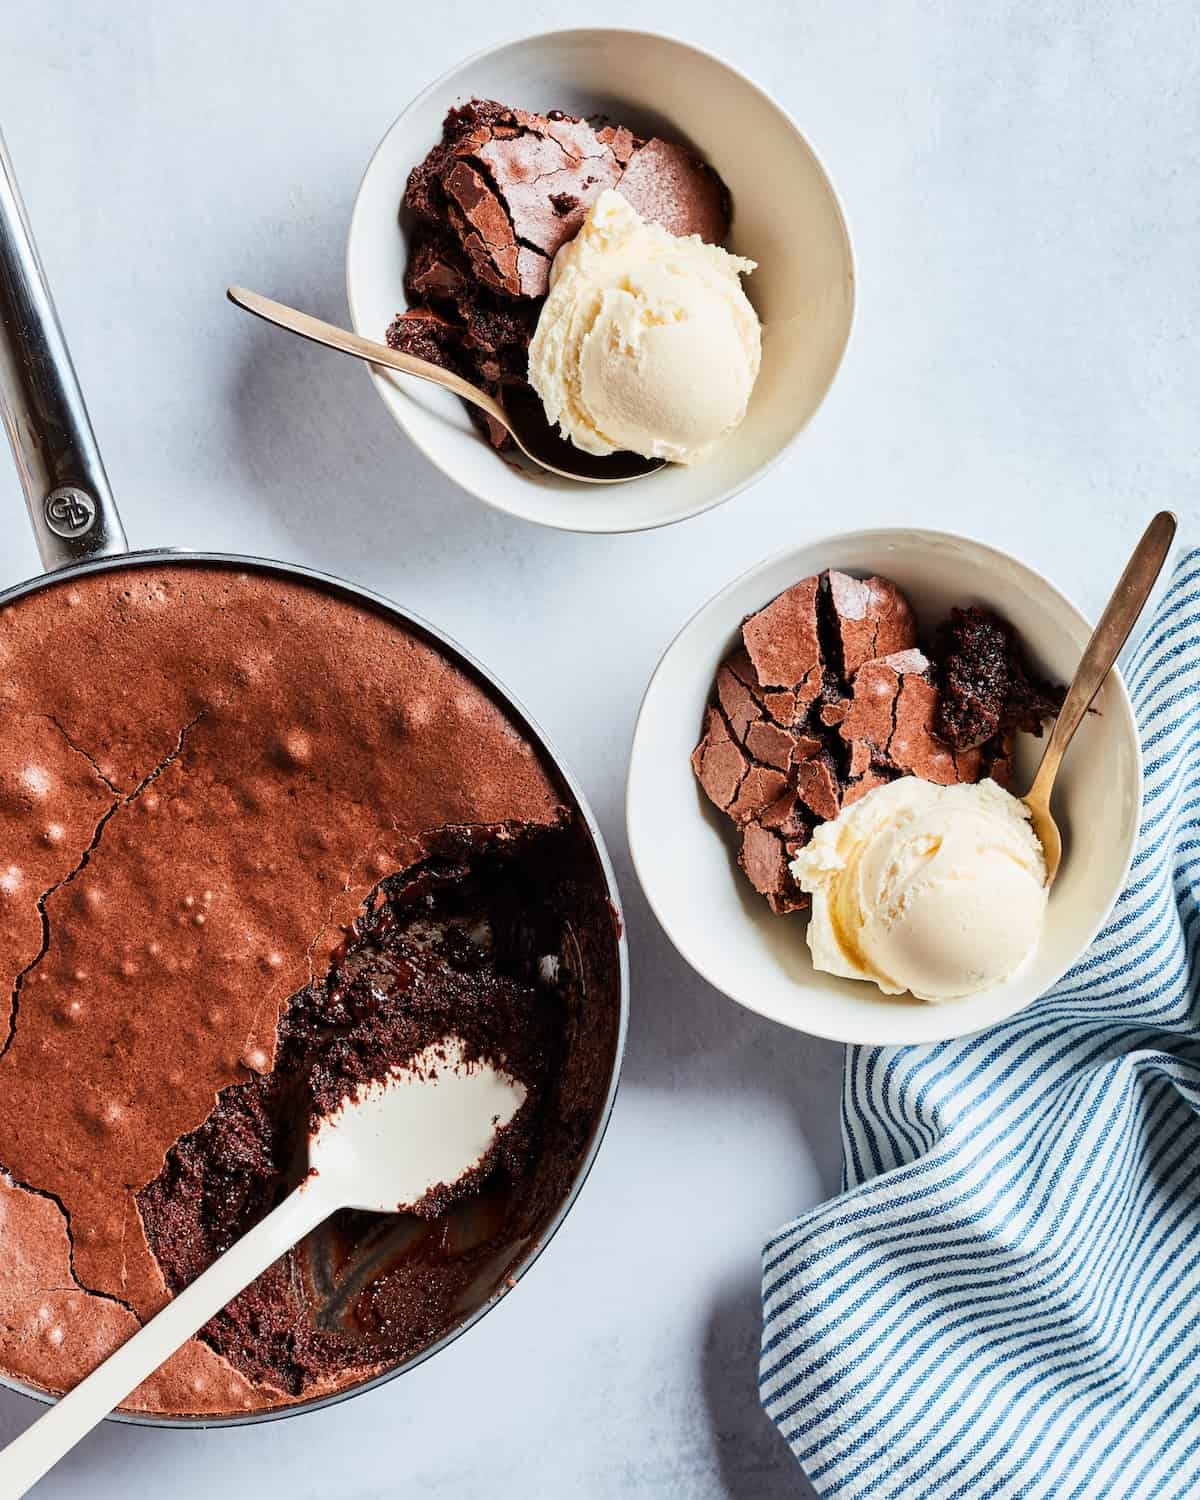
Table of Contents
Why I Love This Recipe
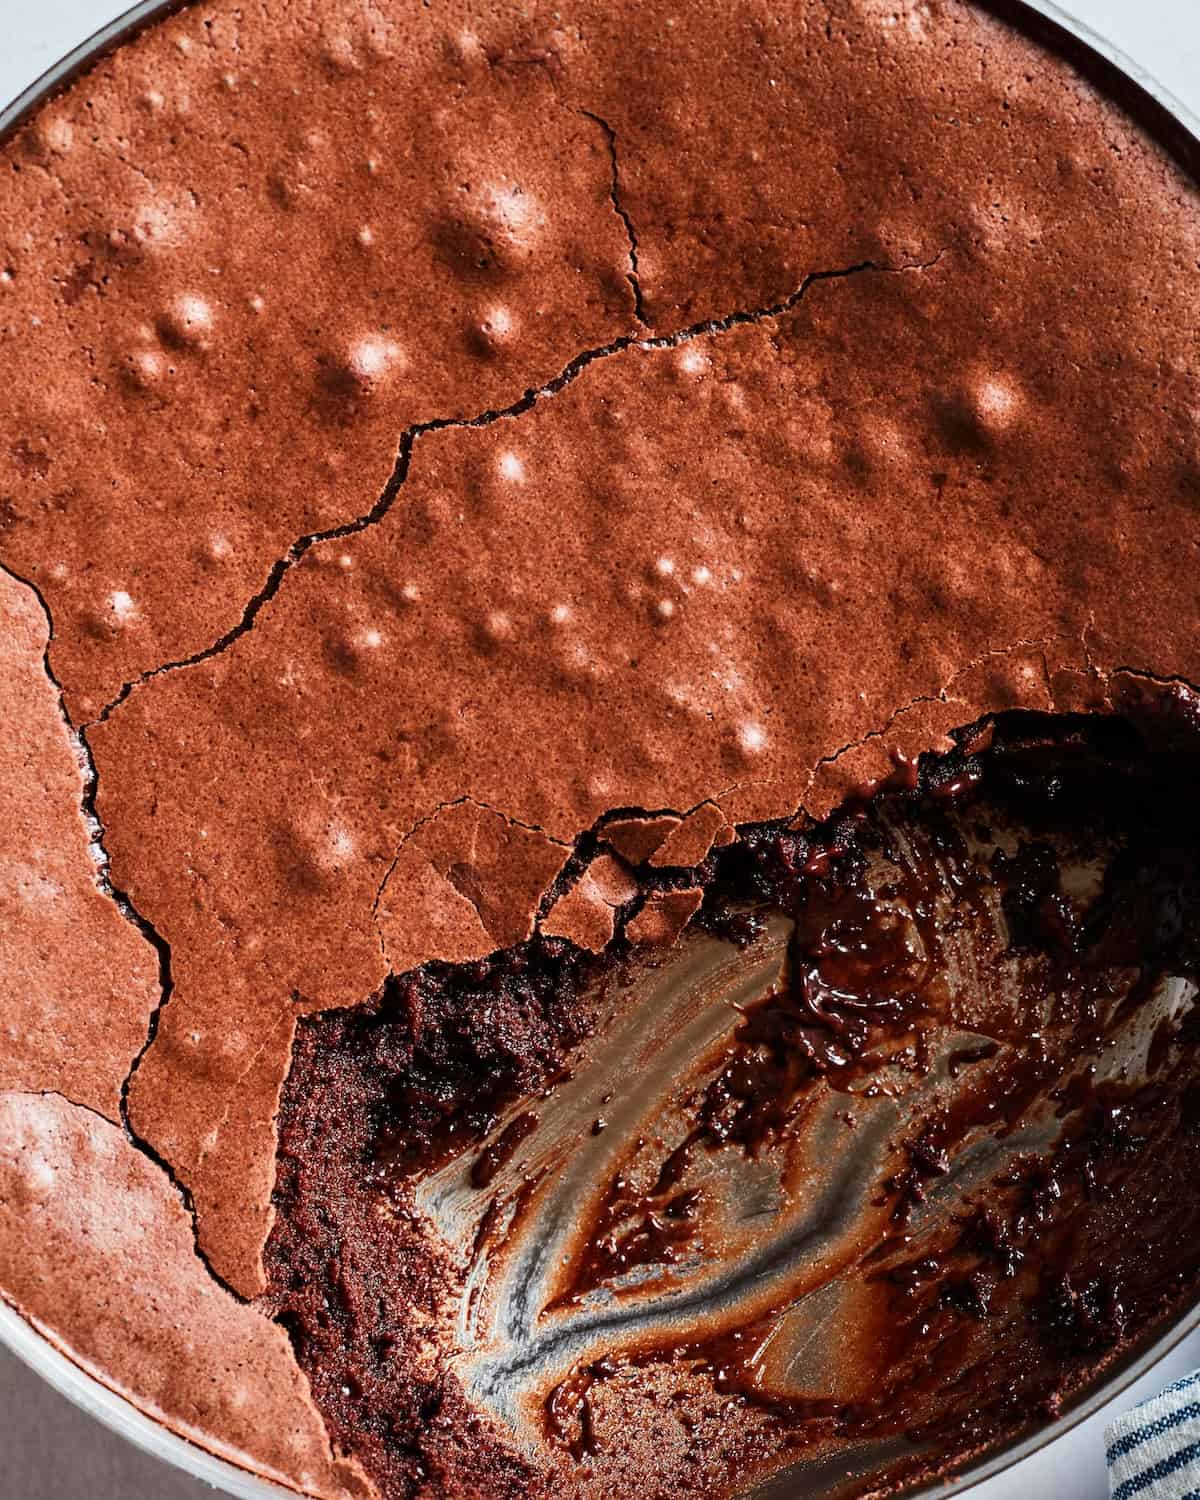
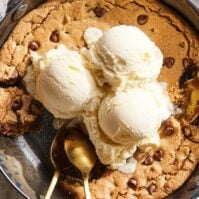
Chocolate Brownie Pudding is seriously the most decadent and rich dessert I have ever eaten in my entire life! And oh my gosh, is it good. I mean how can you go wrong with butter, sugar and chocolate with ice cream on top?! It's like a giant molten lava cake and it seriously makes enough to feed a small army. I made it just the 2 of us recently and let's be honest, it was an issue. I couldn't be responsible for my actions when left alone with this skillet. Things didn't end well for me or the Chocolate Brownie Pudding. So word to the wise, it's best shared.
And with that said, I leave you with the recipe and I will now go to the gym!
Another tip, if you are looking to make a gluten free dessert and love everything chocolate, try the flourless chocolate cake, which is similar and gluten-free.
Ingredients & Substitutions
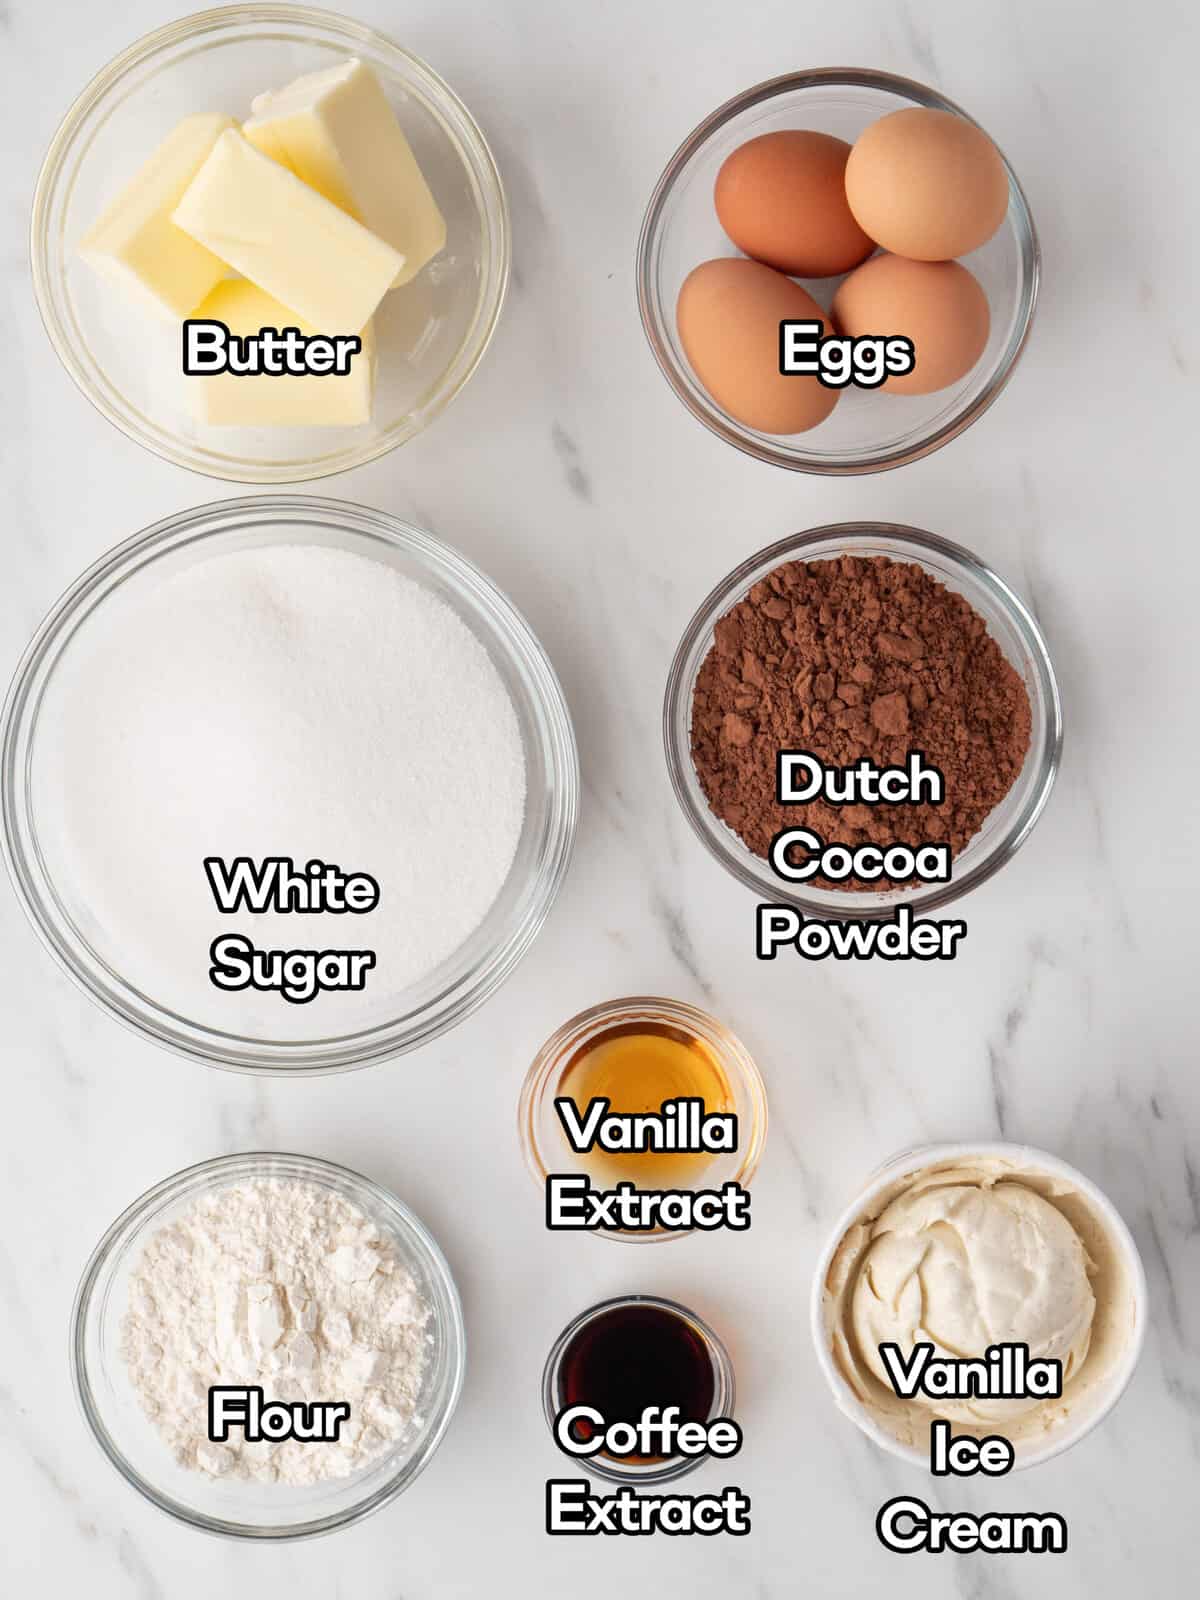
- Unsalted Butter
- Large Eggs
- White Sugar
- Dutch Cocoa Powder
- All Purpose Flour
- Vanilla Extract
- Coffee Extract
- Vanilla Ice Cream for serving
*For a full list of ingredients and instructions please see recipe card below.
How to Make Chocolate Brownie Pudding
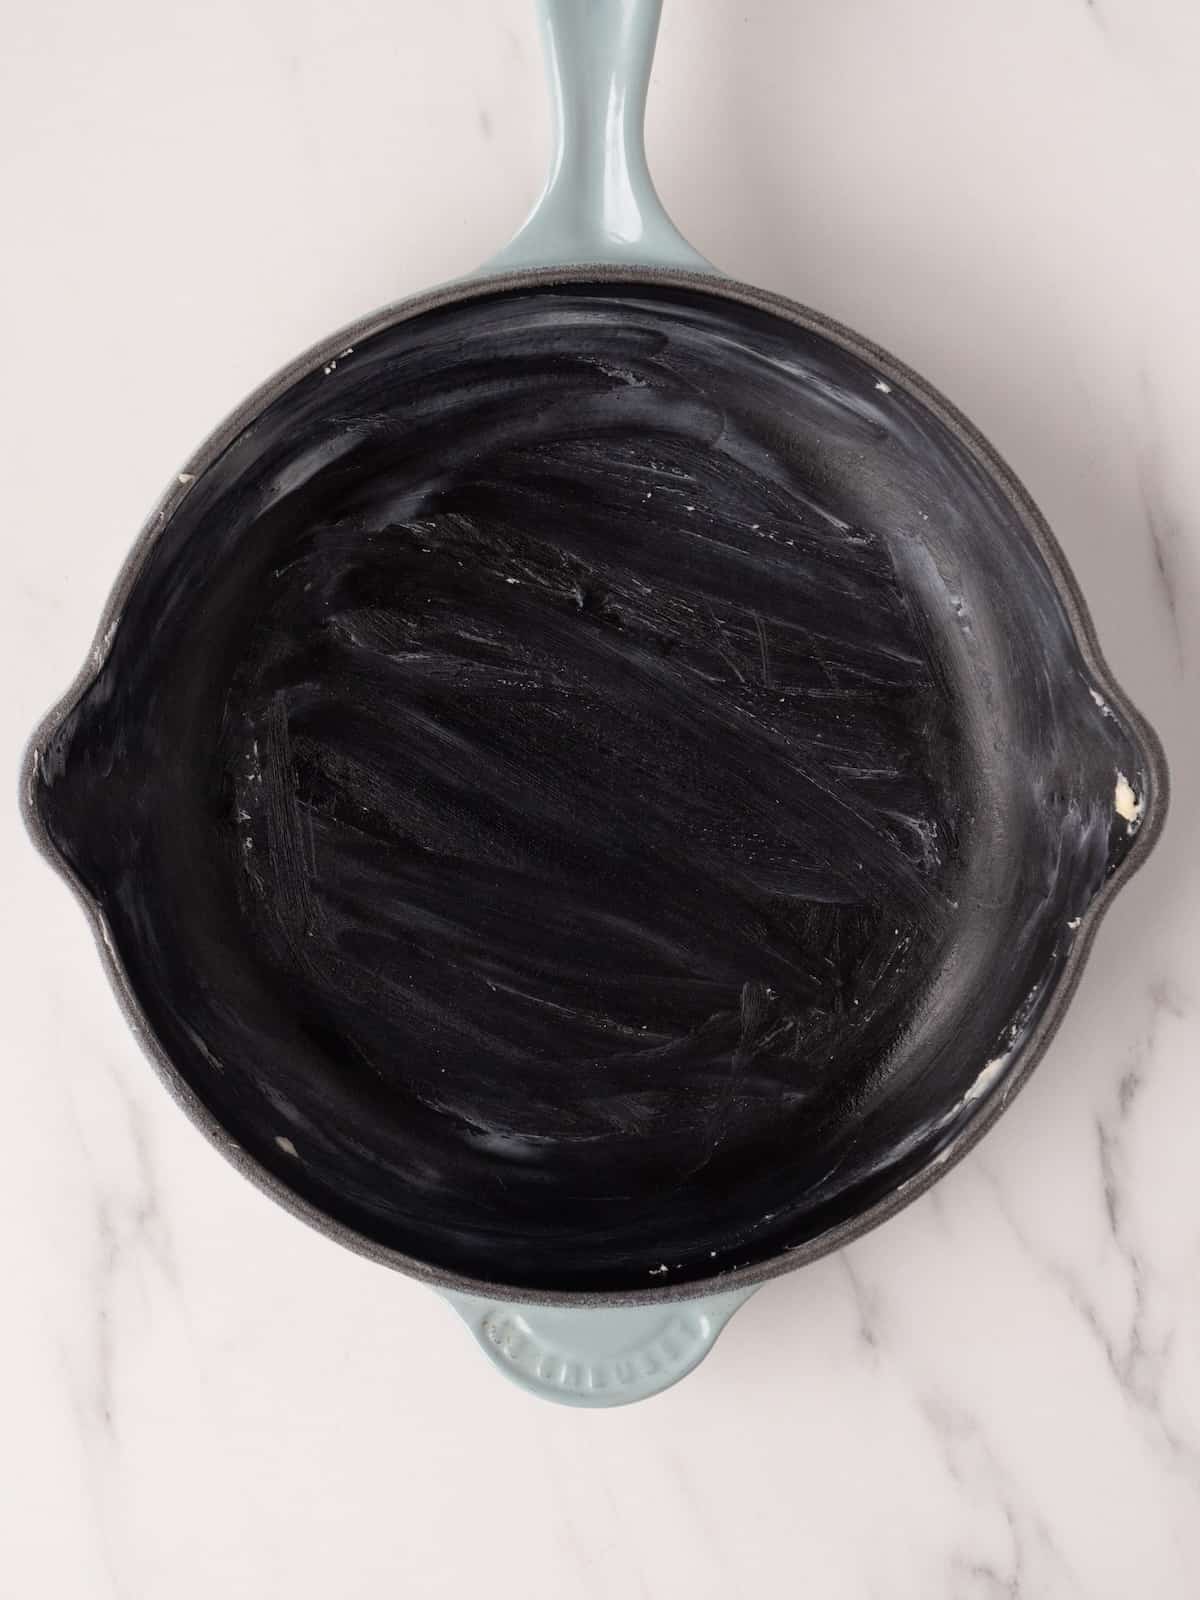
Step 1: Preheat the oven to 325 degrees F. Lightly butter a 9 inch skillet.
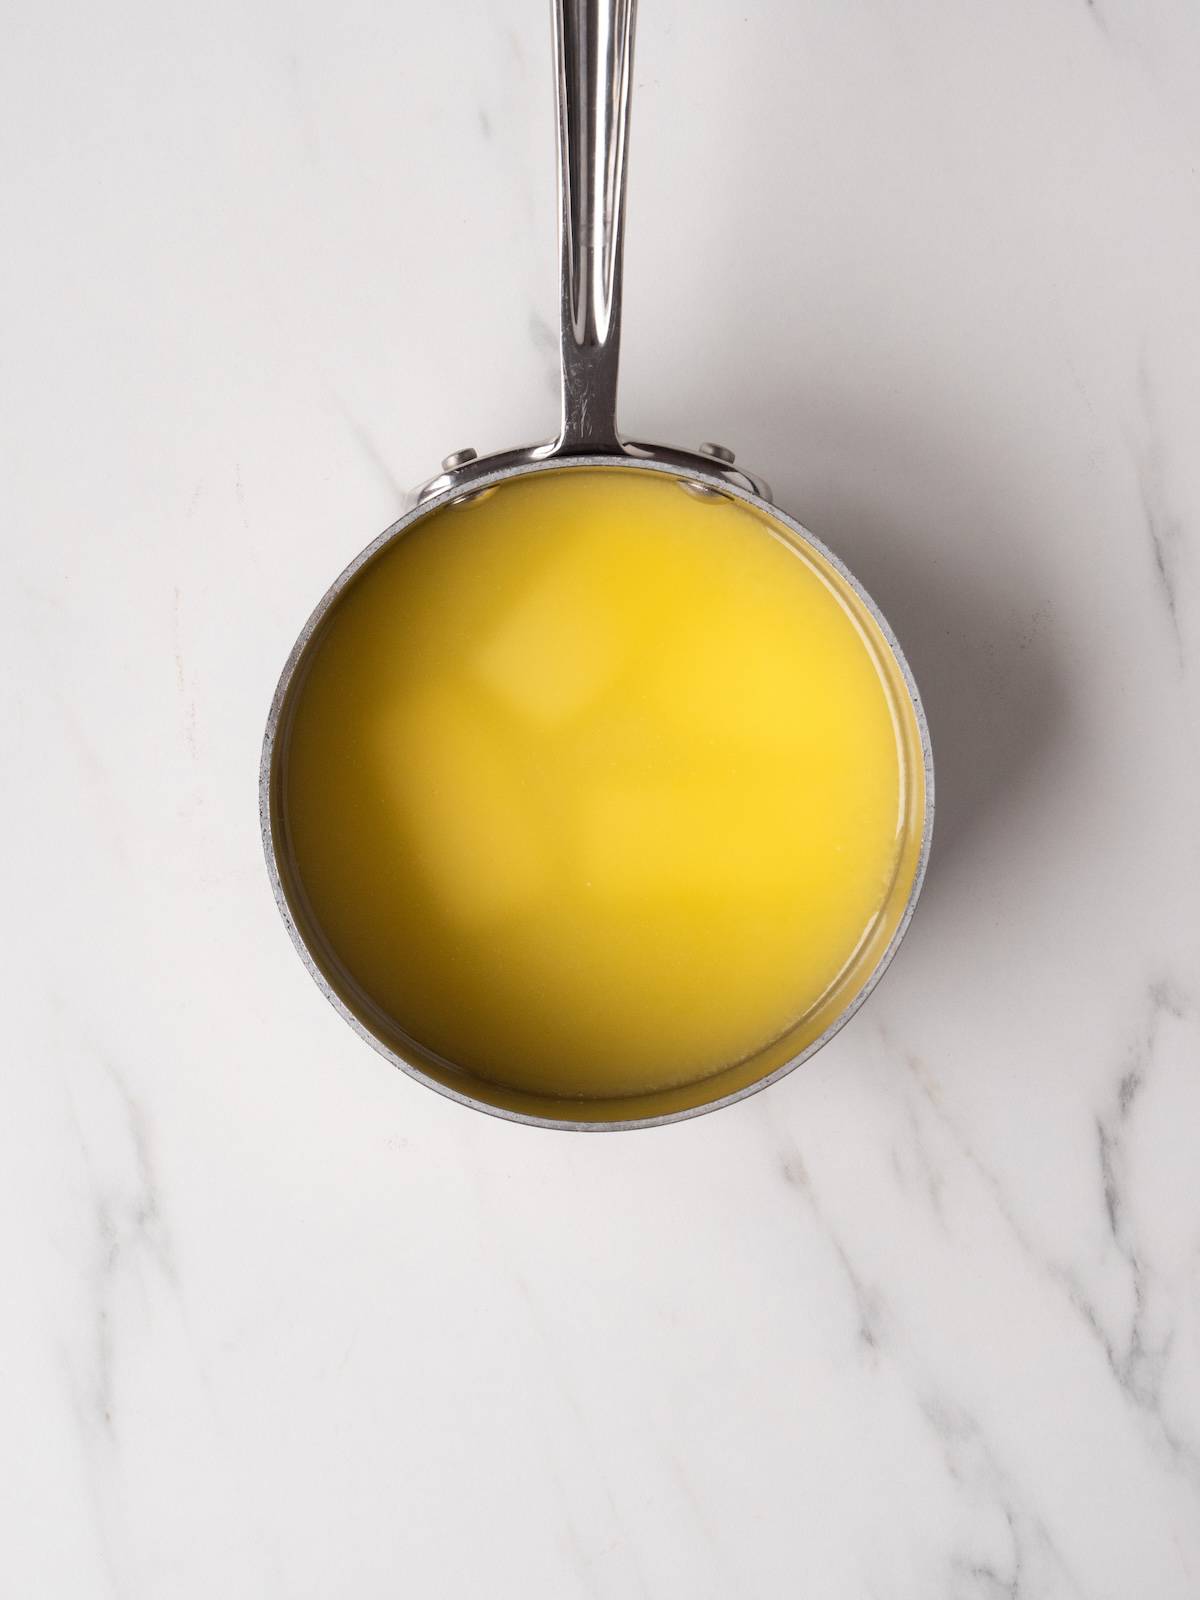
Step 2: Melt the butter and set aside to cool.
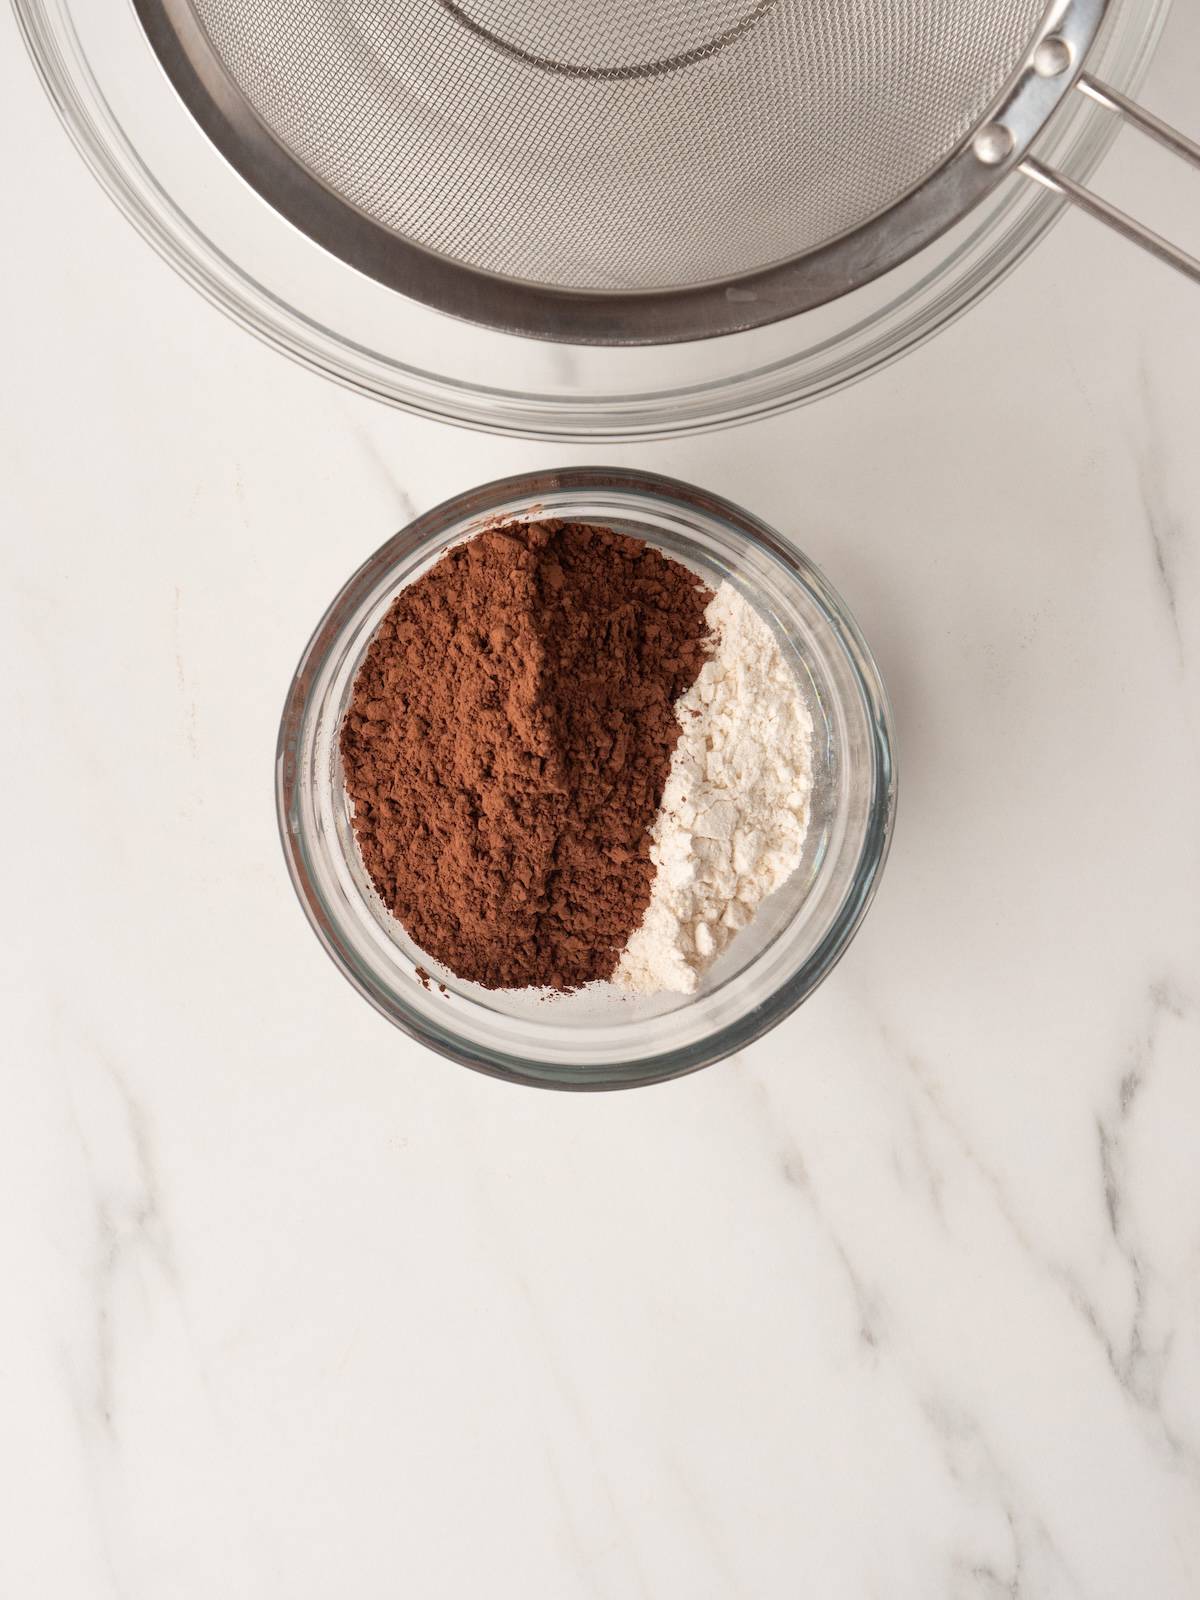
Step 3: Sift the cocoa powder and flour together and set aside.
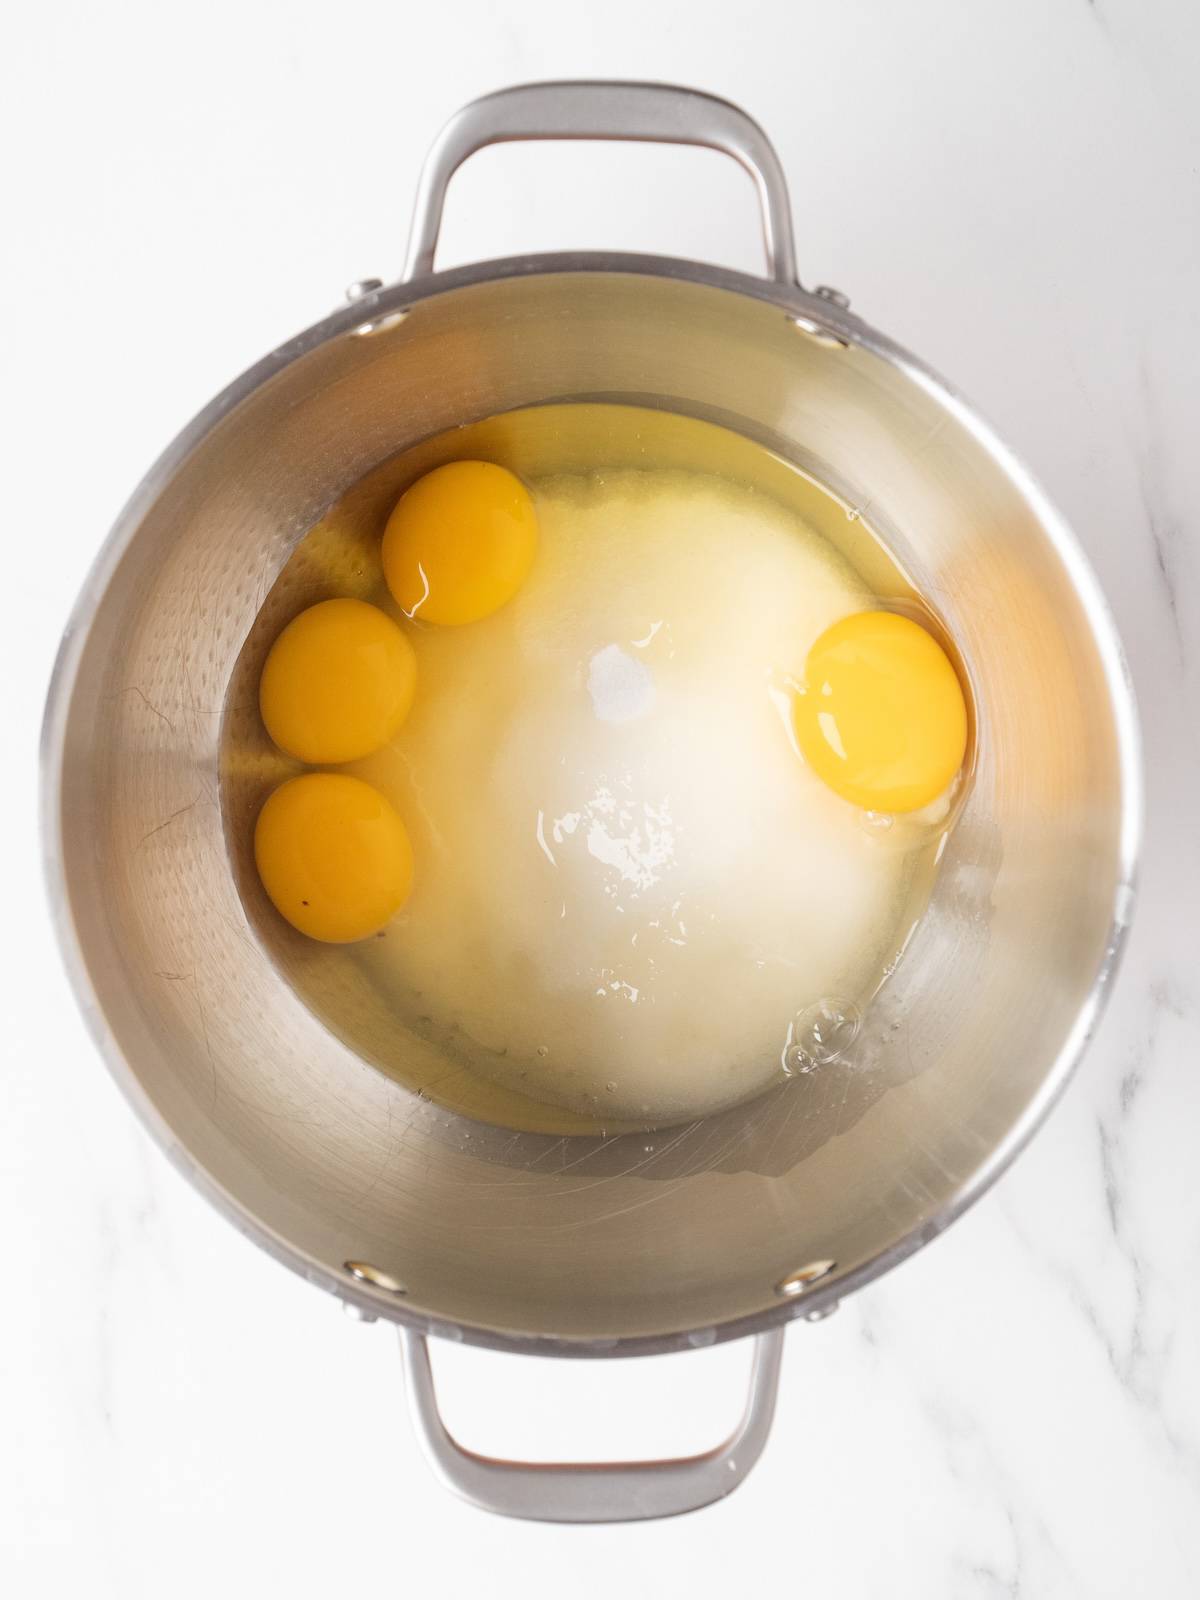
Step 4: In your mixer, beat the eggs and sugar on medium-high speed for 5 to 10 minutes, until very thick and light yellow.
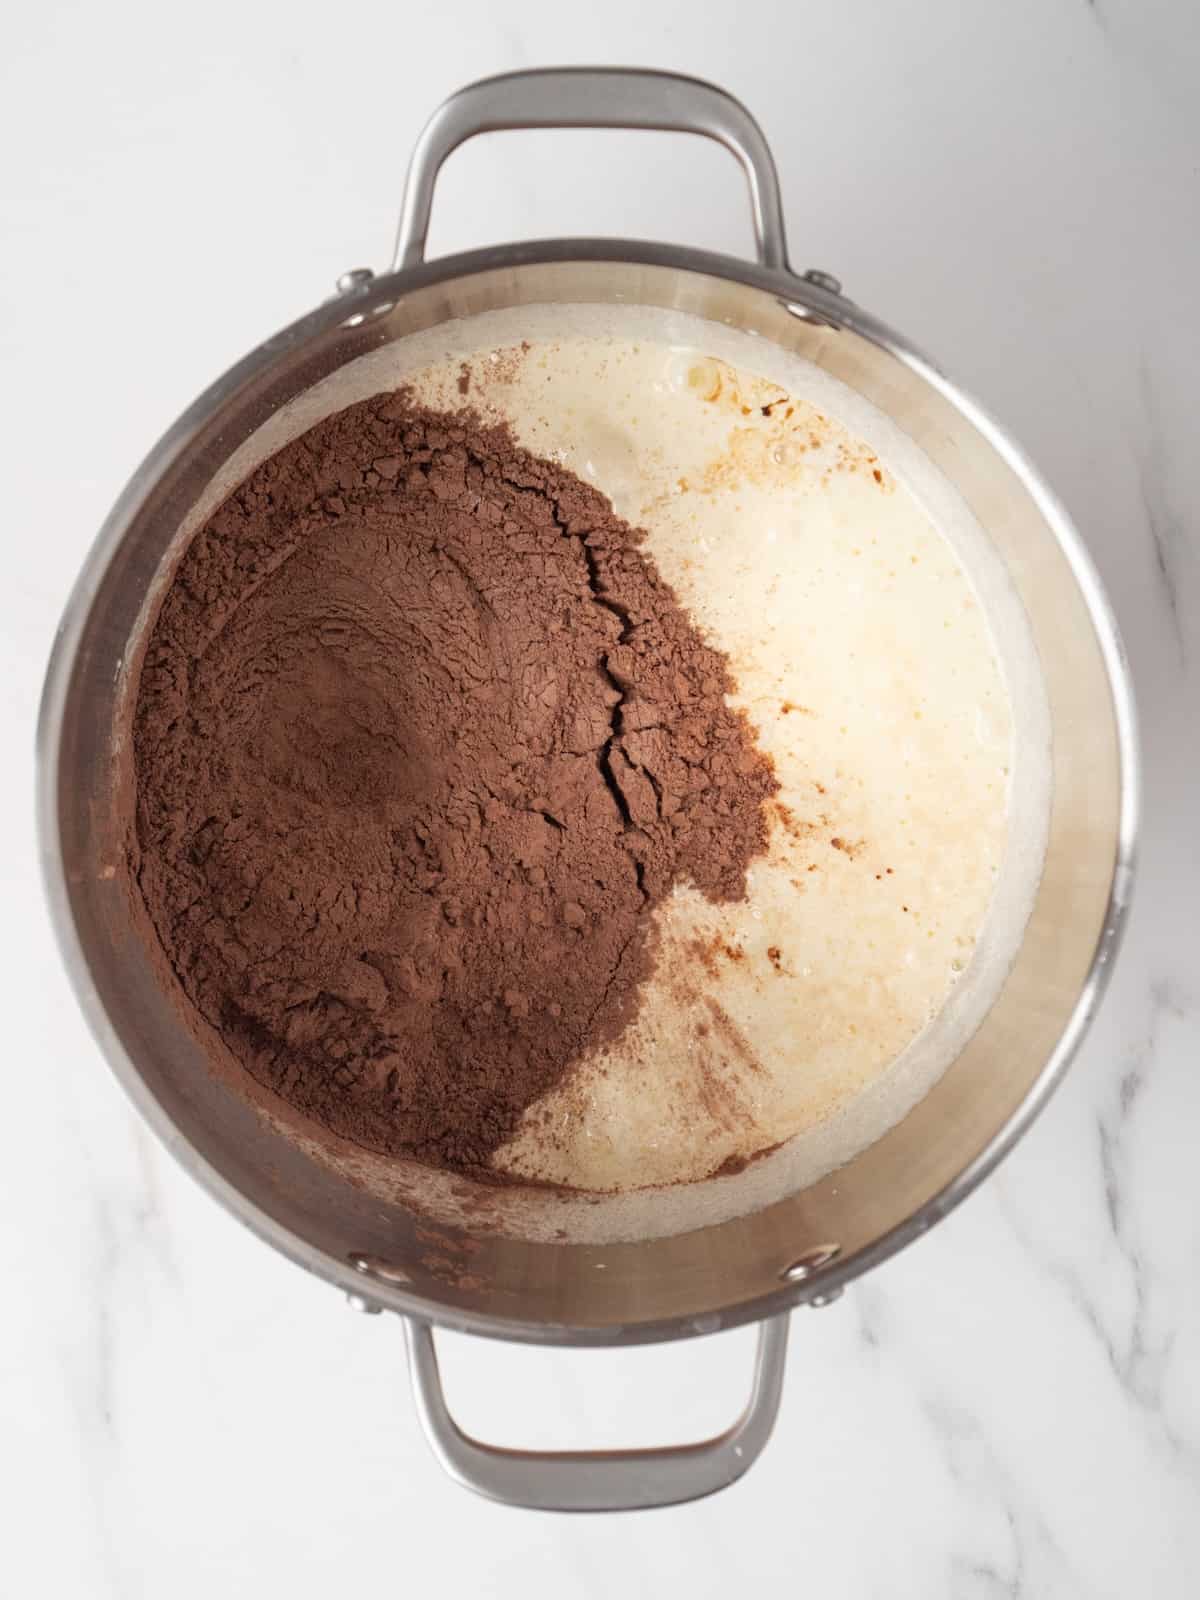
Step 5: After 10 minutes, reduce the speed to low and add the vanilla, coffee extract, and the cocoa powder and flour mixture.
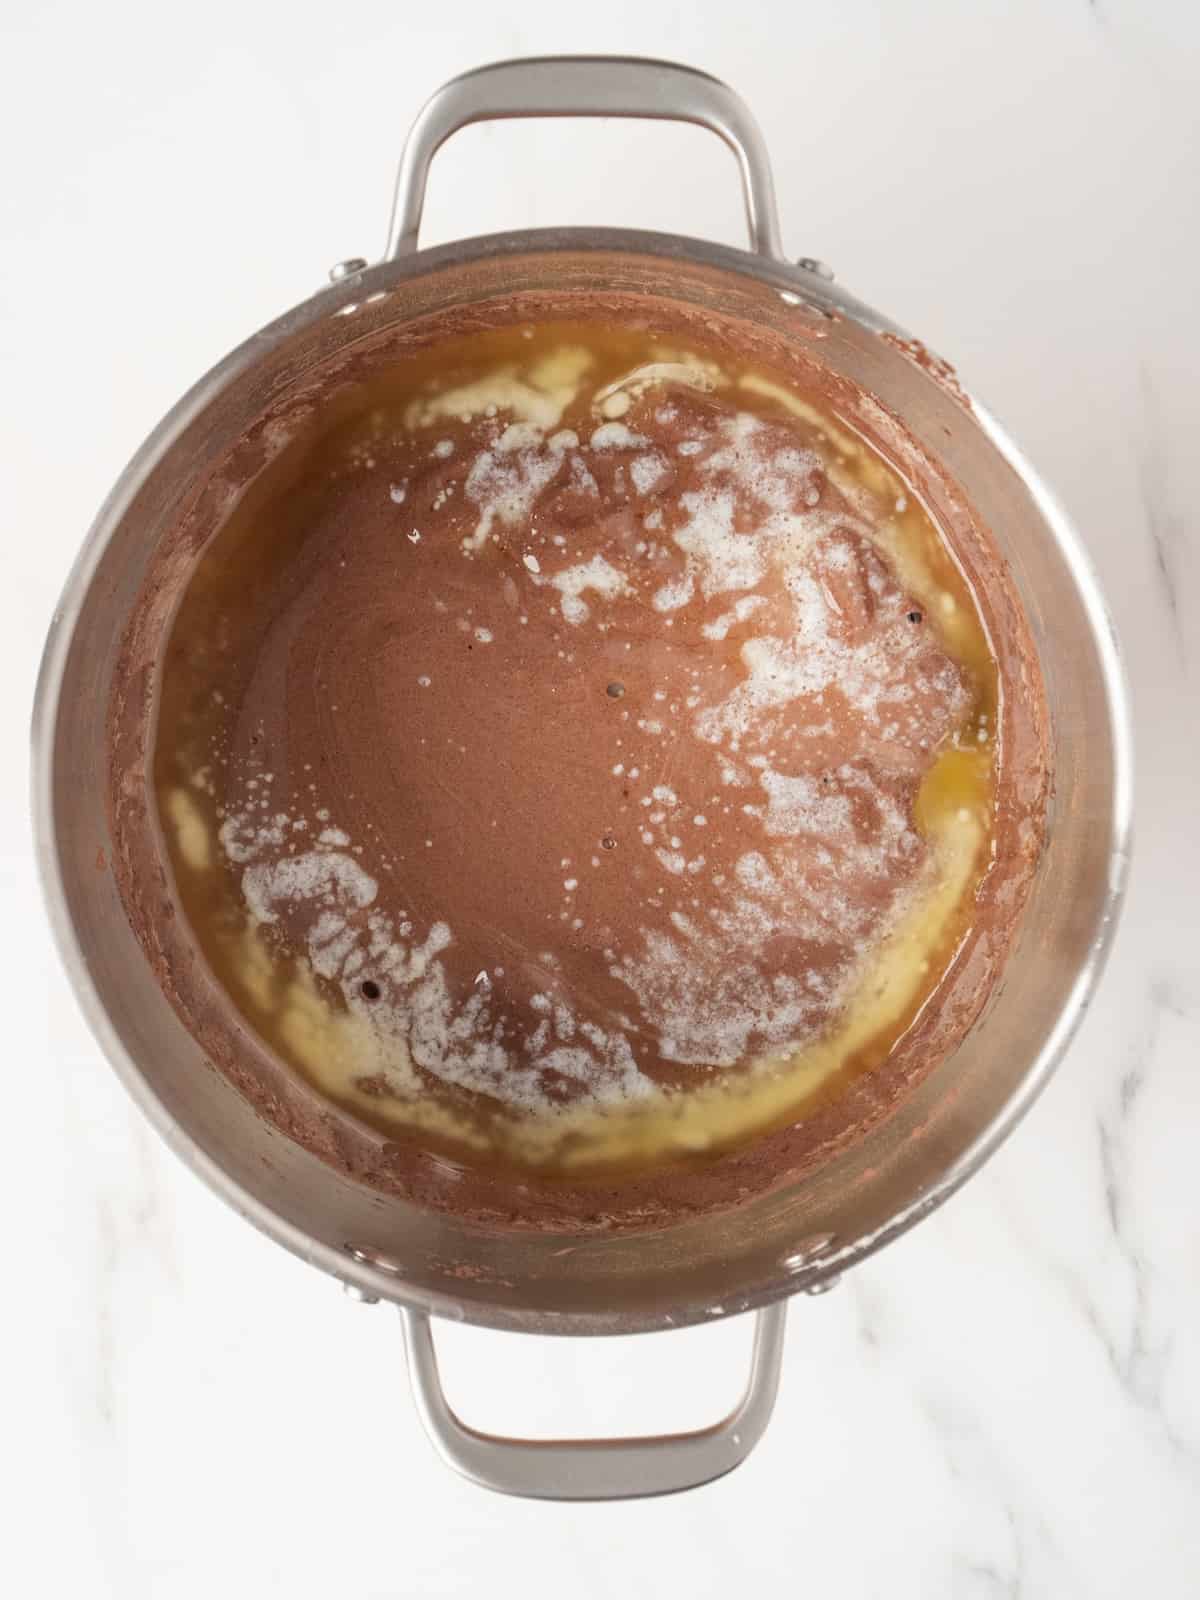
Step 6: Mix very slowly until everything is just combined. Slowly pour in the cooled butter and mix again just until combined.
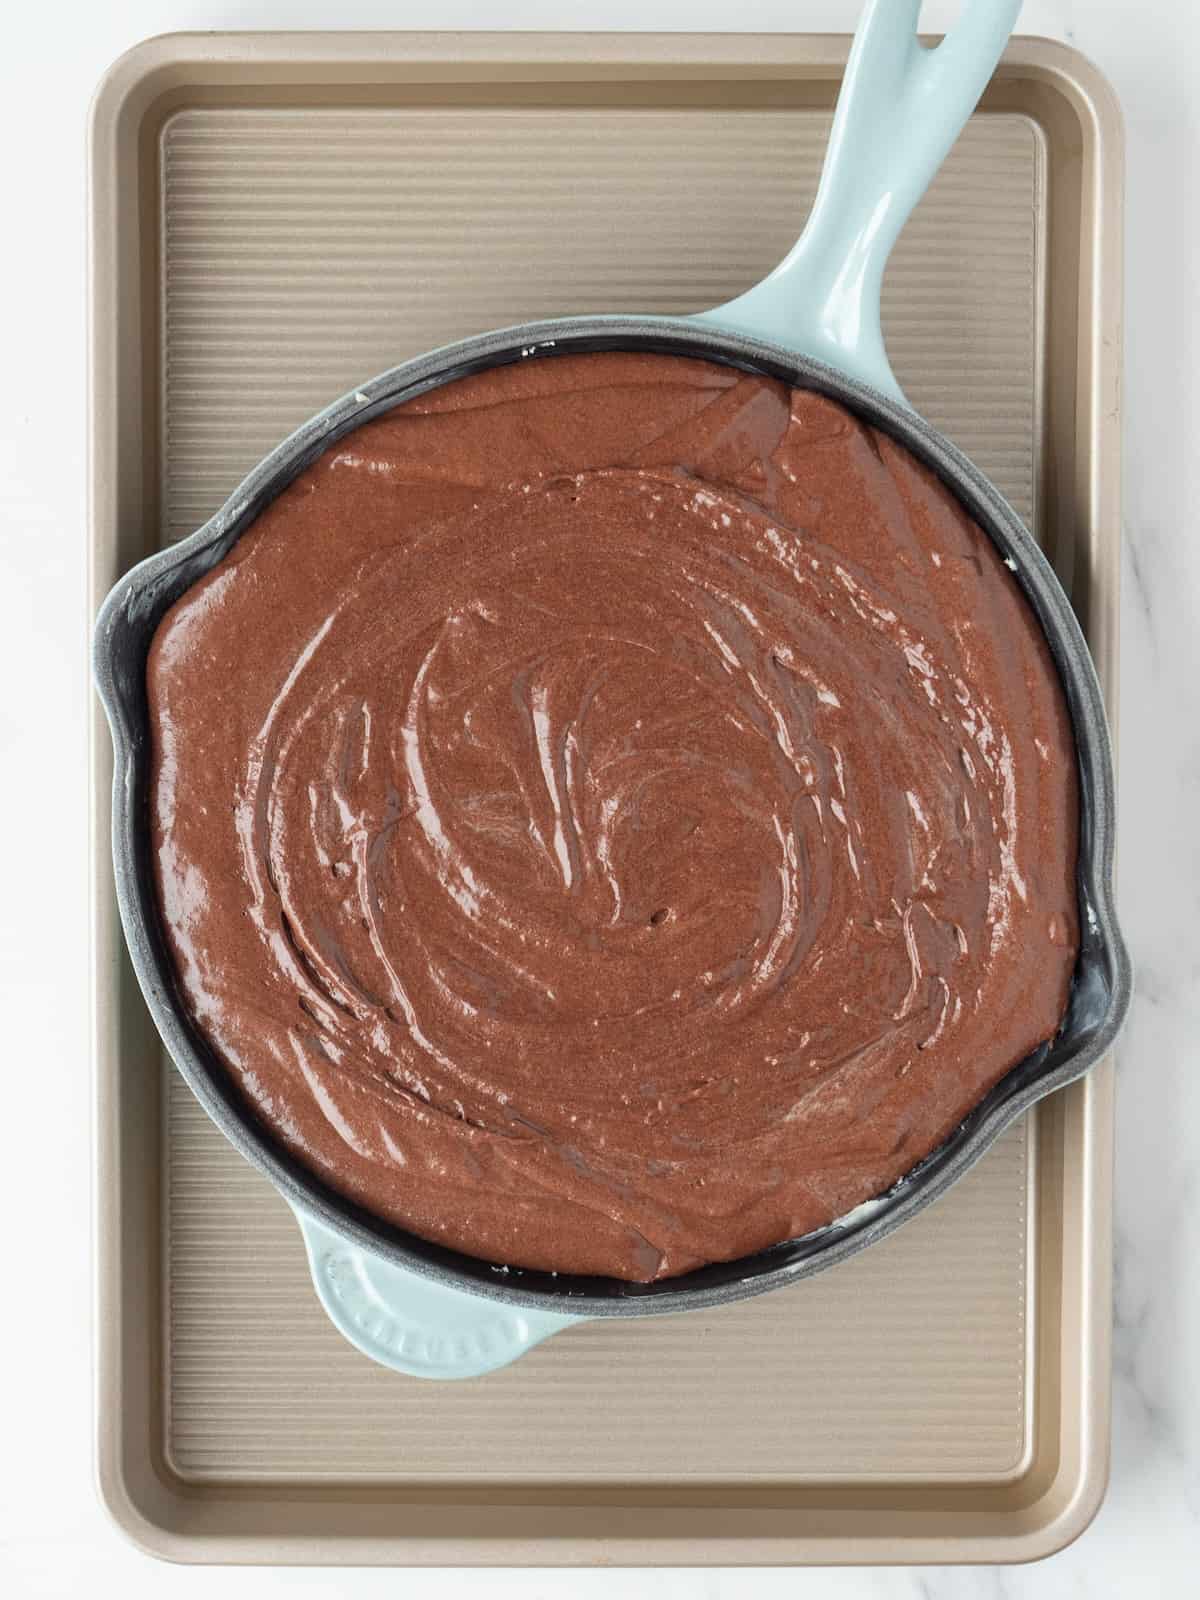
Step 7: Pour the mixture into the skillet and place it in a larger baking pan. Add warm water to the pan until it comes halfway up the side of the dish. Carefully place it into the oven, making sure not to slosh the water around and bake for 60 minutes.
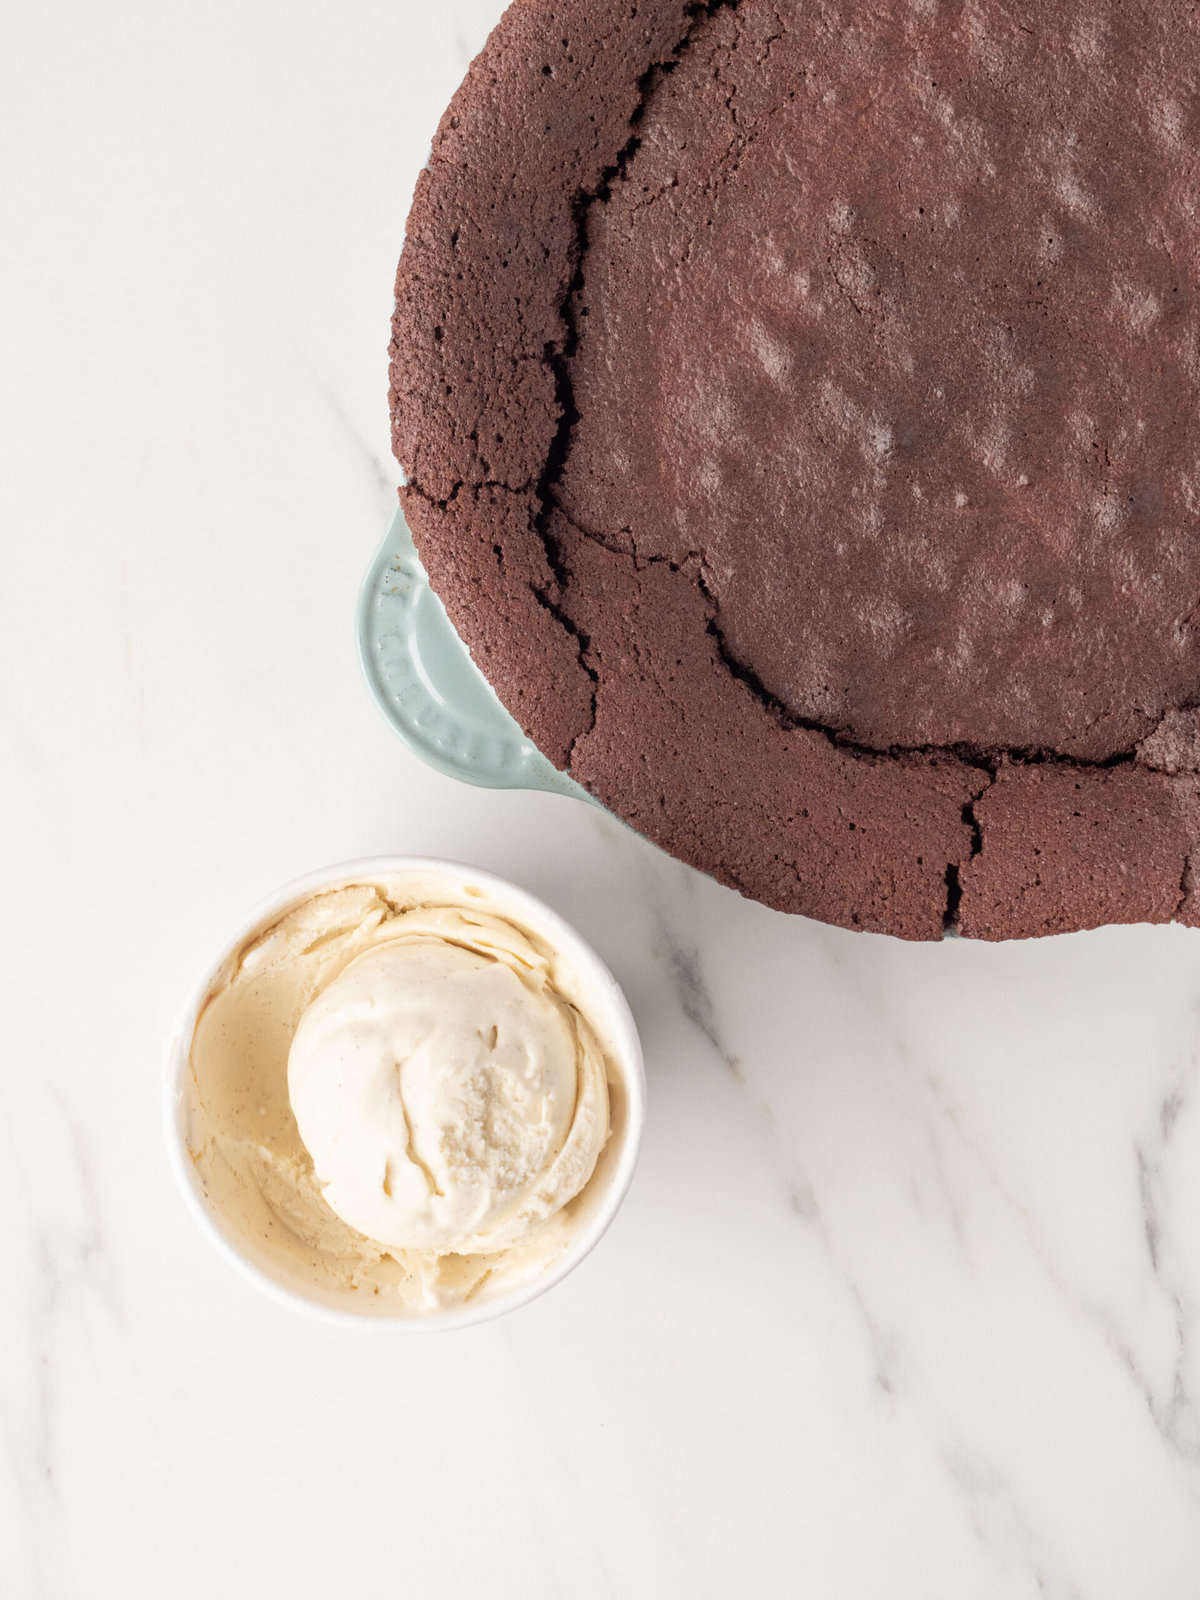
Step 8: When it's time to take it out - don't fear- it's absolutely going to look like it's under-baked. (that's normal) Remove the skillet from the water and place in the fridge to cool. Serve in the skillet with ice cream on the side.
How to Store Chocolate Brownie Pudding
I've struggled having leftovers with this one right here, but if you do store it in the fridge for 3-4 days. I prefer eating it warm so I recommend warming up the portion you are eating, in the oven or microwave before eating.
How to Freeze Chocolate Brownie Pudding
You can freeze for up to 3 months in an airtight container. When its time to eat warm it in the oven till its back to the ooey-gooey goodness.
Tips & Tricks
- When the recipe says to whip your eggs and sugar together for 10 minutes – DO IT! Don’t skimp on the time. It should look nice and fluffy and pale yellow, almost white!
- You actually have to sift your flour and cocoa powder on this one. I know I tend to skip that step in almost every recipe on this site, but today we are just going for it because we want to make sure there are no clumps or bumps.
FAQs
Can I add mix-ins to this pudding?
Yes, you can add nuts, chocolate chips, berries or a caramel swirl. Those would all be delicious!!
Why do I need to place the skillet in a pan with water?
A water bath helps add moisture in the oven which helps when baking things with a delicate texture. This slows the baking with lower and slower baking and prevents cracking and gives a smooth, uniformly baked pudding.
Similar Recipes
If you tried this recipe, please leave a 🌟 star rating and let me know how it goes in the 📝 comments below. Thanks for visiting today
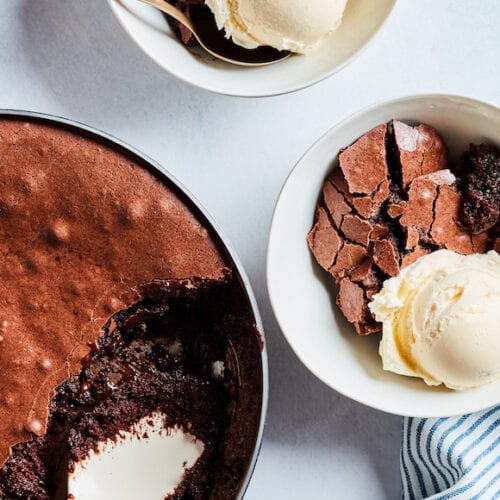
Chocolate Brownie Pudding
Ingredients
- 1 cup unsalted butter
- 4 large eggs
- 2 cups white sugar
- ¾ cup dutch cocoa powder
- ½ cup all purpose flour
- 3 teaspoon vanilla extract
- 2 teaspoons coffee extract (optional)
- Vanilla ice cream for serving
Instructions
- Preheat the oven to 325 degrees F. Lightly butter a 9 inch skillet.
- Melt the butter and set aside to cool.
- Sift the cocoa powder and flour together and set aside.
- In your mixer, beat the eggs and sugar on medium-high speed for 5 to 10 minutes, until very thick and light yellow. After 10 minutes, reduce the speed to low and add the vanilla, coffee extract, and the cocoa powder and flour mixture. Mix very slowly until everything is just combined. Slowly pour in the cooled butter and mix again just until combined.
- Pour the mixture into the skillet and place it in a larger baking pan. Add warm water to the pan until it comes halfway up the side of the dish. Carefully place it into the oven, making sure not to slosh the water around and bake for 60 minutes.
- When it's time to take it out - don't fear - it's absolutely going to look like it's under-baked. (that's normal) Remove the skillet from the water and place in the fridge to cool. Serve in the skillet with ice cream on the side.
Notes
- When the recipe says to whip your eggs and sugar together for 10 minutes – DO IT! Don’t skimp on the time. It should look nice and fluffy and pale yellow, almost white!
- You actually have to sift your flour and cocoa powder on this one. I know I tend to skip that step in almost every recipe on this site, but today we are just going for it because we want to make sure there are no clumps or bumps.
Nutrition Information
Photo by Matt Armendariz / Food Styling by Adam Pearson / Recipe adapted from the Queen of all things food Ina!




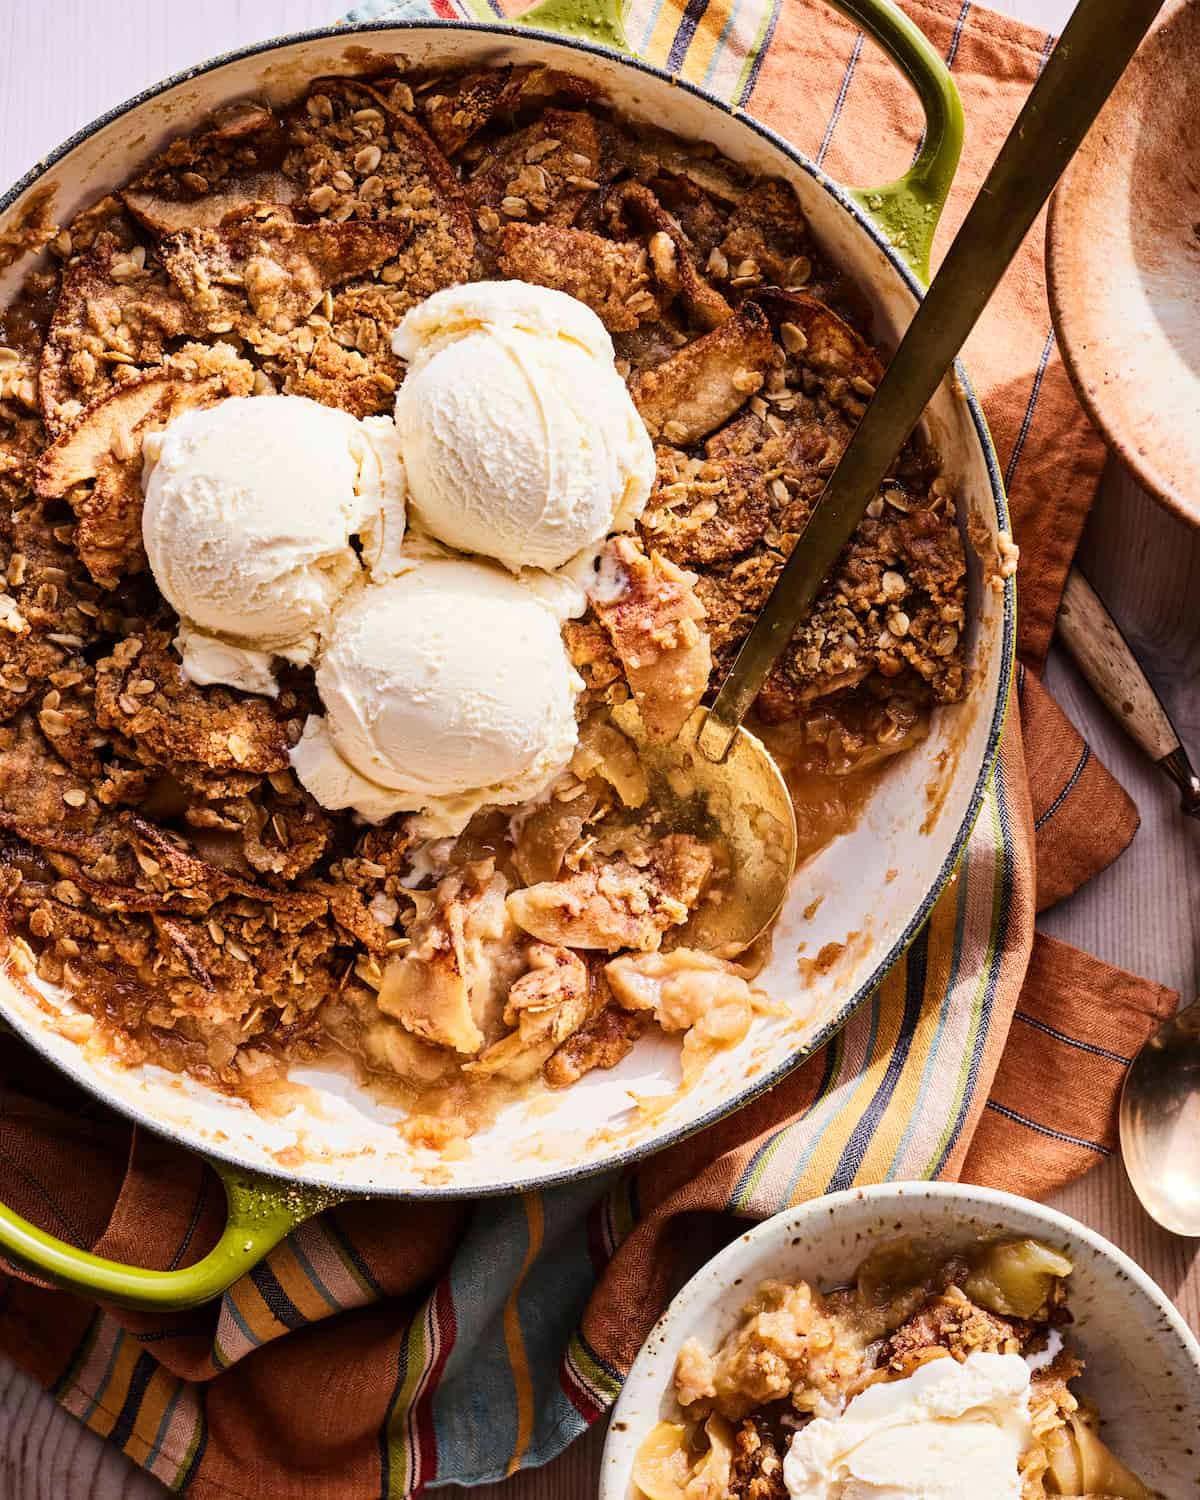

Oh my God does that look good! And I want you to know, I actually said that out loud!
What a delicious dessert! Looks so rich.
oh my goodness does this look amazing. I have to make it as soon as possible! Thanks Gaby 🙂
I will be making this. I don't know that I can help myself. Kahlua and chocolate all topped with ice cream? Dessert heaven.
Oh. My. This would be best for a party, so I don't eat it all! Do the leftovers (if any) have to be refrigerated?
I just found the perfect dessert to bring with me to dinner at a friends house this Sunday. Too good not to make, and too dangerous to have laying around the house.
It is very evident from this post why you partied with this treat yesterday 🙂 xo
well how bad can that be? 🙂 love that there is crusty on top. looks delicious
this is one to look at but I fear that if I made it it would all be eaten by me!
Oh my...that might be a new favorite!!
Holy YUM!!!
~Yvette
Oh. My. God.
The crust looks awesome!
That crust looks incredible!!!! 😀
my pants are busting at the seams already! love that there is kahlua in this. the world is a better place with kahlua!