
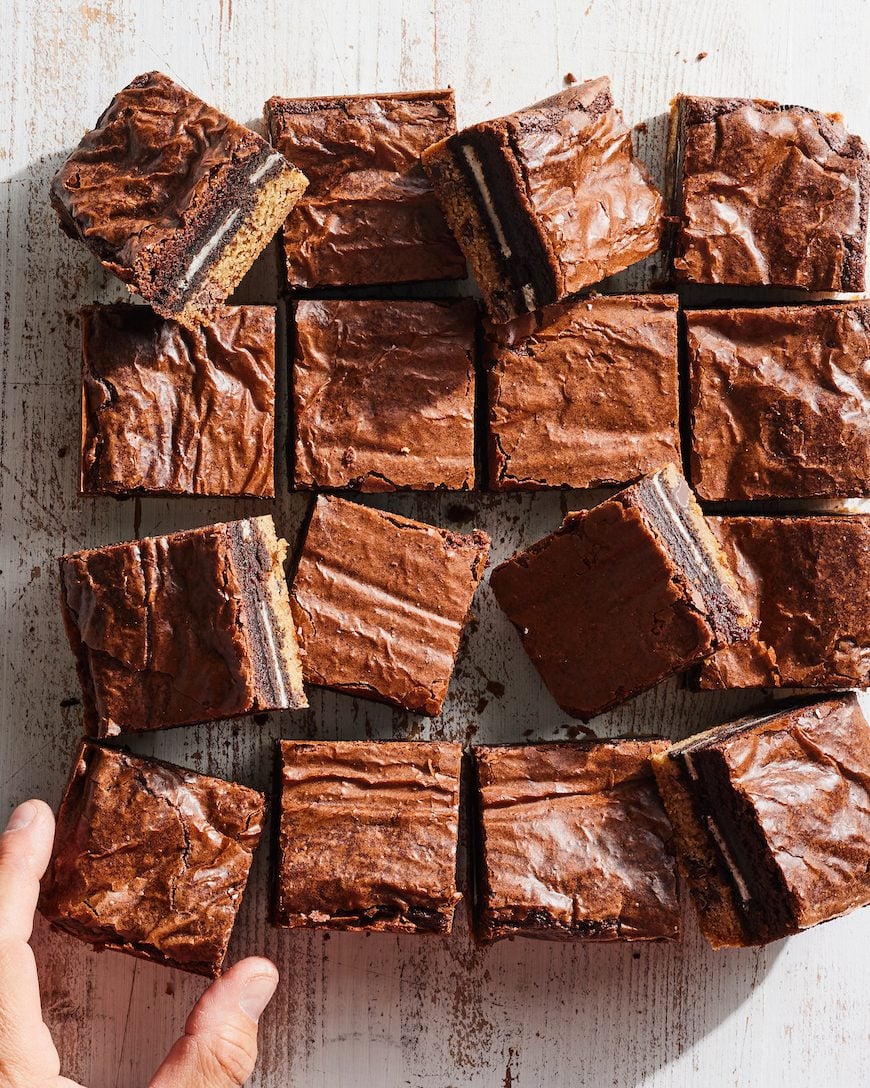
Buckle up friends, this is hands down the Best Ever Brownie Recipe you will ever make! If you love brownies like I do, my Slutty Brownies are the over the top version and my Caramel Brownies are the gooey caramel version. And if you can't decide between a brownie and a cookie, my Homemade Pizookie is the answer.
Why I Love This Recipe
As someone who has put more than their fair share of brownies- blondie brownies, brownie pudding and crinkle top brownie bites into my body, I feel confident that I can say that this is in fact the Best Brownie Recipe YOU WILL EVER HAVE IN YOUR LIFE. And yes, I am screaming because it's that important.
Before we get into how to make the best brownies from scratch... a story as credit is due to a very special chocolate company. Before we set sail for the Galapagos, we did a quick city tour in Quito, Ecuador. Ecuador is home to some pretty insane chocolate. It's pure. And perfect. And we tasted a LOT of it when we were at Yumbos Chocolate. I'd highly recommend a stop if you're in town. Before leaving, our host offered the group brownies. I mean, who says no to that, right? We bought them out of stock and sat around eating the brownies like vultures. Super on brand for a What's Gaby Cooking trip. Cut to... it was easily the best brownie I've ever tasted in my entire life.
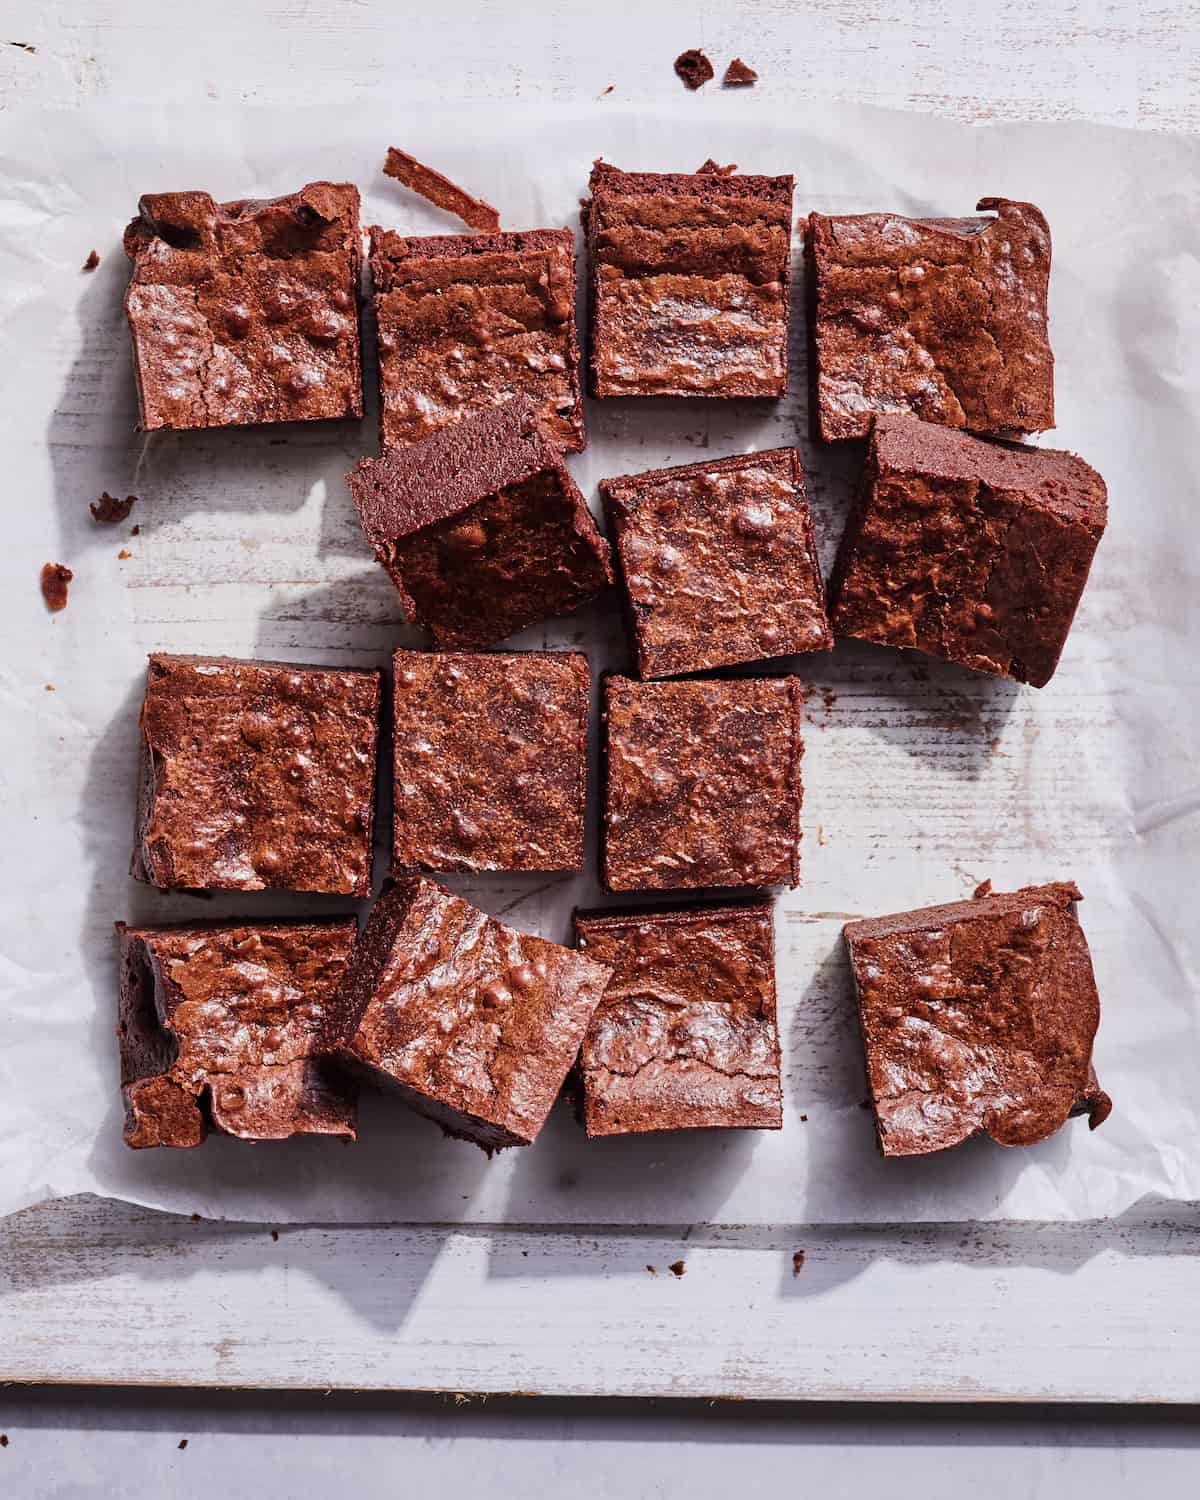
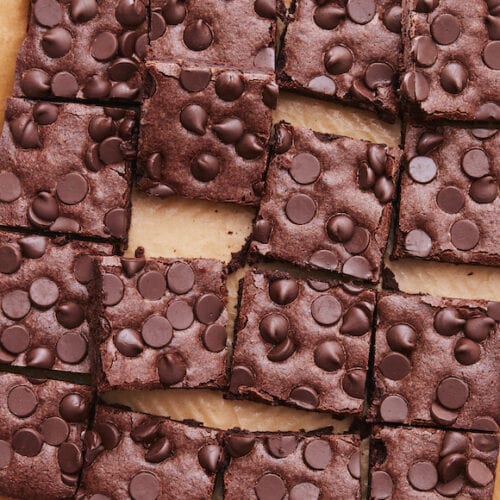
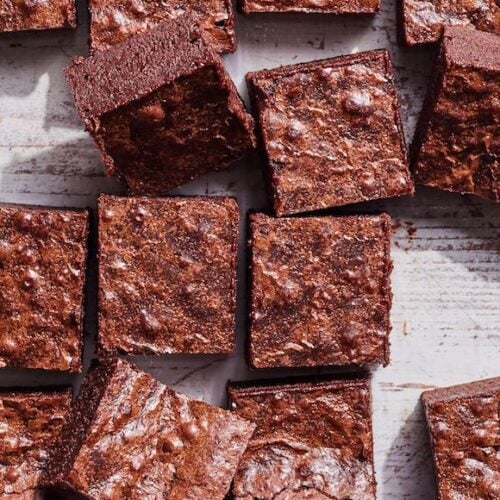
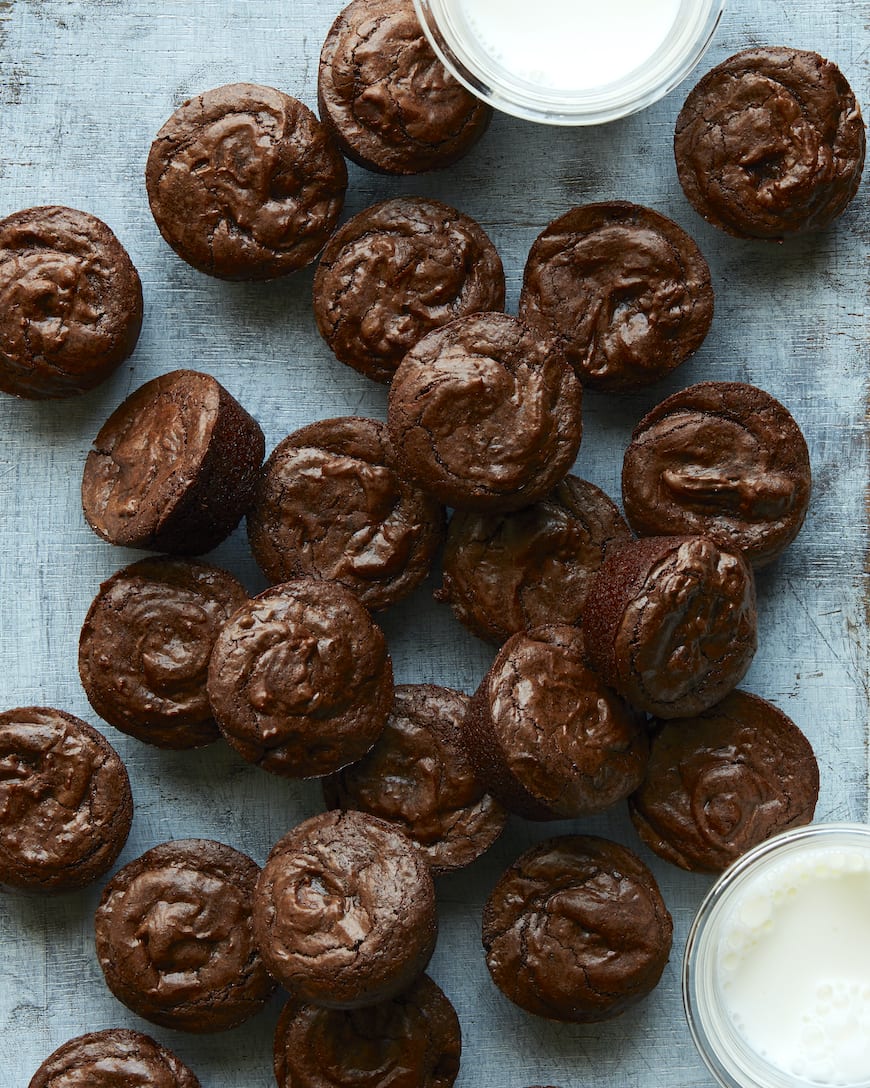
Lucky for you, and for me, the recipe was on the back of the bag of chocolate that I had purchased and now it lives here on WGC. These brownies are the perfect fudgy consistency. They're slightly underbaked so they are extra gooey and chewy while still having crispy edges and crackly tops. These are perfection and I also use them as the base in magic bar brownie to take it all up a notch.
Jump to:
Ingredients & Substitutions
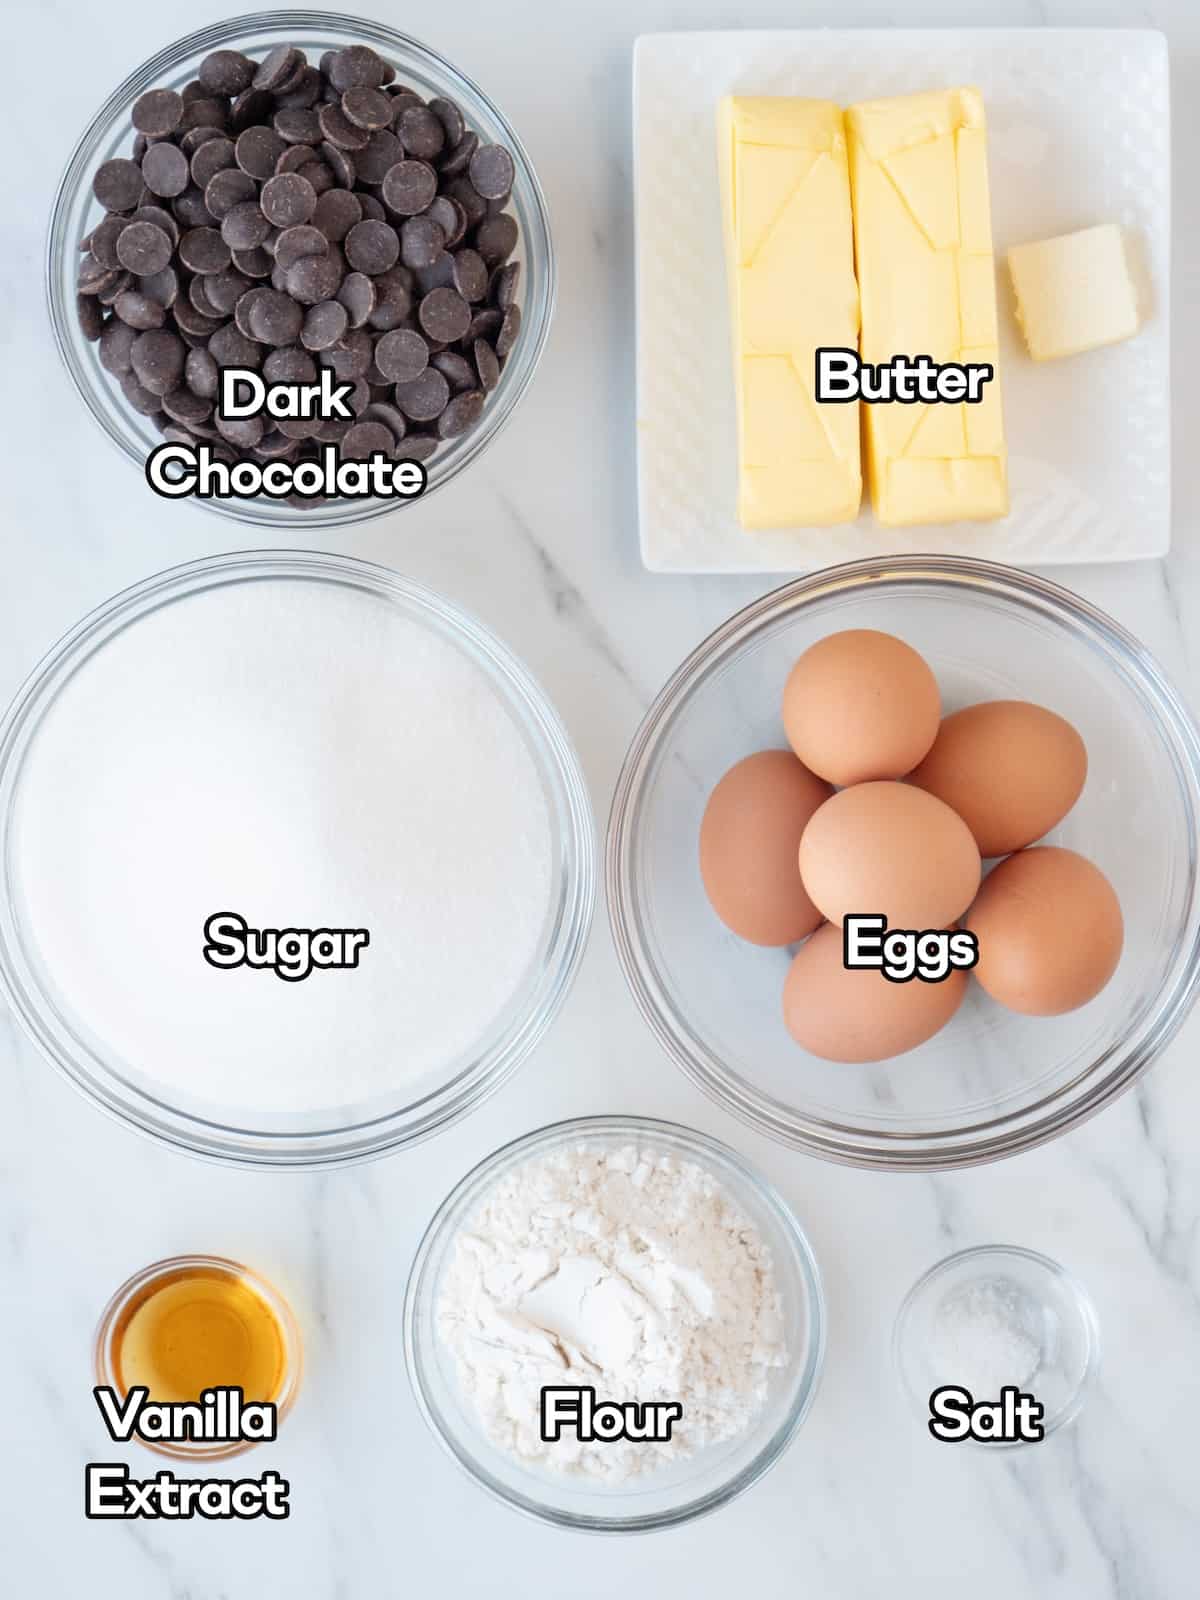
- Dark Chocolate – This Brownie Recipe is made with pure chocolate rather than cocoa powder. The moisture from the melted chocolate really goes a long way for this flavor and consistency. I've made it with the chocolate from Ecuador, this brand, and this brand - all are amazing.
- Unsalted Butter – I like to use unsalted butter when baking to control the amount of salt I add to the recipe.
- White Sugar – Using white sugar yields a chewier brownie.
- Eggs – Use large eggs at room temperature. If they're straight from the fridge, they will make the butter seize and won't combine evenly.
- Vanilla Extract – Adds another depth of flavor to this brownie recipe.
- All-Purpose Flour – This Brownie Recipe uses less flour than butter to achieve fudgy brownies.
- Kosher Salt – Salt will help balance the sweetness and enhance the flavor.
- Bonus – If you want to add 1 teaspoon of coffee extract, I support you!
*For a full list of ingredients and instructions please see recipe card below.
How to Make the Best Brownie Recipe
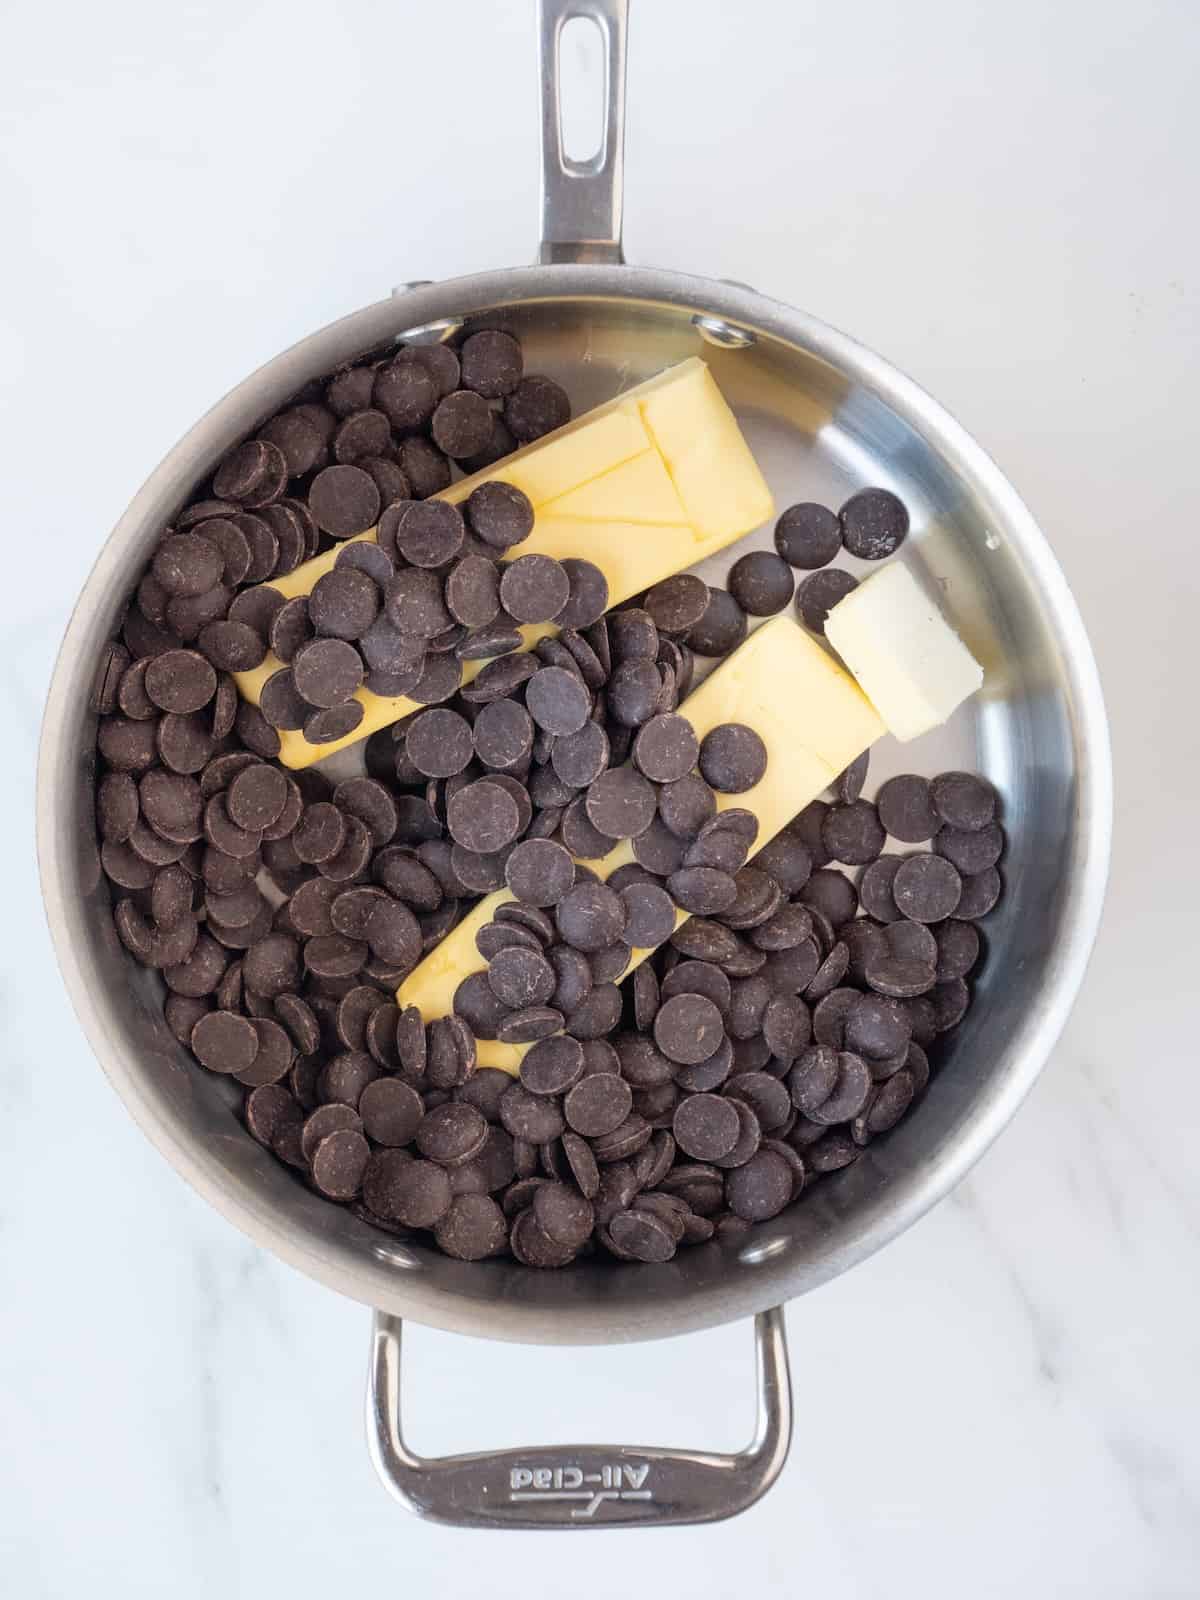
Step 1: Preheat the oven to 325° F. Combine the chocolate and the butter over medium low heat until smooth.
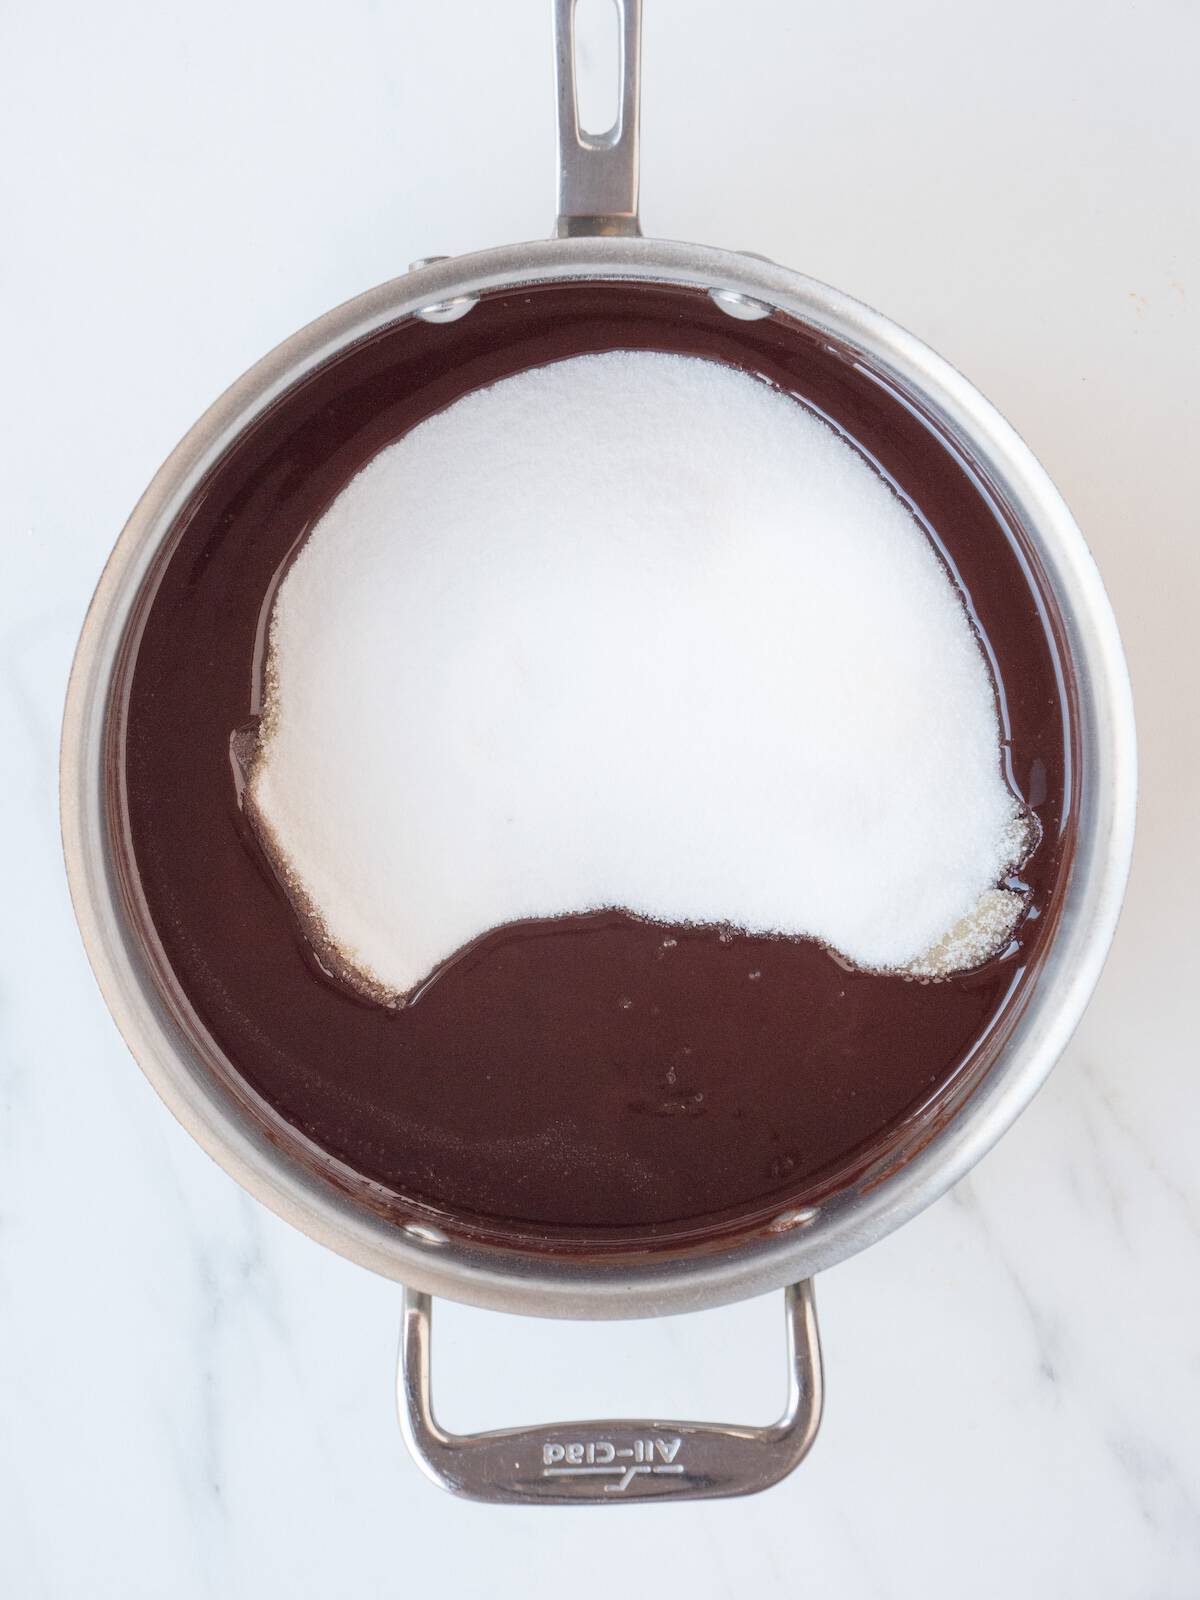
Step 2: Add in the sugar and stir to combine. Remove from the heat for 15 minutes to slightly cool.
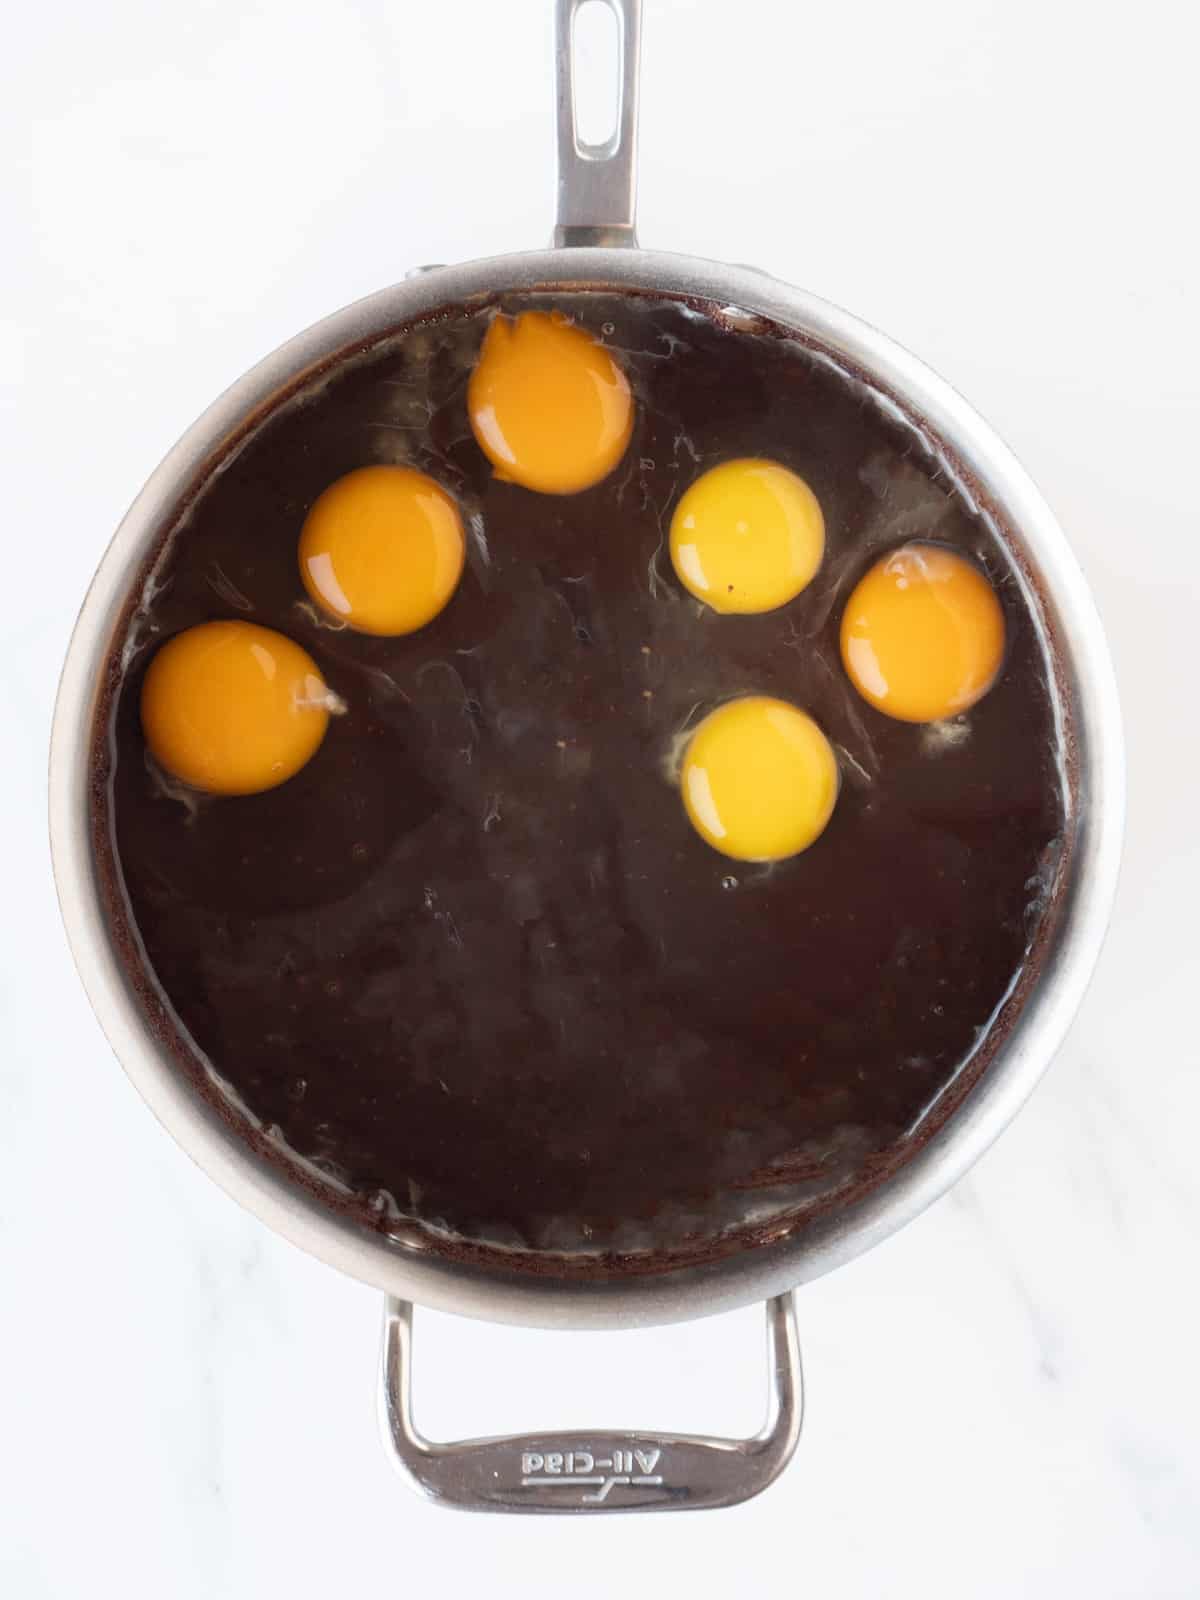
Step 3: Add the eggs and vanilla and stir to combine.
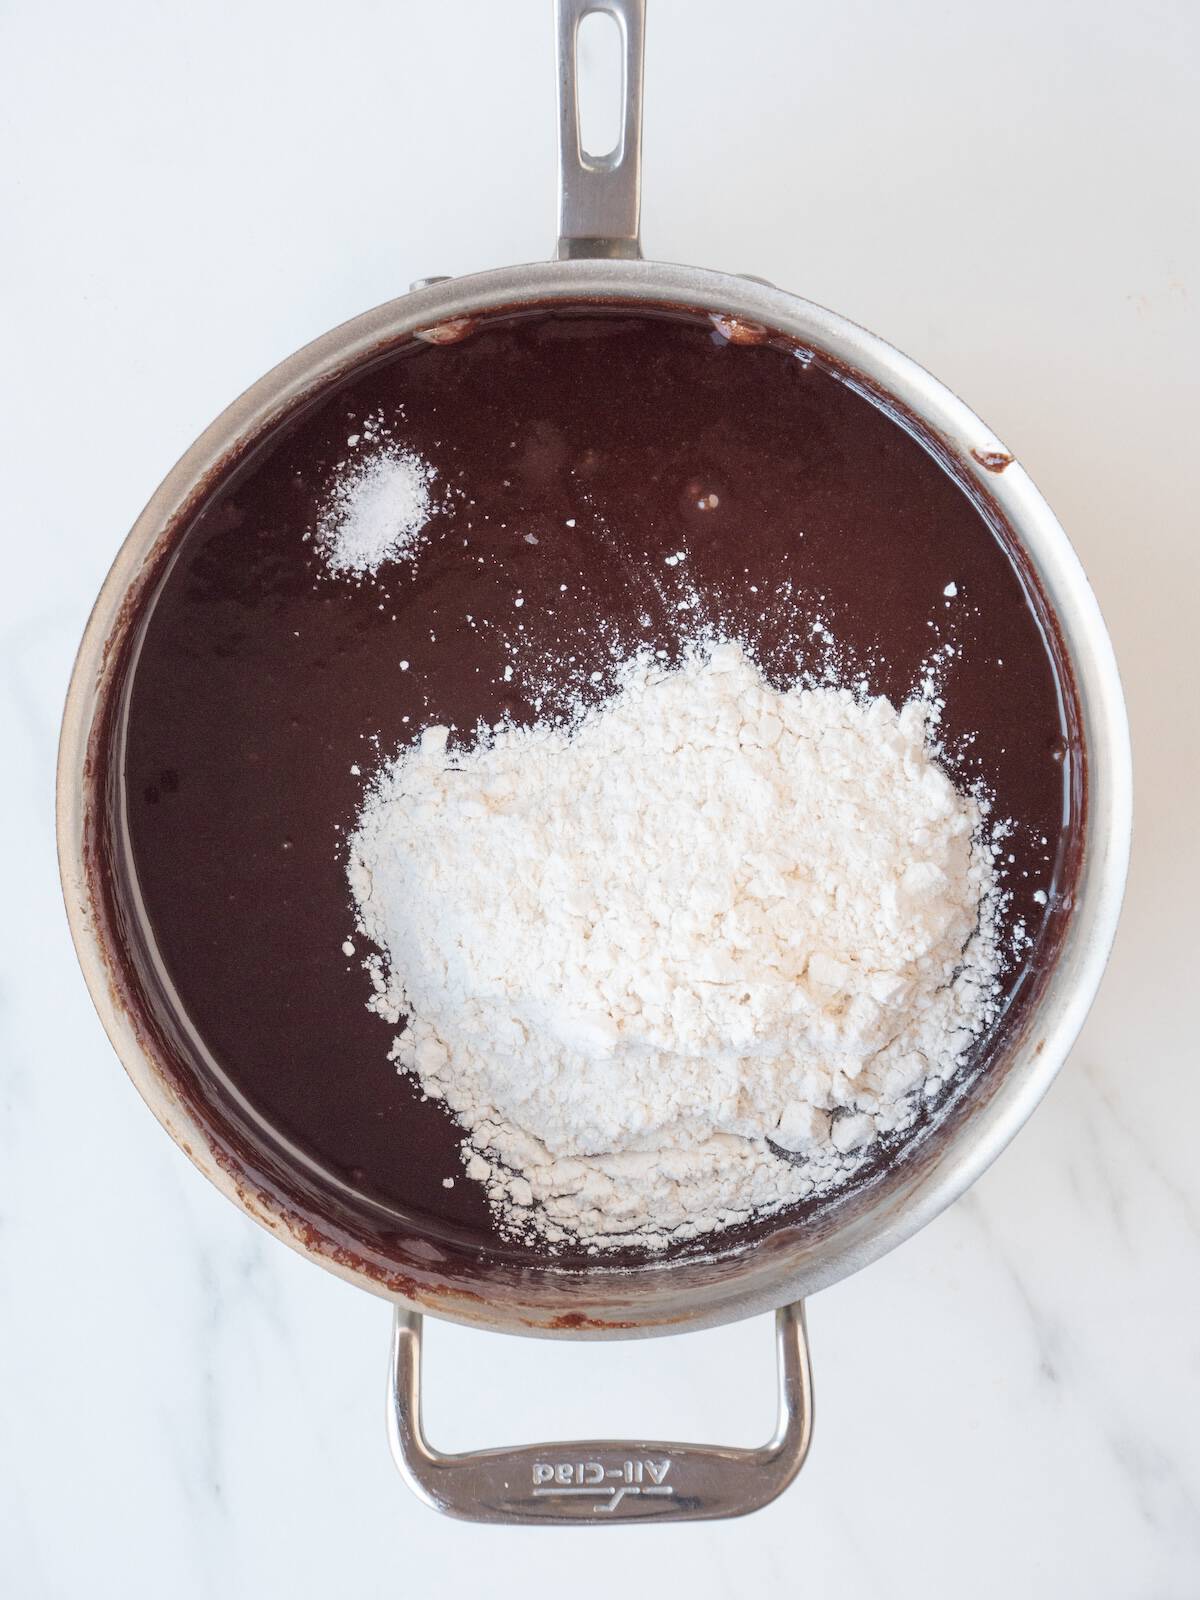
Step 4: Add in the flour and salt and mix until just incorporated and smooth.
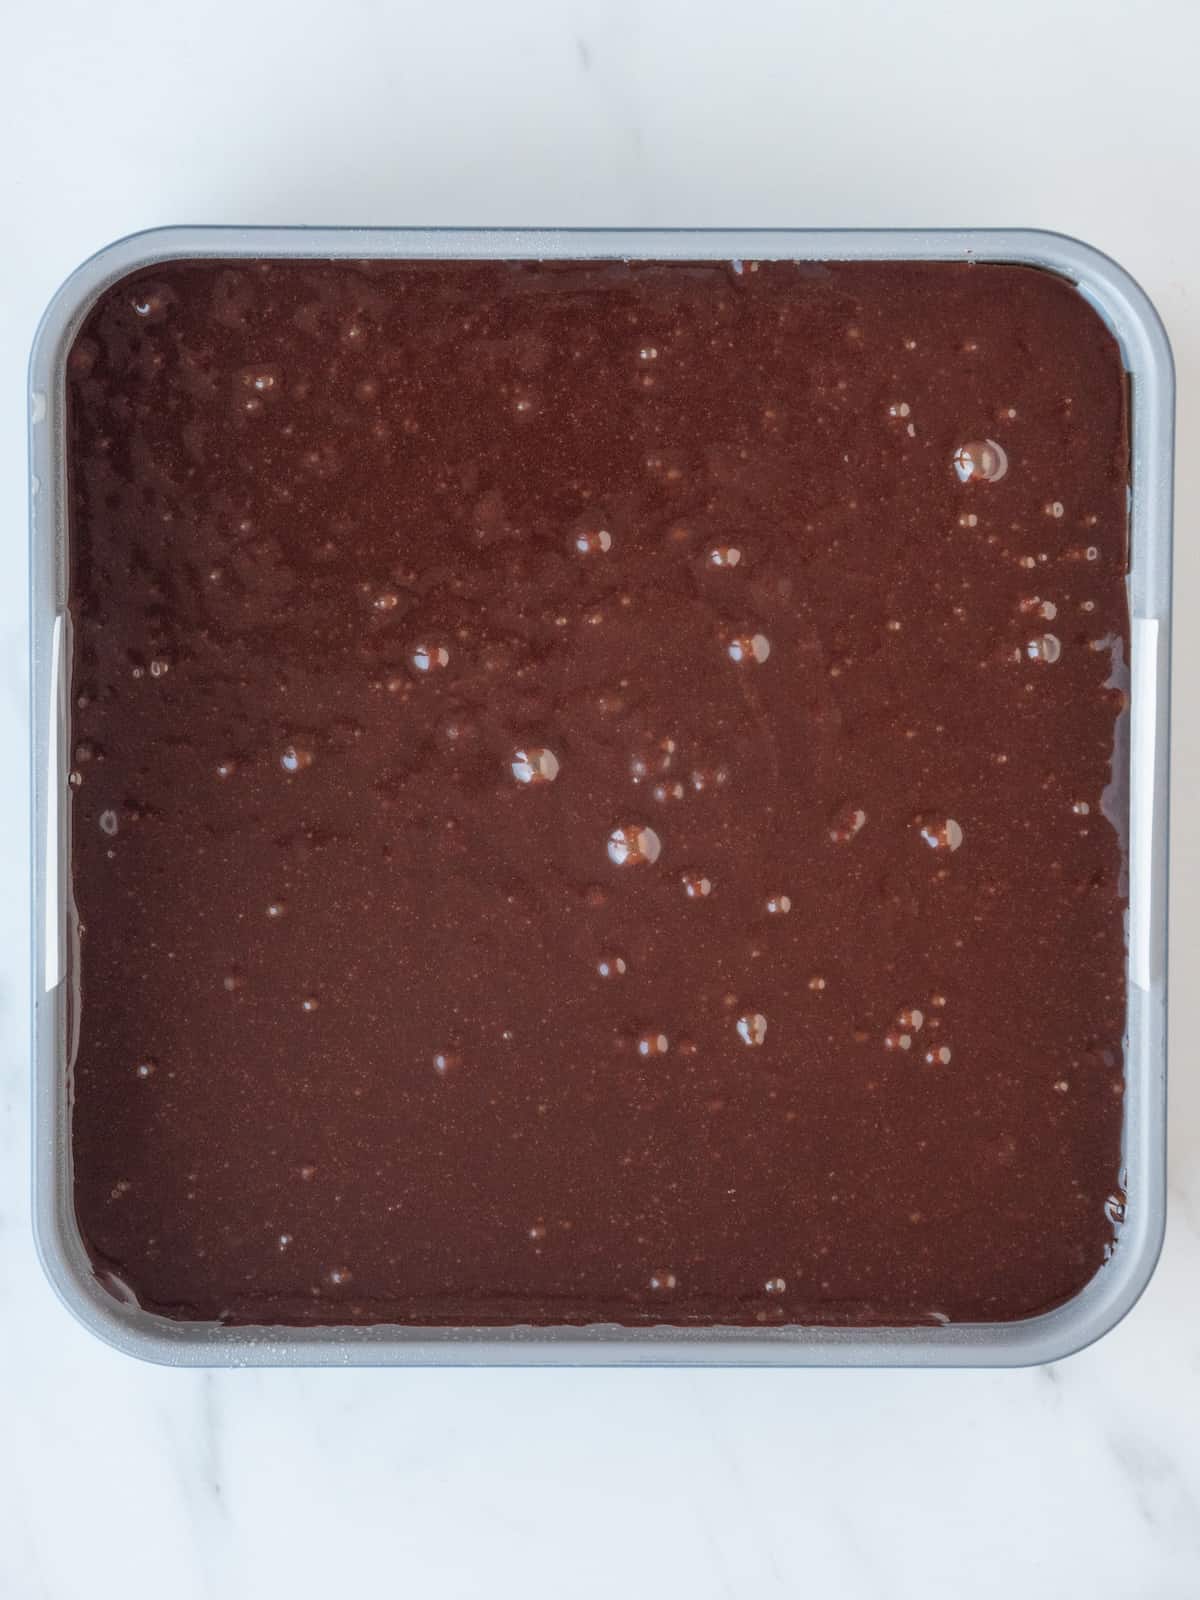
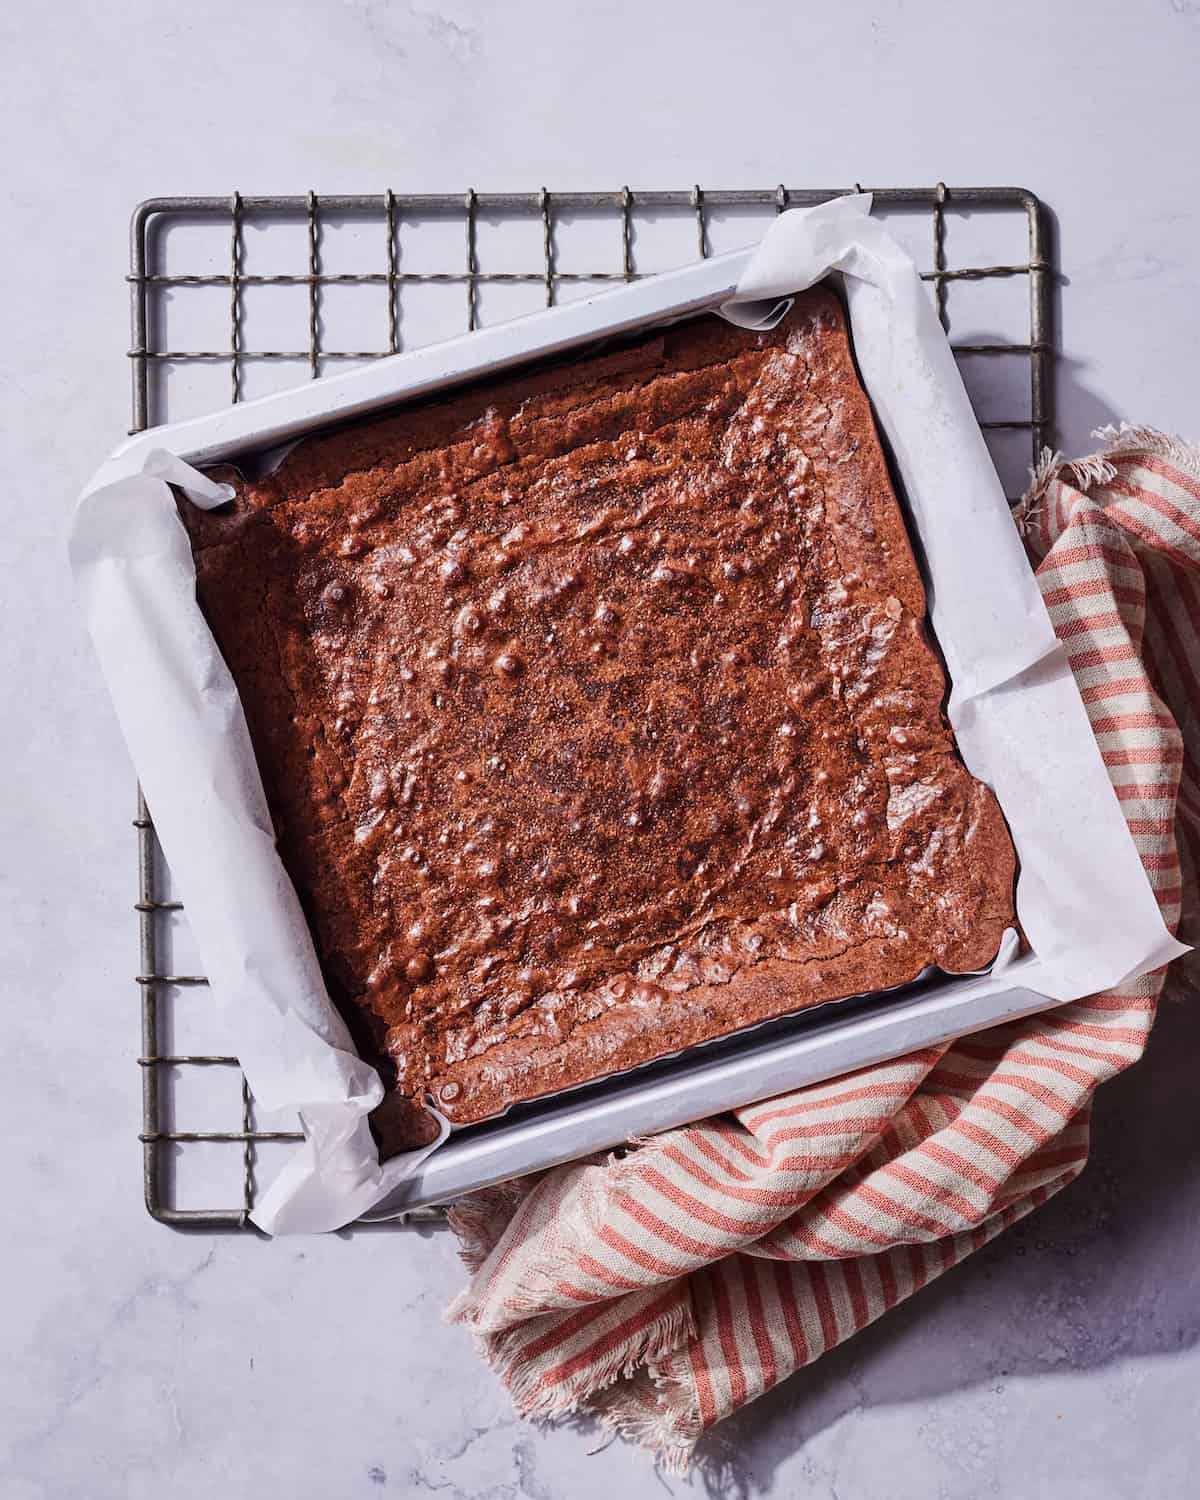
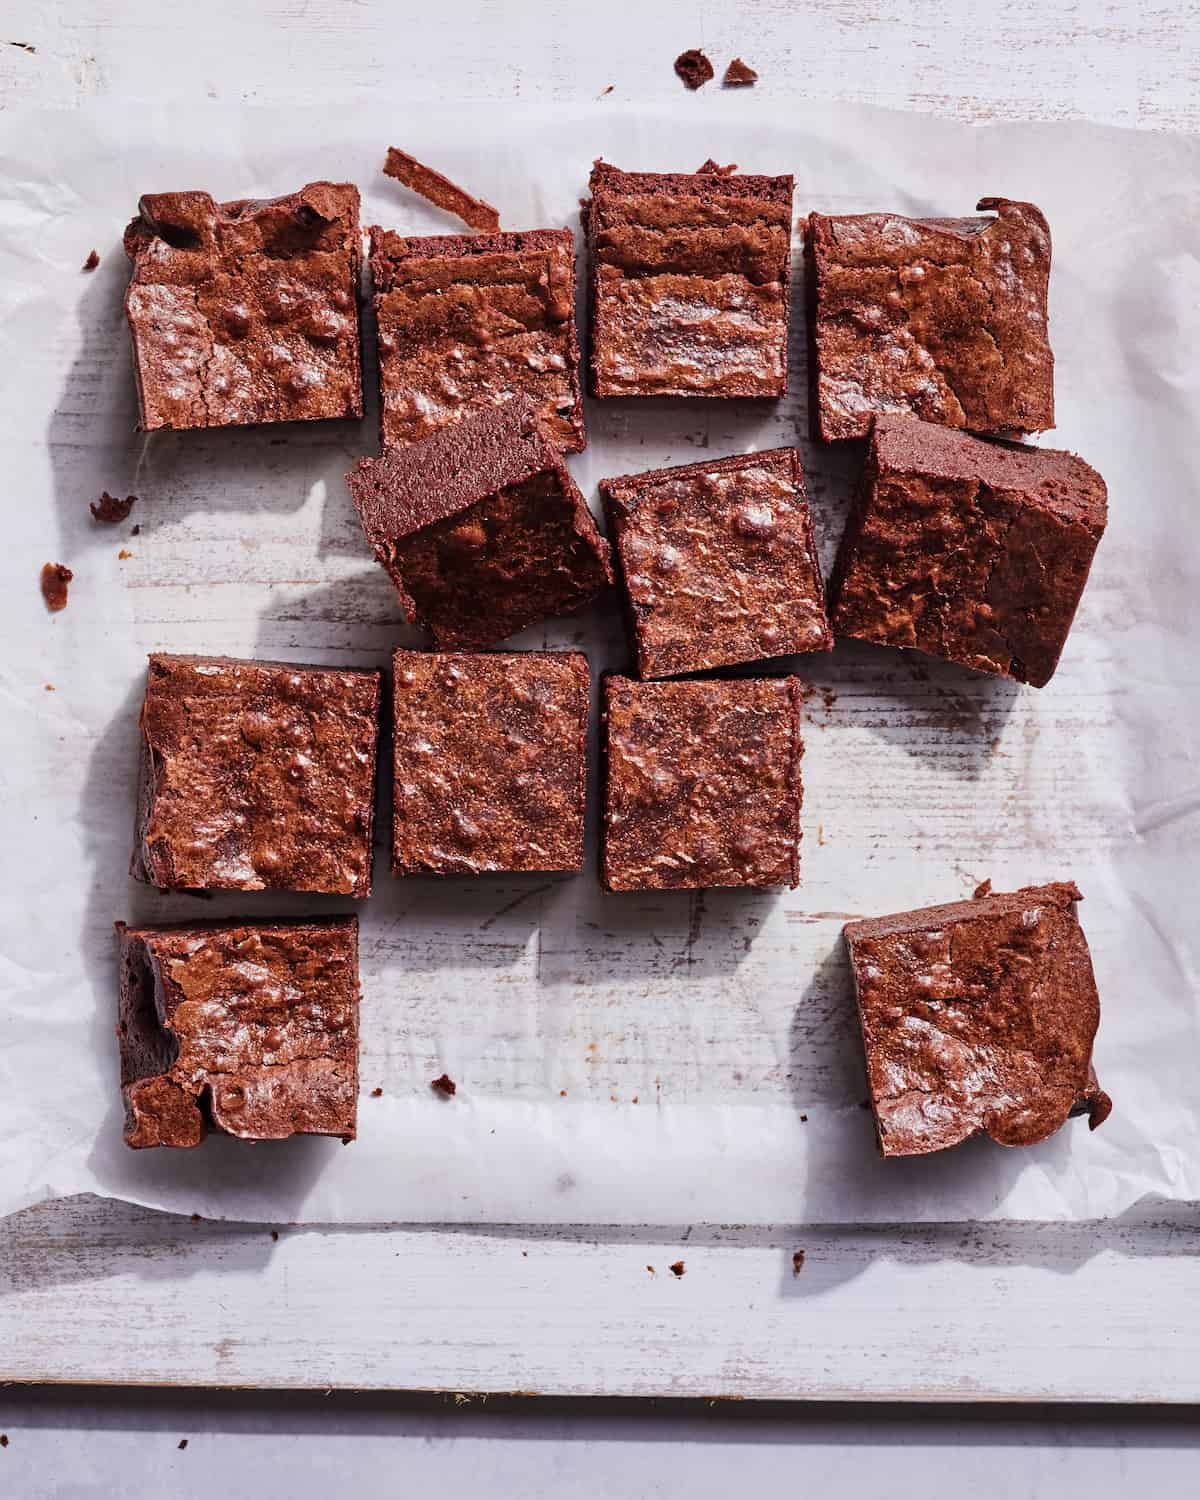
Step 5: Transfer to a sprayed and parchment lined 9x9 baking pan and bake on the middle rack of your oven for 50-60 minutes. Remove from the oven and let rest on the counter for 1 hour. It will absolutely still jiggle when removed from the oven - this is key and important.
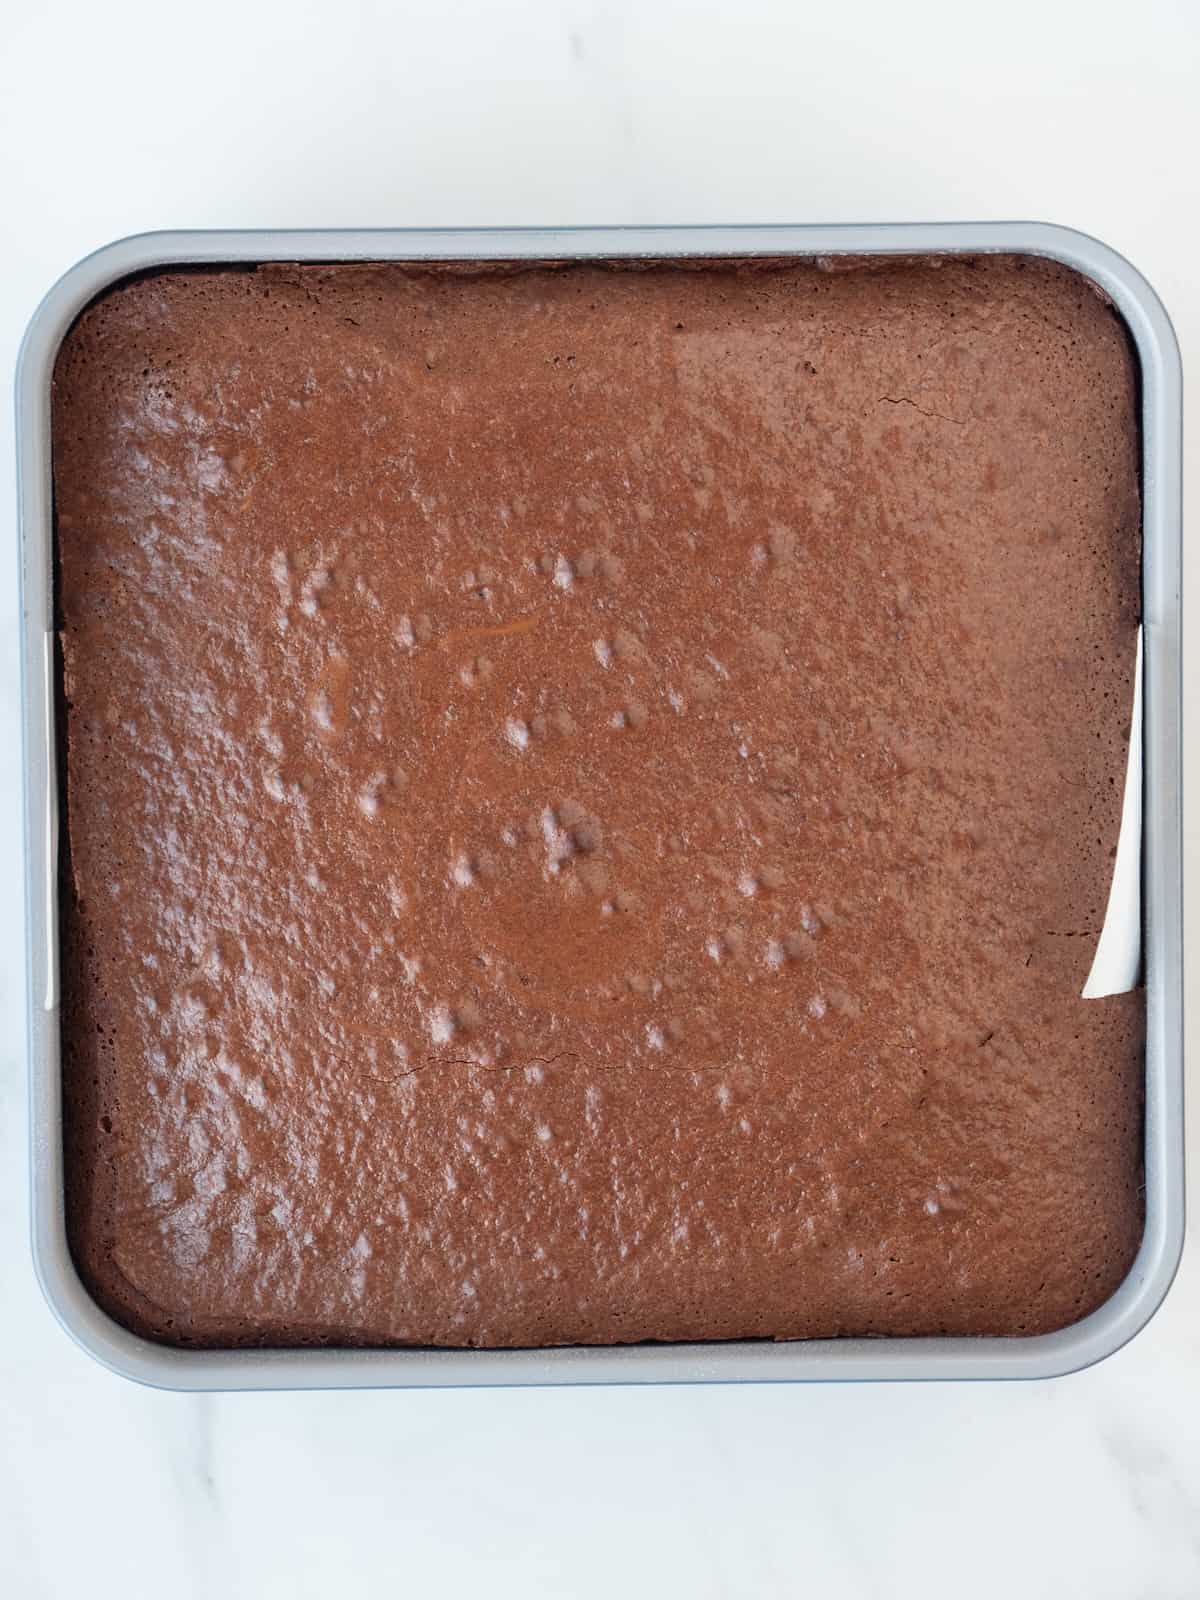
Step 6: If you bake it until it no longer jiggles, you've over-baked them. The 1 hour of cooling on the counter allows the residual heat to continue to bake these by just a bit. After 1 hour, place the baking pan into the fridge and chill for 1 hour. Once they have set for at least the combined 2 hours, slice and serve.
How to Store Brownies
The easiest way to store brownies is to leave them in the baking pan and cover with some tin foil and refrigerate.
However, you can also take them out the pan and put them in your glass tupperware and refrigerate or freeze.
Tips & Tricks
- You MUST use a metal 9x9 baking pan for this Brownie Recipe. Glass doesn't retain heat as well. The disposable ones don't retain heat at all. My fav is super inexpensive and great for all brownies, blondies, bars etc.
- All ovens run at slightly different temperatures. I'd recommend an internal oven thermometer to ensure your oven is properly heated. They are 4 bucks usually and an essential tool when baking!
- Don't over bake it and don't skimp on the "resting" time before slicing. It really makes a difference.
- The Brownie Recipe you'll find below is technically a double recipe as I wanted these to be thick, gooey and chewy. If you alter the ratio of butter to eggs to flour etc, things change. So promise me you'll stick to the simple ingredients below and you'll be in a good place.
- You'll notice that some of the ingredients are listed by weight above - here's the deal... it's just more accurate. The flour is measured by scooping and leveling in my world, so the weighted amounts of flour / sugar are based off that. Trust in the process - these are amazing. My fav handy dandy kitchen scale is here.
Recipe FAQs
How do you make brownies fudgy instead of cakey?
A higher fat to flour ratio yields fudgy brownies while a higher flour to fat ratio will yield cakey brownies.
What are the three types of brownies?
1. Fudgy brownies
2. Cakey brownies
3. Chewy brownies
Is brownie meant to be gooey when you pull it out?
Yes, it will absolutely still jiggle when removed from the oven - this is key and important. If you bake it until it no longer jiggles, you've over-baked them. Allow for your brownies to cool for 1 hour on the counter so the residual heat can continue to bake them by just a bit. After 1 hour, place the baking pan into the fridge and chill for 1 hour. Once they have set for at least the combined 2 hours, slice and serve.
Similar Recipes
If you tried this recipe, please leave a 🌟 star rating and let me know how it goes in the 📝 comments below. Thanks for visiting today
Best Ever Brownie Recipe
Ingredients
- 240 grams dark chocolate (approx 1½ cups regular dark chocolate morsels)
- 240 grams unsalted butter (2 sticks and 1 tablespoon)
- 2½ cups white sugar (approximately 520 grams)
- 6 eggs at room temperature
- 4 teaspoons vanilla extract
- ⅔ cup all purpose flour (approximately 100 grams)
- pinch of salt
Instructions
- Preheat the oven to 325° F.
- Combine the chocolate and the butter over medium low heat until smooth. Add in the sugar and stir to combine. Remove from the heat for 15 minutes to slightly cool. Add the eggs and vanilla and stir to combine. Add in the flour and salt and mix until just incorporated and smooth.
- Transfer to a sprayed and parchment lined 9x9 baking pan and bake on the middle rack of your oven for 50-60 minutes. (NOTE - I have an oven thermometer to make sure my oven runs true to temp - I bake these for 50 minutes on the middle rack and they're perfect. You might need a few extra minutes depending on your oven but you want them to come out with the slightest jiggle and then set while cooling)
- Remove from the oven and let rest on the counter for 1 hour. It will absolutely still jiggle when removed from the oven - this is key and important. If you bake it until it no longer jiggles, you've over-baked them. The 1 hour of cooling on the counter allows the residual heat to continue to bake these by just a bit. After 1 hour, place the baking pan into the fridge and chill for 1 hour. Once they have set for at least the combined 2 hours, slice and serve.
These were so good! I baked them with my boys. The hardest part of this recipe is waiting for it to set (which we didn’t do completely) but they were so good-almost like a chocolate molten cake but better, sweeter and super buttery and chocolate-y. Very ooey gooey and delicious but I can feel it in my arteries . Thank you Gaby for sharing!
I posted a comment earlier and it was posted as I took a screenshot. However it isn’t there now. I’m not surprised.
Just like everyone who has commented here the inside was raw. All instructions followed. I even put it back 10 more minutes and left on counter overnight. Since I’m not the only one this happened to, please post an answer - yes I used a thermometer as well. I’d like to do this again but can’t eat raw brownies. Thank you!
Hi Isabel - I found both of your comments in my spam folder but made sure to approve them for other peoples use! Did you use a metal pan?
How rude to Gaby!!! She posted a wonderfully gorgeous brownie recipe that she had found and wanted to share it with us all . Yes I made these brownies straight away, and they failed, 2nd time similar results but instead of carrying on and blaming Gaby for raw batter maybe have a look at what you're doing and I mean a good look and adjust accordingly and like me you'll have the absolute best brownies you've ever made.. Tins are of different thickness, not all butter is the same, eggs too, so figure it out and stop blaming Gaby for your raw batter.. Maybe if you can't figure it out, you better just stick with packet mix as obviously you cannot cook...
What temperature is that in s fan oven?
Also what % chocolate should we use
I followed the recipe right down to Weighing out the ingredients and testing my oven temperature. My brownies never set and they remained super runny in the center. Help!! I live at a higher altitude should I adjust the recipe due to the fact?
High altitude modifications? I’m at 9000 ft.
I haven't tested at high altitude BUT - the OG recipe from Quito is at a super high altitude too... so there's that
If I make half the recipe in a 4 x 4 pan, how long should I bake?
I haven't tested in a 4x4 pan so I can't say!!
Seriously the best and most fudgey brownies ever!
When I took them out of the fridge and cut them the ones in the center were still supper gooey - does that mean I should cook them longer next time?
Hey Morgan! Yes- a lot is dependent on how true to temp your oven runs! You could leave them in for an additional 5 mins next time!
Hands down I will be making these "again"....this is based on my just having cut my 9 x 9 metal pan's worth of pure heaven, into 12 decadent bars. I am piggish I guess, portion wise. I sampled plenty as I cut, and these are stunners. I run a home based baking business and accurate ovens are a must. I did bake for the full 50 minutes @ 300° in my 9 x 9 inch metal pan, and while the brownies were able to be cut, they were a tad close to being under baked. This recipe is a "kissing cousin" to a Nick Maglieri recipe, and his are called "Supernatural" brownies. Yumbos/Gaby's version has more egg. Thank you Gaby for sharing and should the day come where you try another brownie recipe, you will let us know, right? 🙂
I made this last night and they turned out more cake than brownie. I think I overstirred the flour too much prior to baking. Question- before putting the eggs- do you just put the eggs as whole or whisk them before? I put them as whole. Thanks!
I put the eggs in whole.
But also - CAKEY?? That's so curious with how these ratios are done. Did you make any other adjustments to the recipe?
I made these tonight exactly as written. I cooked them for 50 minutes. Sadly, they are under done!! I would recommend cooking for 55 minutes. Otherwise, the taste was great. We ate the edges!
These taste delicious - I baked for 50 mins and followed cooling instructions but the center was still super gooey (could only cut sides into squares). Maybe my oven cooks low - should I try a little longer next time?? In any case we scooped the gooey middle into bowls and made brownie sundaes!
a couple questions - did you use a metal pan? and is your oven running true to temp? LMK and happy to help troubleshoot
Not sure if my oven is true to temp? Should I stick some type of thermometer in there to see? Yes used a metal pan 🙂
there's a link within the post to the 4buck thermometer that I keep in my oven to make sure everything is the right temp
Same thing happened with me! Will go 5 more mins next time, but like you said, makes a heck of a brownie sundae!
Same happened to me!!! Used metal. Weighed all ingredients.
I had the same problem. Metal pan and oven is true to temp - always use an oven thermometer. I was going to serve for 4th of July but very concerned about doneness.
Can you suggest a way to make this recipe gluten free?
In order to make these brownies dairy free (due to allergies), would shortening or oil be a better option? Open to other options as long as they are legume/soy/nut free.
I haven't tested them with oil or shortening so I can't say with absolute certainty which would be best
Can I use raw, unsweetened, organic cacao nibs?
as an add in?