
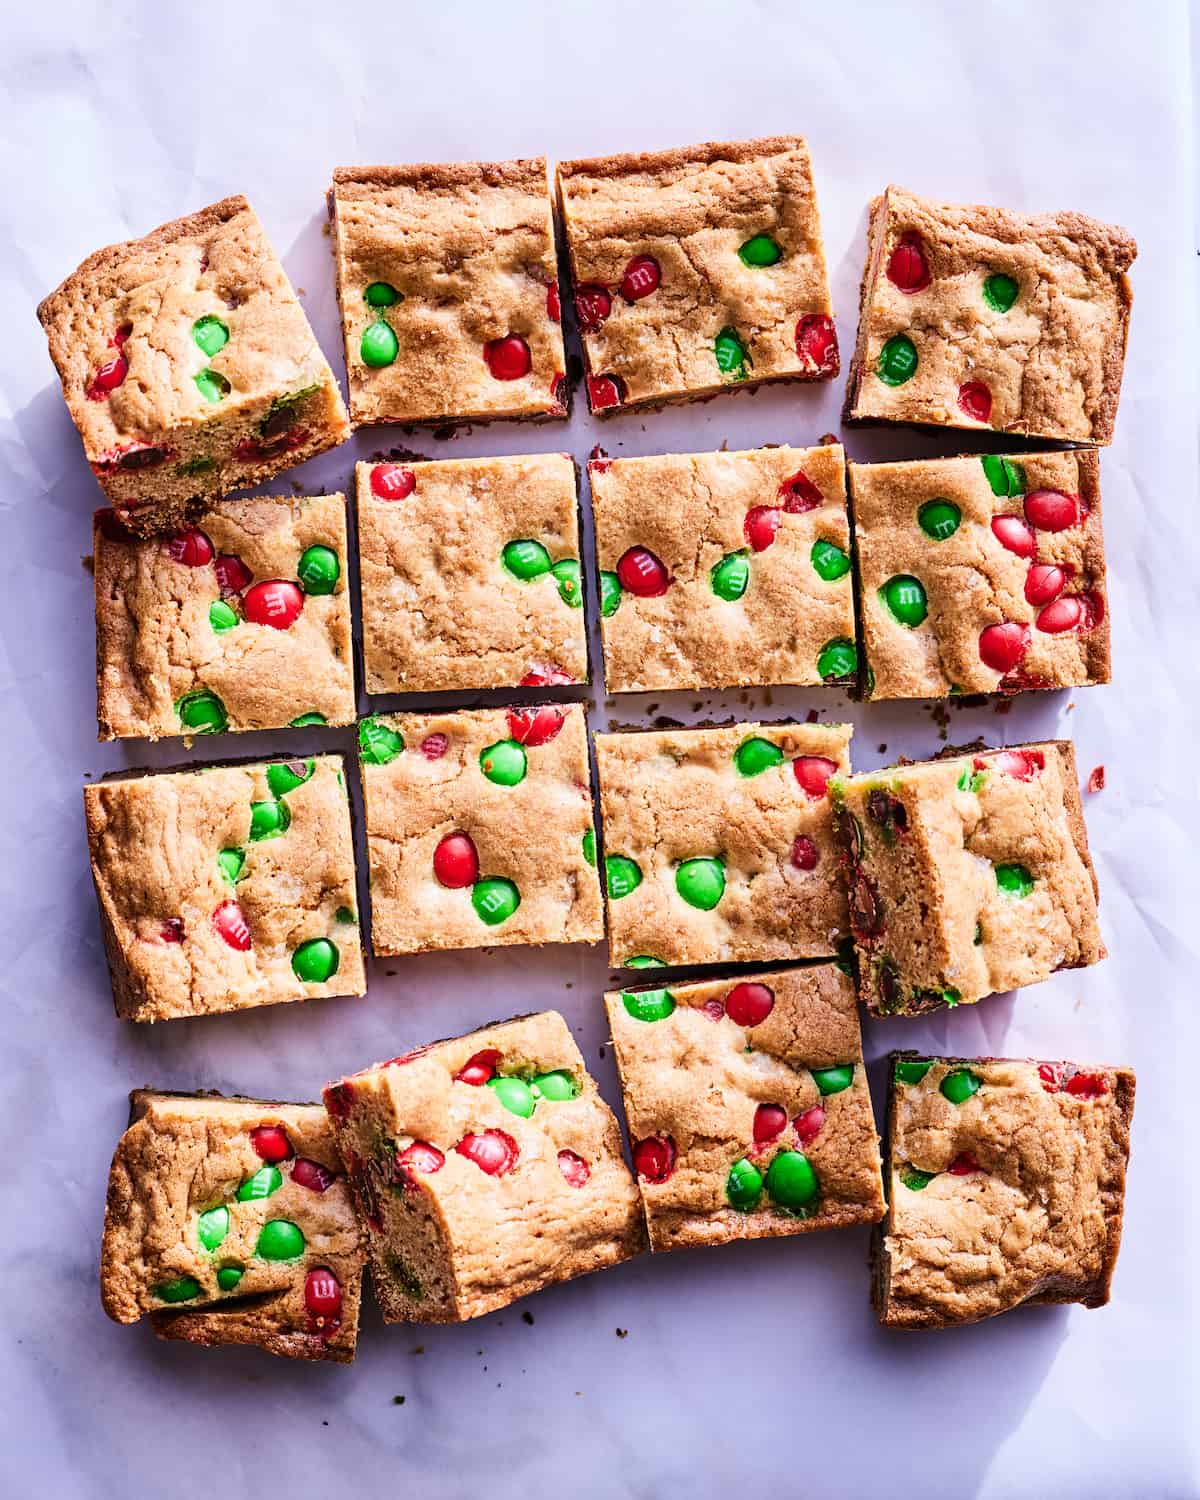
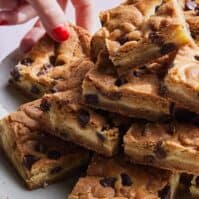
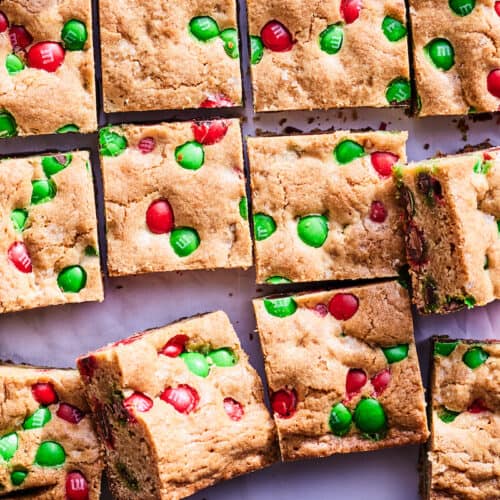
M&M Cookie Bars!! One of my favorite desserts of all times. And also be warned - one is NOT to be left alone with a pan of these! These cookie bars are on par with my famous cheesecake cookie bars. You may want to check those out as well!
M&M Cookie Bars at a Glance
- 🕒 Total Time: 35 minutes (10 min prep + 25 min bake)
- 👪 Servings: 24 bars
- 🍝 Cuisine Type: American / Dessert Bars
- 🧂 Flavor Profile: Soft, chewy cookie bars loaded with chocolate chips and colorful M&M’s that are buttery, sweet, and festive
- 📖 Dietary Info: Contains dairy, eggs, and gluten; vegetarian
- 📦 Storage Notes: Store at room temperature in an airtight container for 3–4 days; can freeze tightly wrapped for up to 2 months
- ⭐ Why You’ll Love It: All the flavor of classic cookies with zero scooping. Fast, fun, colorful bars perfect for holidays, parties, or gifting.
Summarize and save this content on...
Why I Love This Recipe
Is there anything better than a soft homemade cookie in bar form? Where the edges are just lightly golden brown and a tad bit crunchy... and the inside is gooey and soft and melts in your mouth? Let me answer that for you.... no.
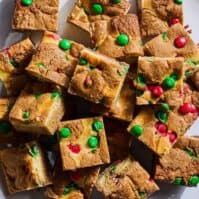
It doesn't get better than cookie bars when it comes to a quick and easy dessert that literally every single person will love. These cookie bars are my favorite sugar cookie recipe baked up in bar form. You all know how I love the giant M&M cookies and these are just the perfect bar form for that perfect cookie!
Jump to:
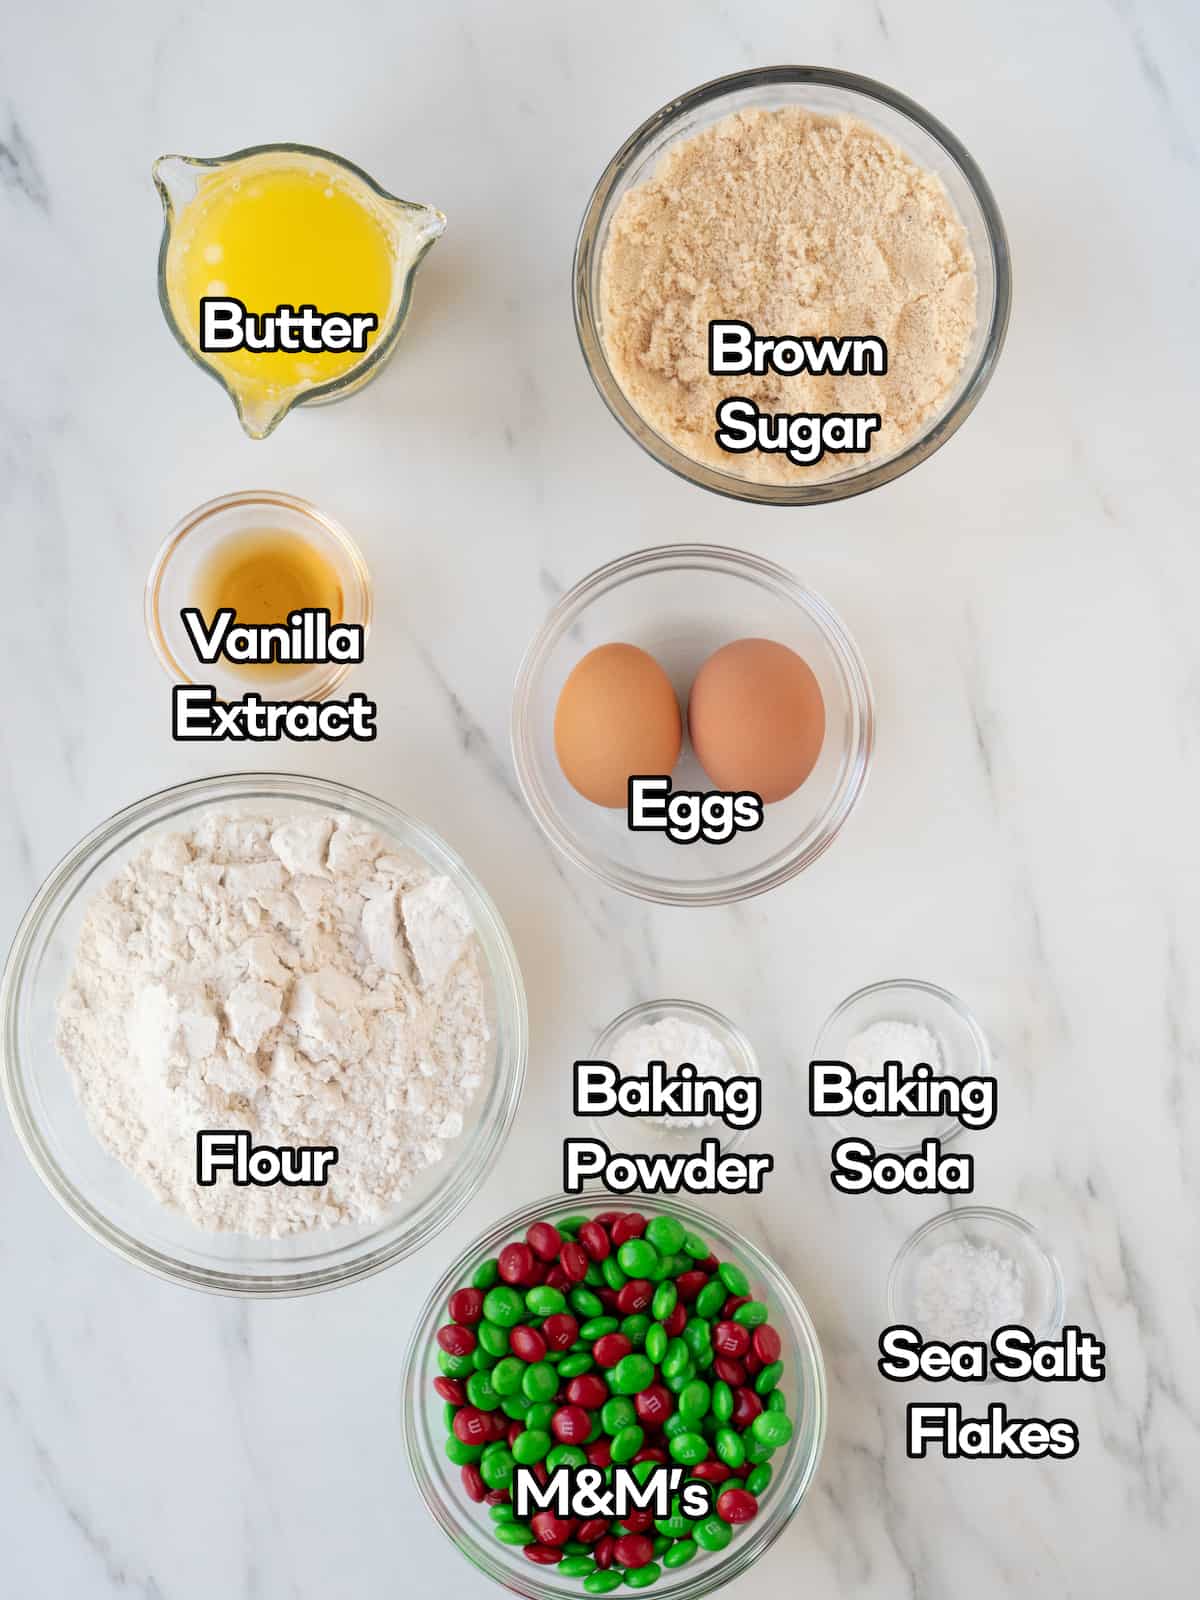
Ingredients & Substitutions
Substitutions
🍫 Candy + Chocolate Swaps
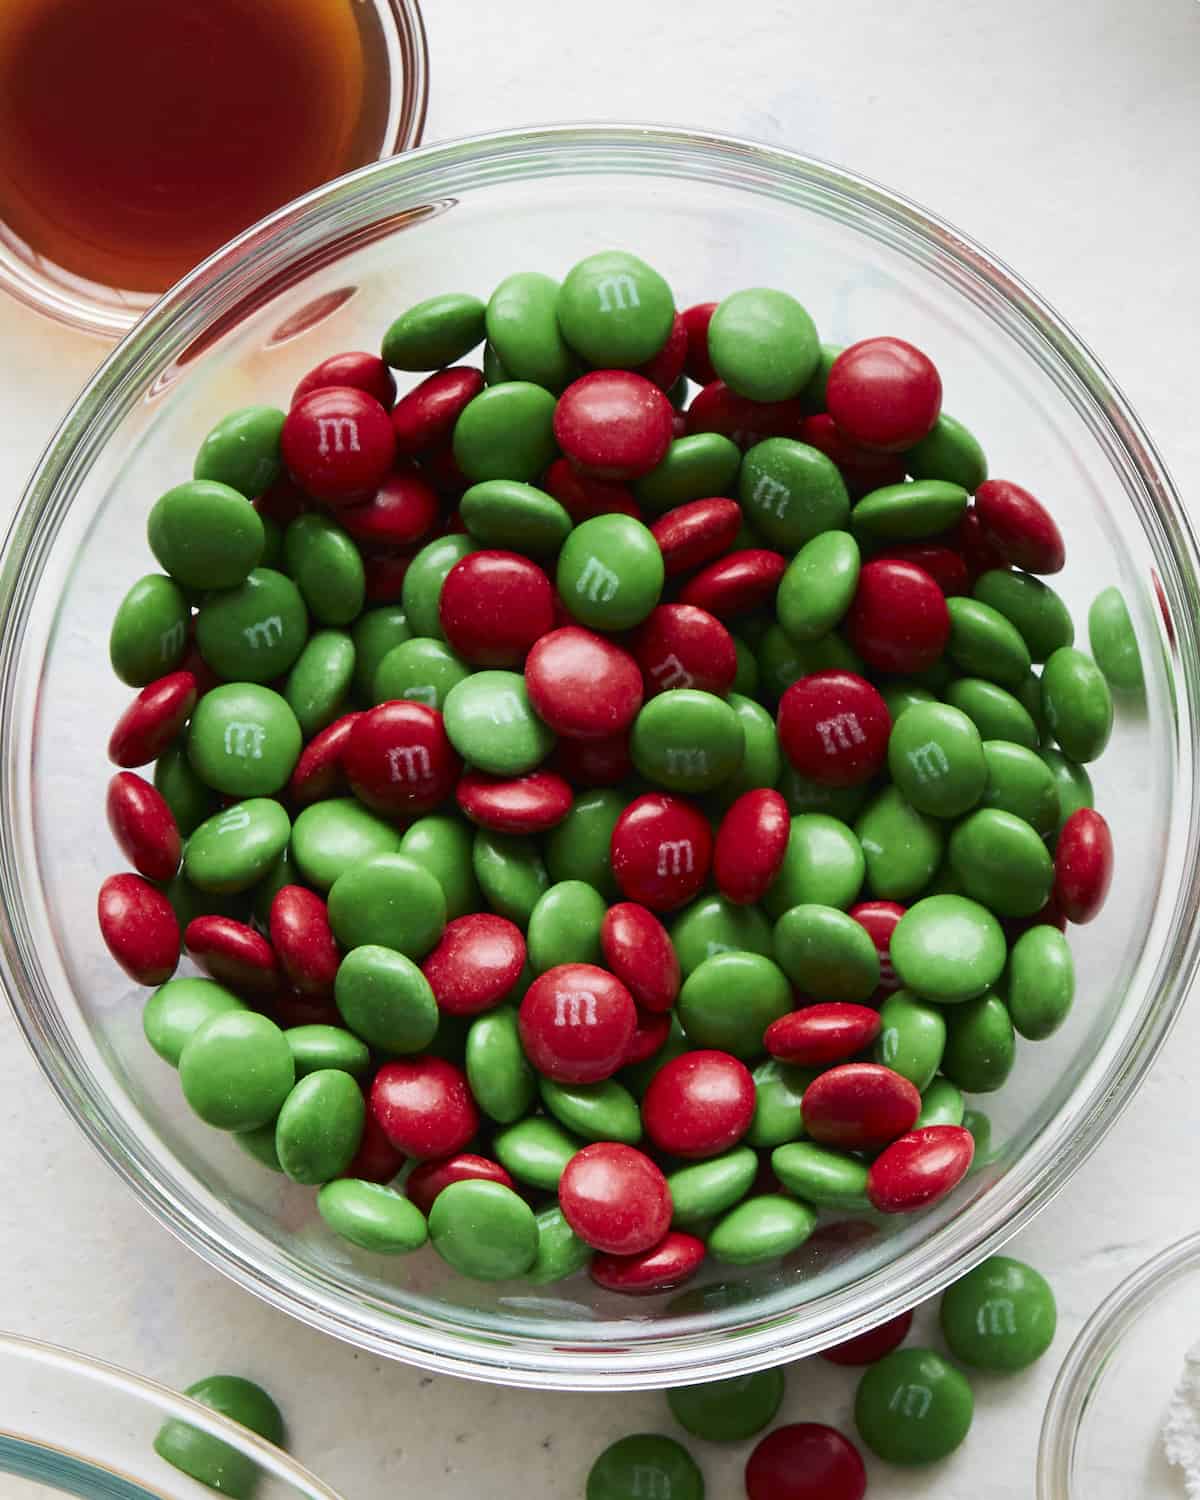
- M&Ms — the classic, but any color mix works (holiday themes are always fun).
- Peanut butter M&Ms or Reese’s Pieces — for a nutty twist.
- Chocolate chips (semi-sweet, dark, or white) — mix them in or sub entirely.
- Chopped chocolate bars — for gooier pockets of melty chocolate.
- Mini candies — like chopped Snickers, Twix, or Kit Kats for a fun mashup.
🧈 Fat + Sugar Variations
- Brown butter — adds a nutty, caramelized depth.
- Light brown sugar — milder sweetness.
- Dark brown sugar — deeper molasses flavor and extra chew.
🥚 Flour & Texture Swaps
- All-purpose flour — classic for soft, chewy bars.
- Gluten-free 1:1 flour blend — works great; just chill the dough before baking.
🧂 Flavor Boosters
- Espresso powder — intensifies the chocolate flavor.
- Flaky sea salt on top — makes them next-level.
- Cinnamon or nutmeg — adds warmth and depth.
- Vanilla bean paste — for a richer, aromatic flavor.
🍪 Fun Add-Ins
- Chopped nuts — pecans, walnuts, or almonds for crunch.
- Toffee bits — for caramel flavor and texture.
- Mini marshmallows — for a gooey s’mores version.
- Shredded coconut — adds chew and a hint of sweetness.
*For a full list of ingredients and instructions please see recipe card below.
How to Make M&M Cookie Bars
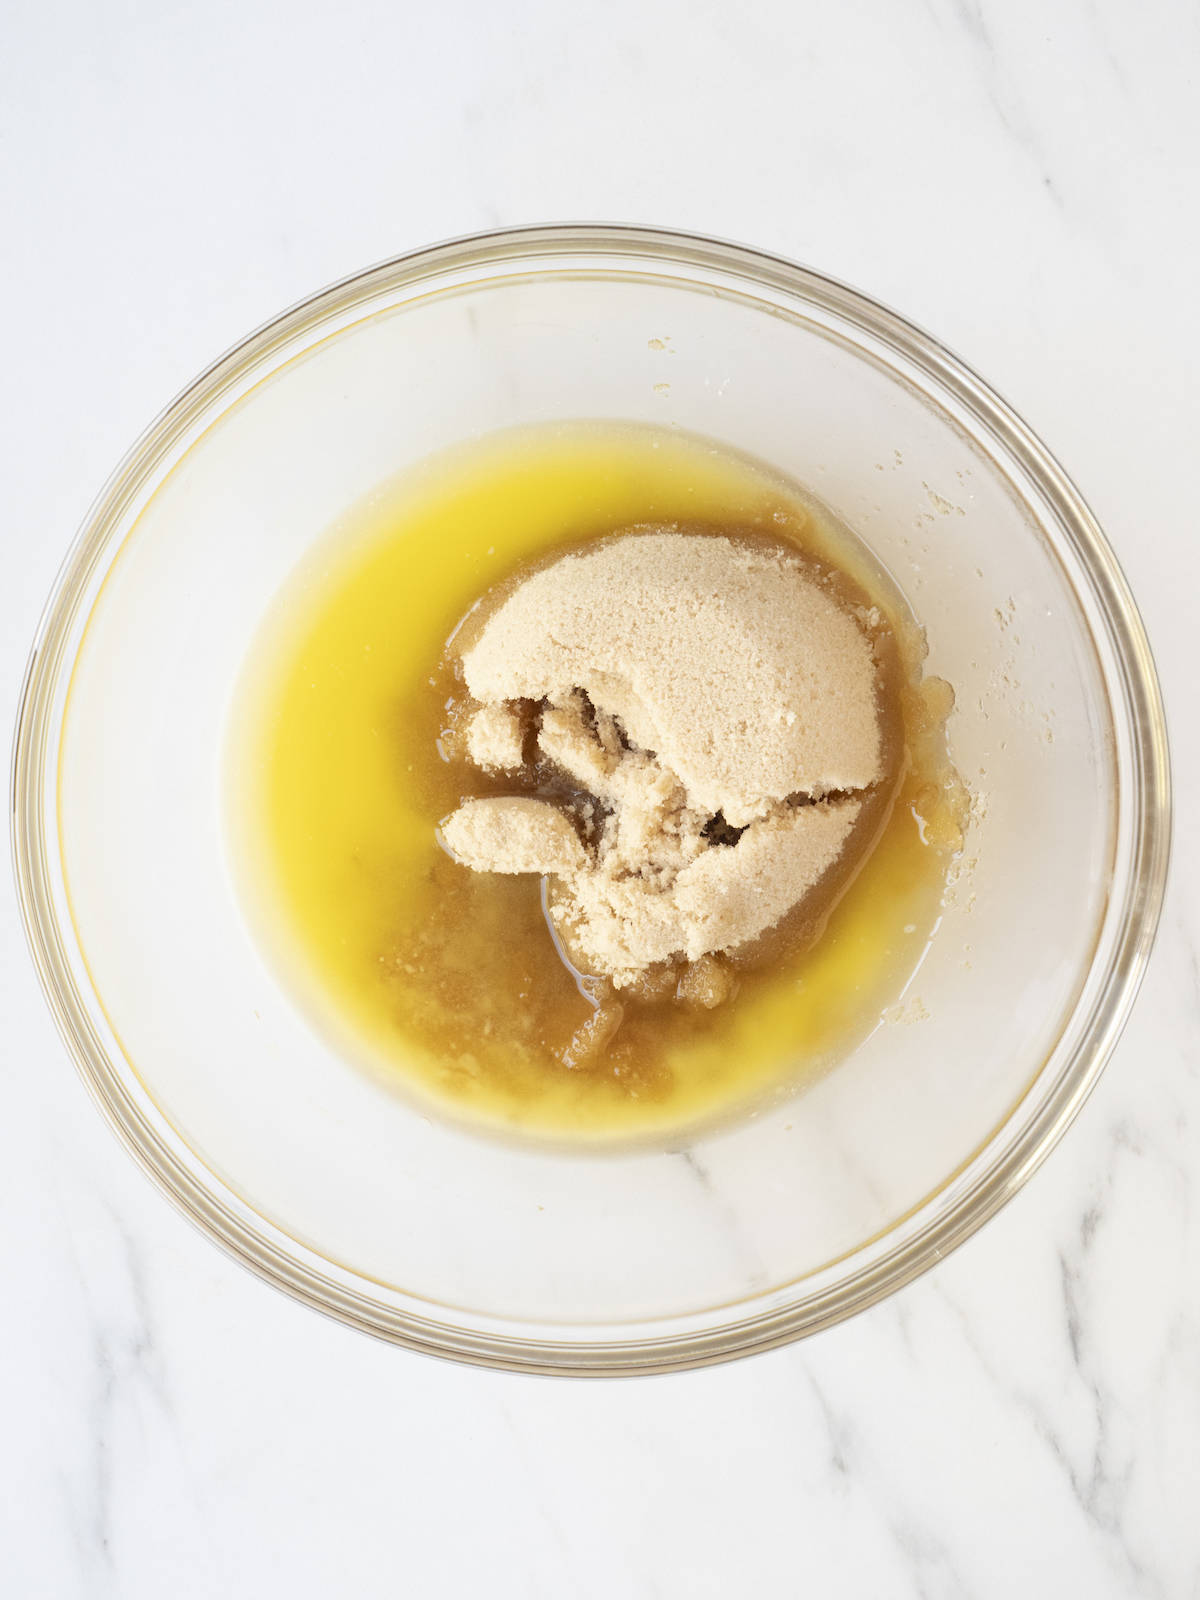
Step 1: Preheat the oven to 350 degrees. In a large bowl, combine the melted butter and brown sugar and mix with a wooden spoon for 1 minute until combined.
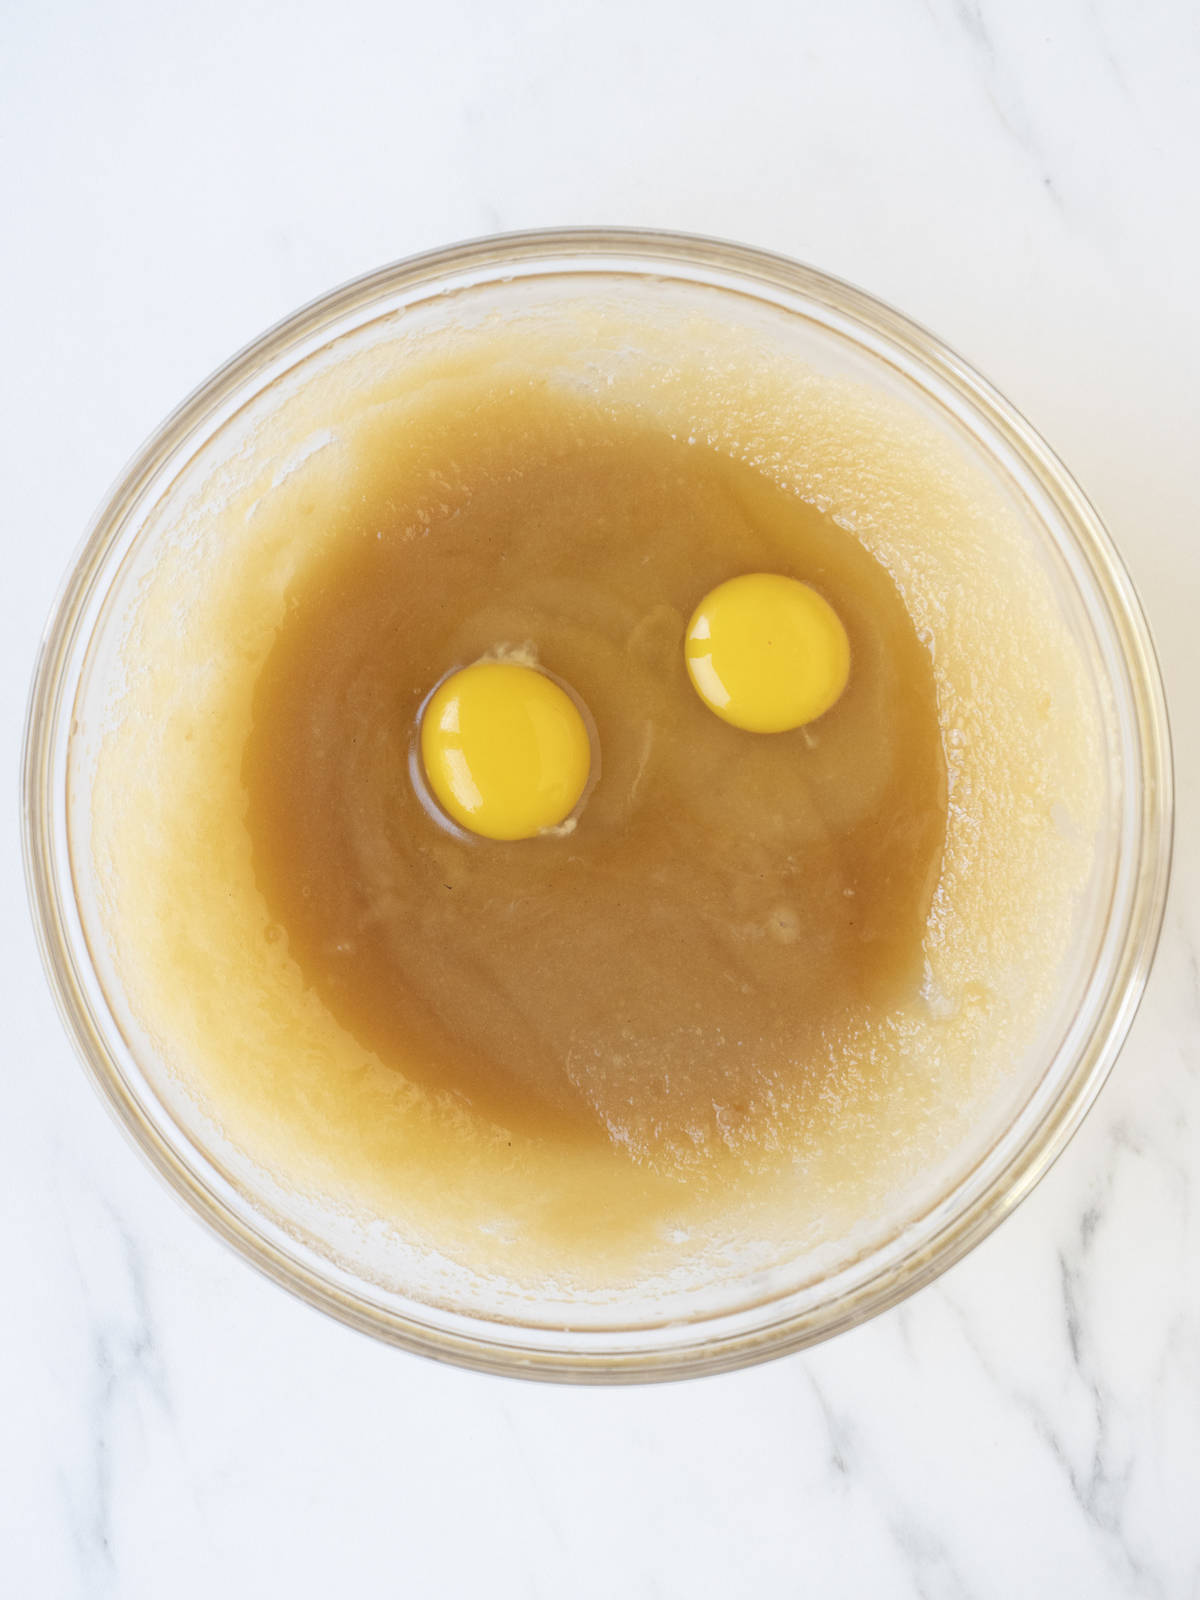
Step 2: Add the vanilla and eggs, making sure to scrape down the sides of the bowl, and mix until fully incorporated.
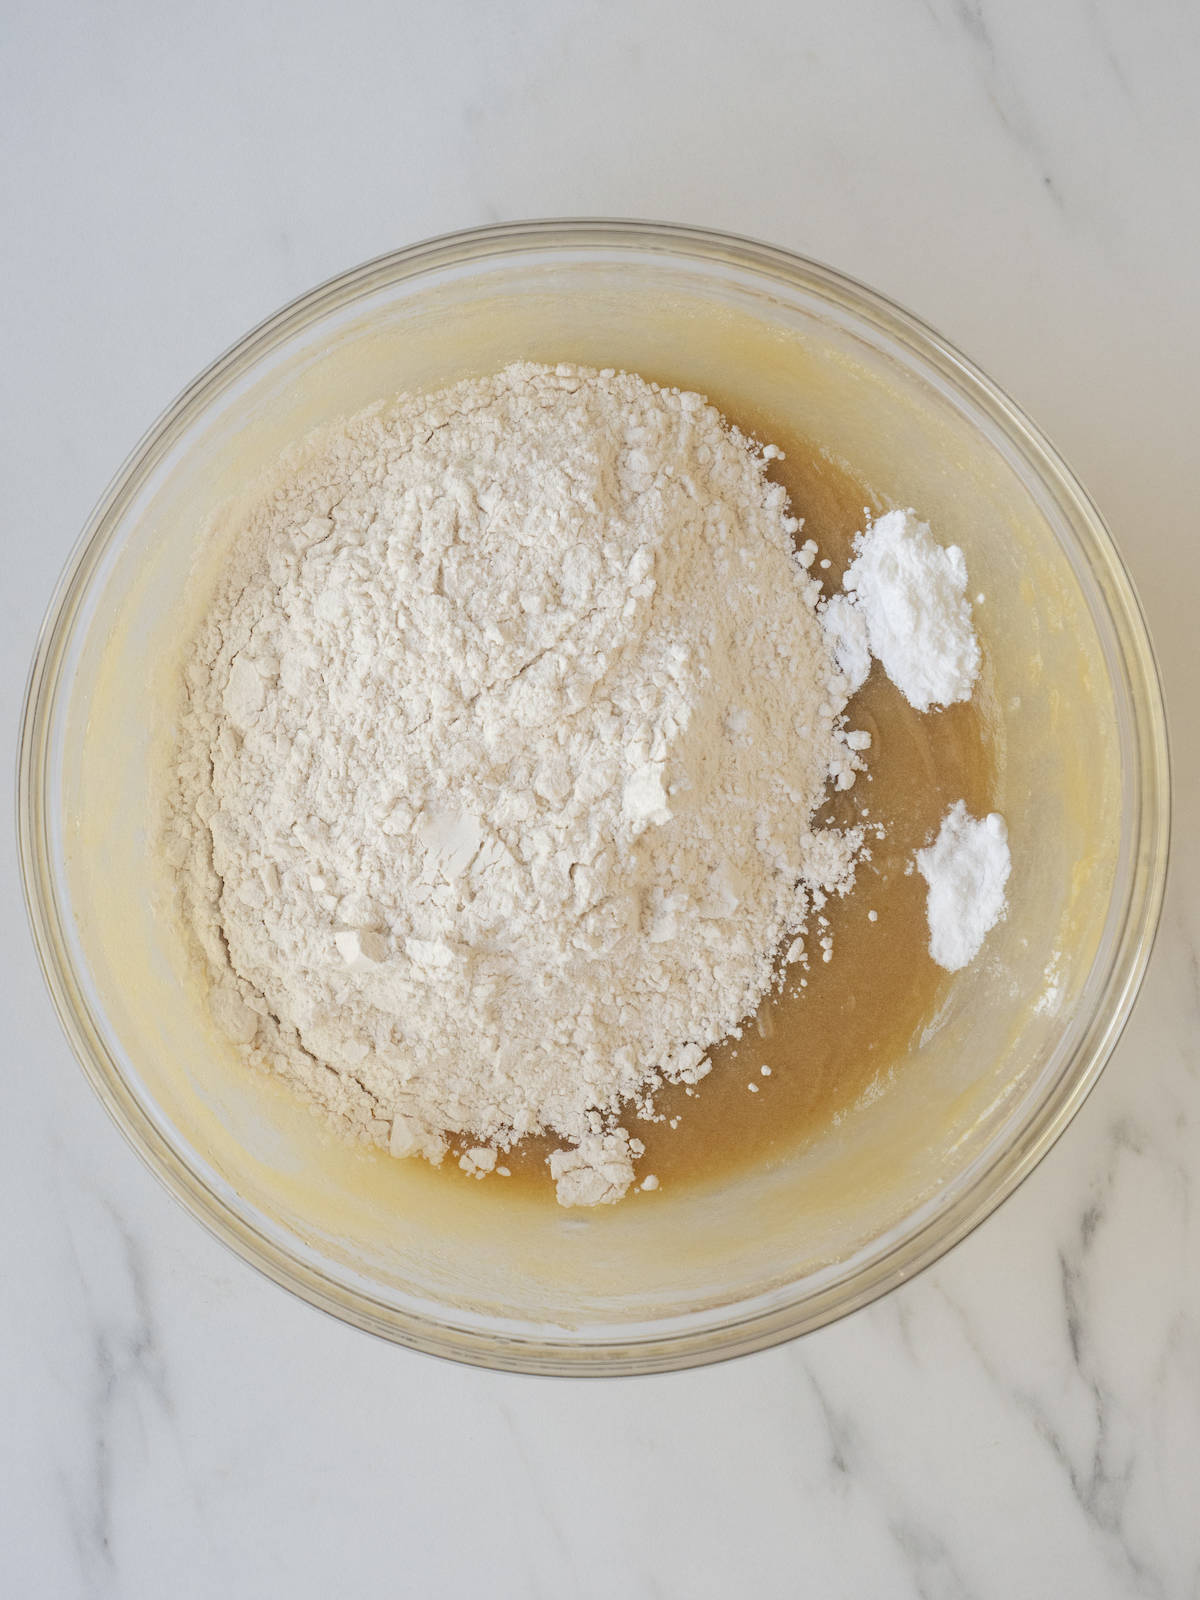
Step 3: Add the dry ingredients into the bowl and slowly mix until just combined. The batter will be a bit stiff, but that's normal.
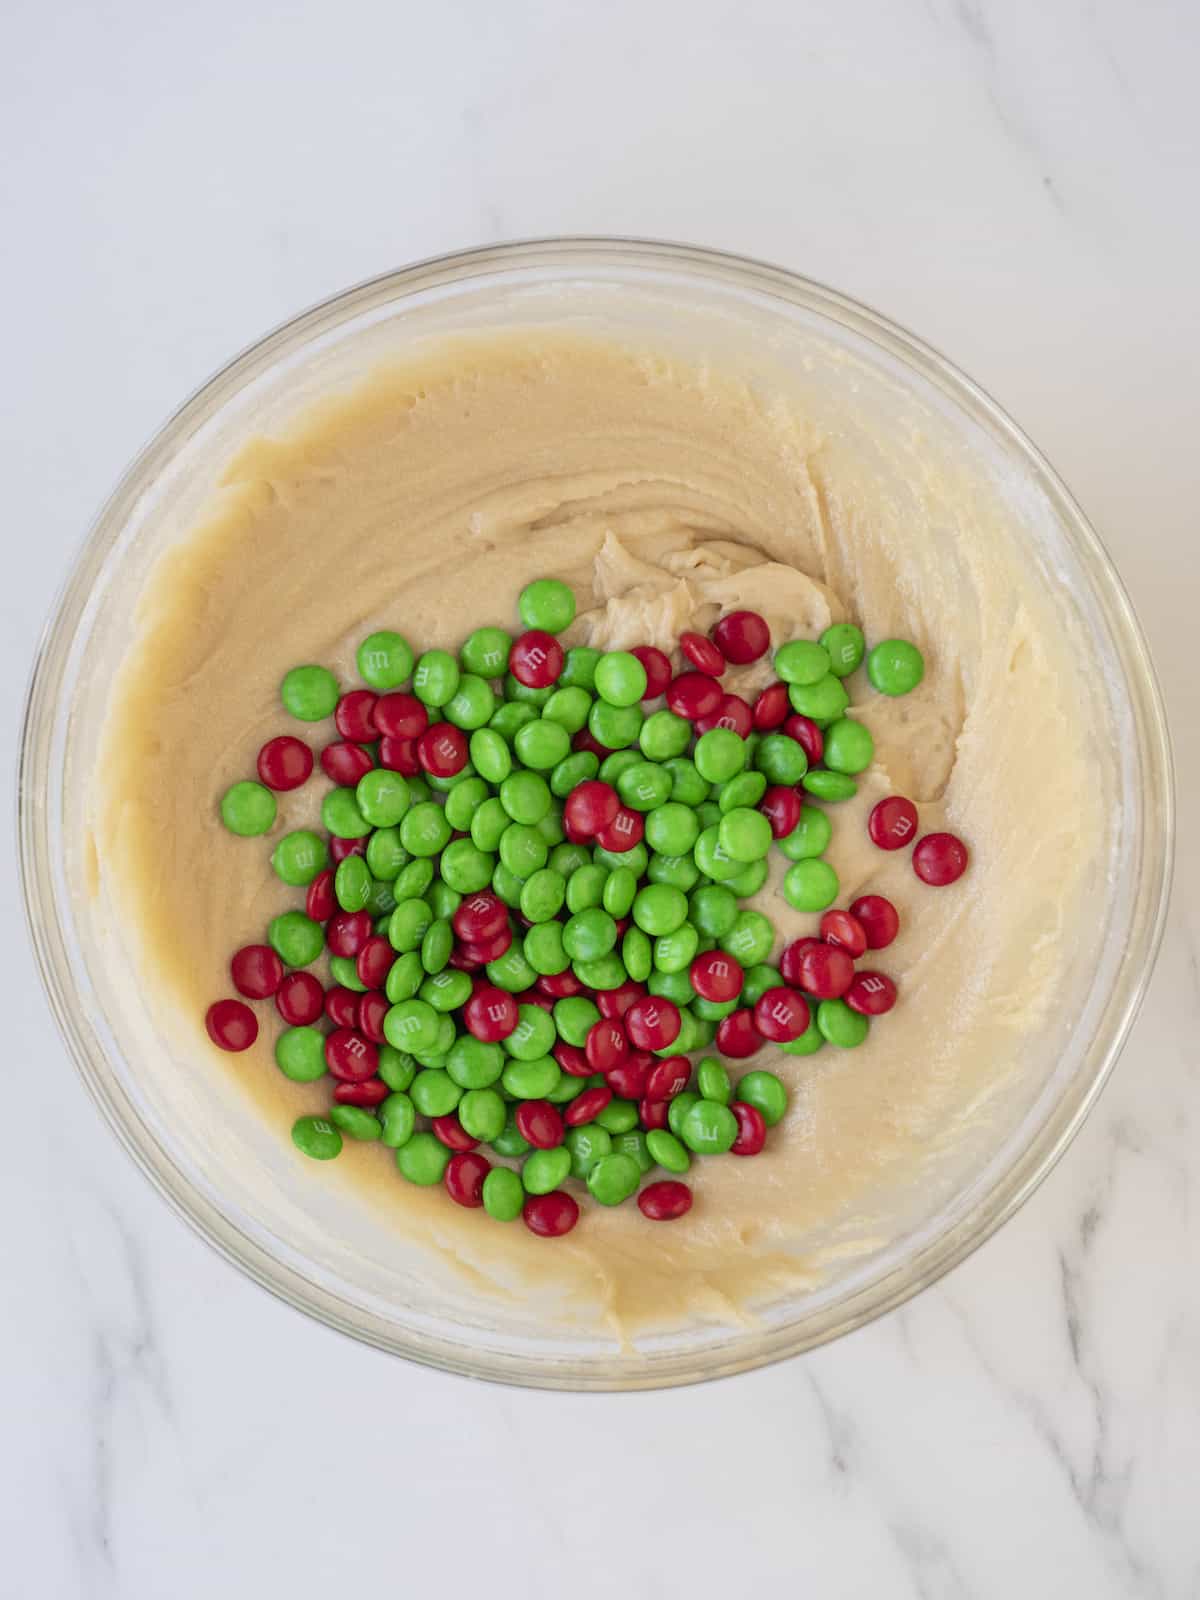
Step 4: Fold in 1 cup of the Milk Chocolate M&M’s.
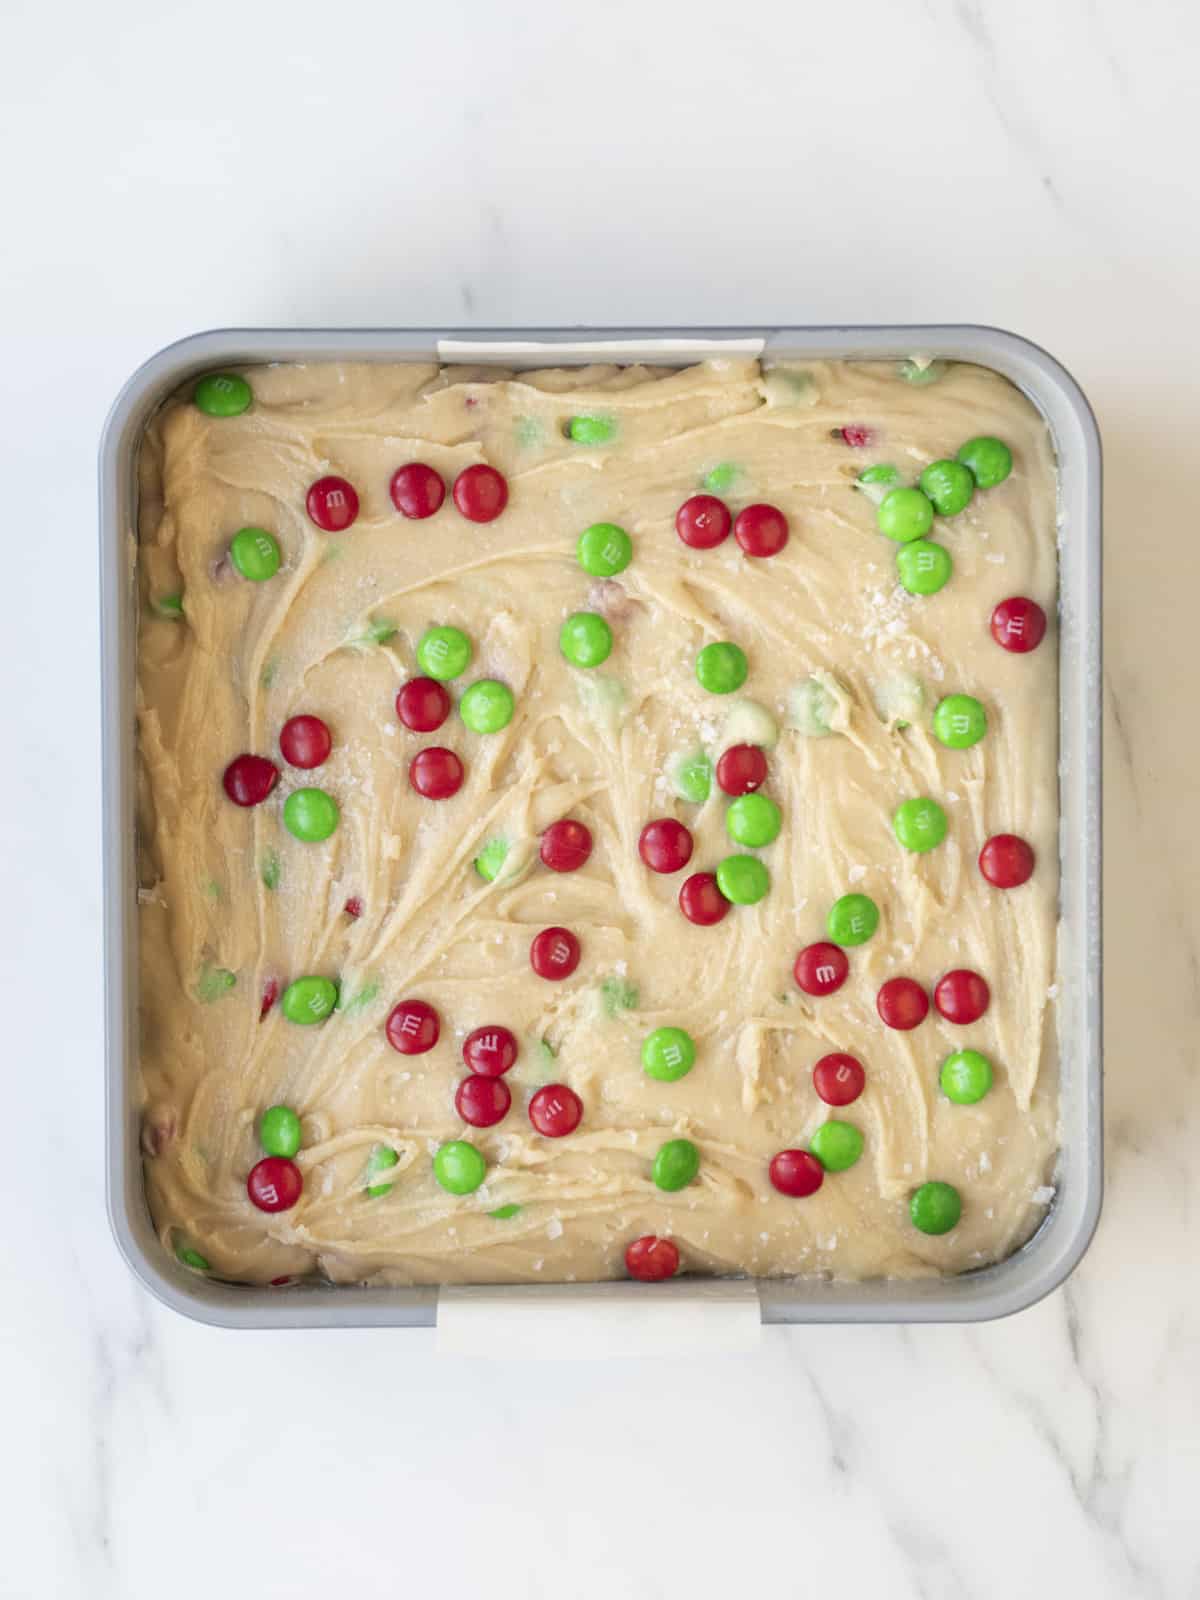
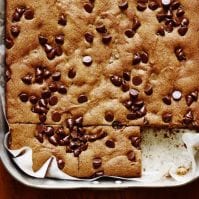
Step 5: Spray a 9x9 metal baking pan (see note above) with baking spray and line it with parchment paper. Spoon the batter into the prepared baking sheet and sprinkle with the remaining Milk Chocolate M&M’s and Maldon sea salt if desired.
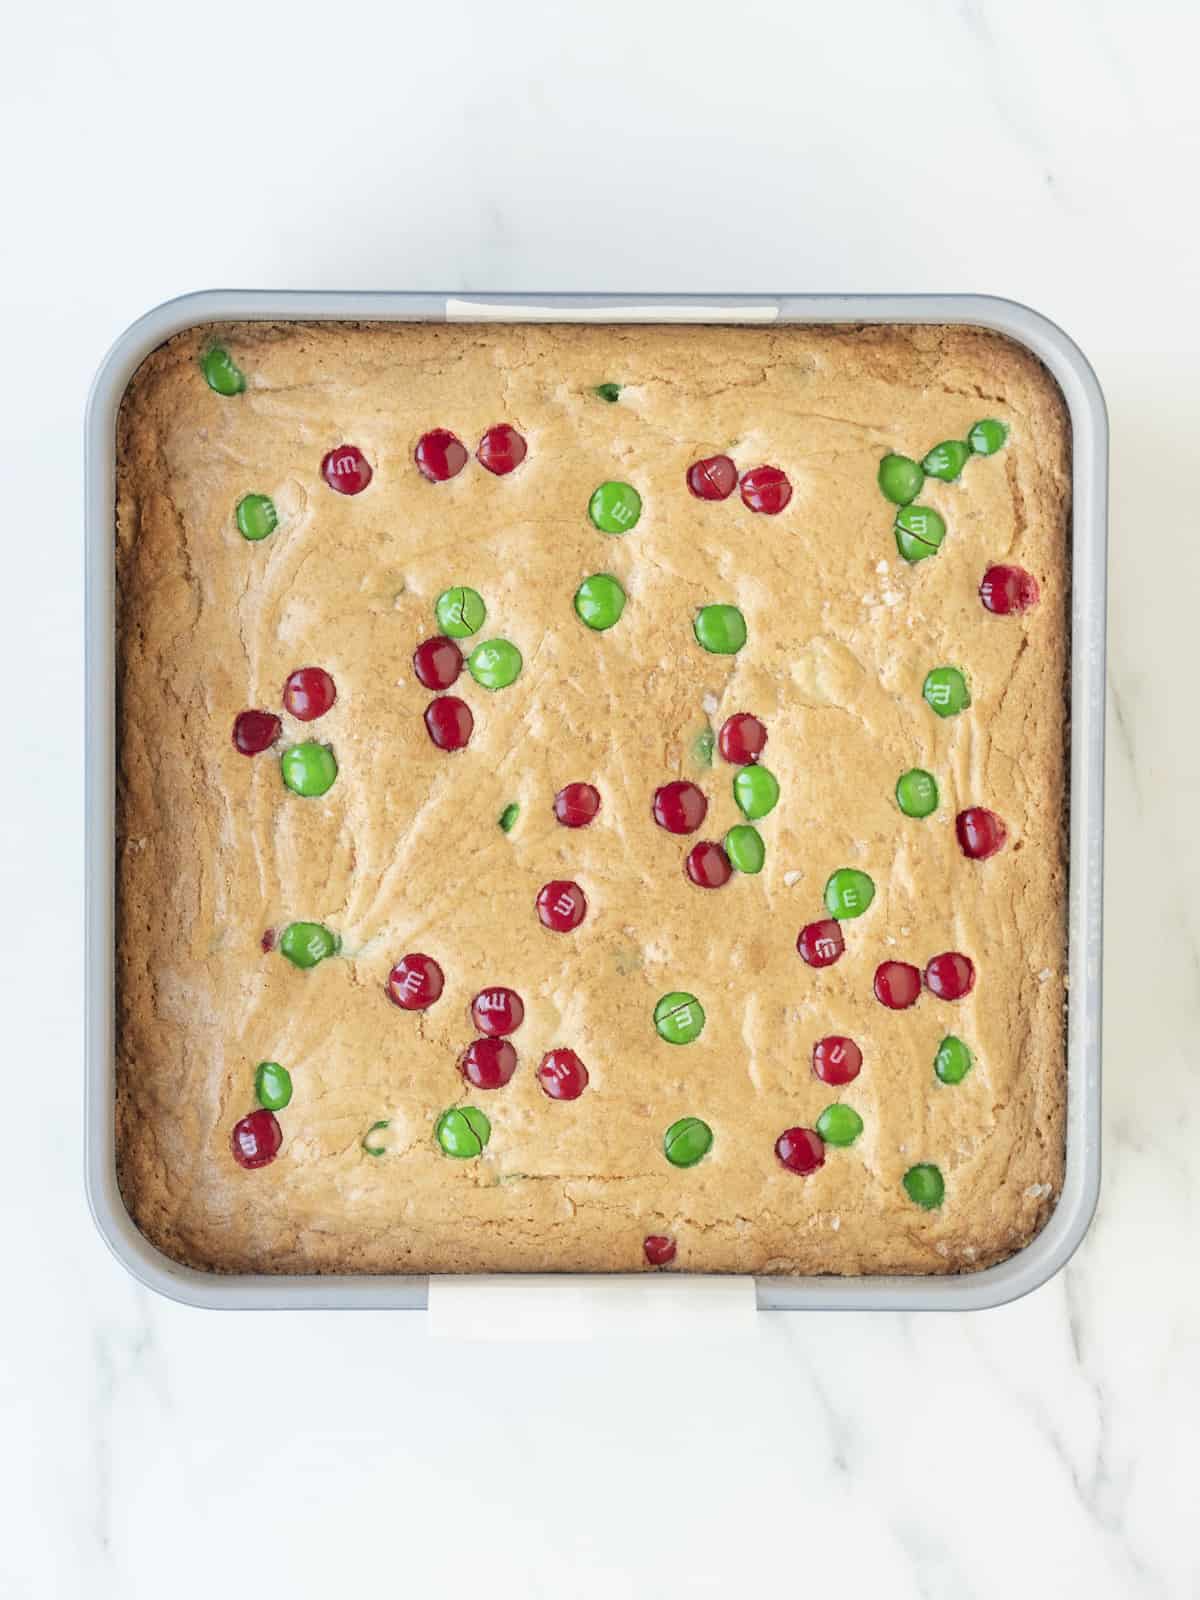
Step 6: Transfer it into the oven. Bake for 35-40 minutes. Once the bars have baked, remove them from the oven and let cool for at least 2 hours before cutting and serving.
How to Store M&M Cookie Bars
Cut these into squares once cooled, and store in an airtight container for a few days. You can also store in the fridge to keep them longer, about two weeks.
How to Freeze M&M Cookie Bars
We have not had leftovers for these in our household! However, if you want to freeze them, store these bars in a freezer bag or airtight container for about 3 months. Defrost in the fridge or outside to serve.
🍪✨ 12 Tips + Tricks for the Best M&M Cookie Bars
- Don’t skimp on the brown sugar. Brown sugar adds moisture and chew. It’s what makes these bars taste rich and caramel-y.
- Mix just until combined. Overmixing = tough bars. Once the flour disappears, you’re done. Fold in the M&Ms gently so they don’t crack apart.
- Line your baking dish. Parchment paper with a little overhang makes it so easy to lift out the entire slab and cut perfect squares. No sticking, no crumbling.
- Press the dough evenly. Use your hands or an offset spatula to spread the dough to the edges. Even thickness = even baking.
- Add extra M&Ms on top. Press a handful into the surface before baking so the colors stay bright and pretty, it’s the bakery-style finishing touch.
- Don’t overbake! Pull them when the center still looks slightly underdone. They’ll set as they cool and stay soft and chewy instead of dry.
- Cool completely before slicing. This is the hardest part, but it’s what gives you clean edges and bars that hold together instead of crumbling into a cookie avalanche.
- Switch up the mix-ins. Mini chocolate chips, pretzels, peanut butter chips, chopped nuts, whatever you love. M&Ms play well with others.
- Store them properly (if they last). Keep in an airtight container to maintain that soft chew. Warm them for 10 seconds if you want a gooey, fresh-from-the-oven moment.
- Use a 9x9 pan. Don't try and do it in a 9x13 or an 8x8... it won't be the same. Trust me - there's a reason I developed it this way! And a glass or ceramic baking dish doesn't retain heat the same way a metal baking dish does... so use a metal baking dish! And 8x8 (while it's the same shape is only 64 square inches and a 9x9 is 81 inches. So that will WILDLY affect baking time.
- After the baking time - LET THESE SET FOR 2 HOURS. These cookie bars might look a little under-baked but they need time to finish residual baking once they come out of the oven.
FAQs
What is the difference between cookies and cookie bars?
Cookie bars are somewhere cakes and cookies. A great and easy way to make a big batch, and the thickness gives them a nice gooeyness. While not all cookie recipes may be suitable for cookie bars, this is a great one! Thickness is also important when baking bars, too thin and it will be too crisp, too thick and the edges will be brittle by the time the center bakes.
Can I add other things to these cookie bars?
Yes! Add nuts, pretzel, chocolate chips- all perfect additions to these bars.
Similar Recipes
If you tried this recipe, please leave a 🌟 star rating and let me know how it goes in the 📝 comments below. Thanks for visiting today
Soft Sugar M&M Cookie Bars
Ingredients
- 1 cup butter melted
- 2 cup light brown sugar
- 4 teaspoons vanilla extract
- 2 large eggs
- 2 cups all purpose flour
- 1 teaspoon baking powder
- ¼ teaspoon of baking soda
- 1 cup Milk Chocolate M&M’s plus extra for garnish
- Maldon sea salt optional
Instructions
- Preheat oven to 350 degrees.
- In a large bowl, combine the melted butter and brown sugar and mix with a wooden spoon for 1 minute until combined. Add the vanilla and eggs, making sure to scrape down the sides of the bowl, and mix until fully incorporated.
- Add the dry ingredients into the bowl and slowly mix until just combined. The batter will be a bit stiff, but that's normal. Fold in 1 cup of the Milk Chocolate M&M’s.
- Spray a 9x9 metal baking pan (see note above) with baking spray and line it with parchment paper. Spoon the batter into the prepared baking sheet and sprinkle with the remaining Milk Chocolate M&M’s and Maldon sea salt if desired and transfer it into the oven. Bake for 35-40 minutes. Once the bars have baked, remove them from the oven and let cool for at least 2 hours before cutting and serving.
Notes
- Mix just until combined. Overmixing = tough bars. Once the flour disappears, you’re done. Fold in the M&Ms gently so they don’t crack apart.
- Line your baking dish. Parchment paper with a little overhang makes it so easy to lift out the entire slab and cut perfect squares. No sticking, no crumbling.
- Press the dough evenly. Use your hands or an offset spatula to spread the dough to the edges. Even thickness = even baking.
- Add extra M&Ms on top. Press a handful into the surface before baking so the colors stay bright and pretty, it’s the bakery-style finishing touch.
- Don’t overbake! Pull them when the center still looks slightly underdone. They’ll set as they cool and stay soft and chewy instead of dry.
- Cool completely before slicing. This is the hardest part, but it’s what gives you clean edges and bars that hold together instead of crumbling into a cookie avalanche.
- Switch up the mix-ins. Mini chocolate chips, pretzels, peanut butter chips, chopped nuts, whatever you love. M&Ms play well with others.
- Store them properly (if they last). Keep in an airtight container to maintain that soft chew. Warm them for 10 seconds if you want a gooey, fresh-from-the-oven moment.
- Use a 9x9 pan. Don't try and do it in a 9x13 or an 8x8... it won't be the same. Trust me - there's a reason I developed it this way! And a glass or ceramic baking dish doesn't retain heat the same way a metal baking dish does... so use a metal baking dish! And 8x8 (while it's the same shape is only 64 square inches and a 9x9 is 81 inches. So that will WILDLY affect baking time.
- After the baking time - LET THESE SET FOR 2 HOURS. These cookie bars might look a little under-baked but they need time to finish residual baking once they come out of the oven.
Nutrition Information (estimated)
Photography by Matt Armendariz / Food Styling by Adam Pearson


These are a fan favorite in my house! I actually make them for people and give them as gifts. Melting the butter makes such a difference with baked goods. Never in 1 million years would I have thought to do that until I read this recipe and you’re a little brownie bites recipe. Amazing!!!
These are delicious! I have only made them once before but I am making them now to send to my nephew for his birthday. I can’t wait to hear what he thinks after trying them. Also, really easy to make. I did buy the exact 9x9 recommenced pan. I also used Himalayan pink sea salt because that is what I had. These will definitely be a regular baked good in my house.
I don’t have a metal 9x9. Thinking about a 10” cast iron skillet. Am I crazy??
that would probably work. Cast iron retains heat REALLY well - so they might actually cook a bit faster. Keep your eyes on them for sure
Do you cook on convention bake?
no just regular!
I made these last night for the gift bags I put together for our virtual Xmas party this year and and they are AMAZING! I didn't have a 9x9 pan, but saw another person commented and used an 8x8, I baked for 45 minutes and let them cool for the two hours and they're perfect! So excited to share these!
Can these be baked ahead of time and then frozen once cooled? Thank you!!
yes totally
I have made these twice (following the recipe to a t) and both times the middle has collapsed and still been very gooey! Any suggestions?
are you using a glass baking dish?
No I have used a metal 9x9
and no other alterations to the recipe?
Dang it!! I was so excited for these. I made it exactly as recipe calls, baked for 40 minutes in 9x9 metal baking dish and let rest for 2 hours. The edges were crisp but the inside was still so mushy?!?!?! Could it be that we are at 5100 ft elevation? What adjustment should I make.
I havent tested it at high elevation but that could def have something to do wtih it
Can you use pink Himalayan salt instead of Maldon?
sure can
These bars looks delish! Could this be done with browned butter?
totally
Just made these using jumbo chocolate chips and chopped pecans - insanely good!! Thanks for such a great base recipe Gaby!
AMAZING!!! I only had an 8 inch pan, so I baked it for 43 minutes. They turned out fantastic and so easy to put together quickly.
Hi, I hope you're doing well! I'm in NYC and want to bake this while we are sheltering in place. My husband could only find smoked maldon salt at the grocery store (we're so lucky that we even have access to groceries still; so this is really a ridiculous thing to be concerned about on my part). Will smoked maldon taste ok on these? Also, do you recommend salted or unsalted butter?
unsalted butter is best but if you only have salted that's fine too! Just omit the salt from the recipe! And smoked salt might be incredible in this!! You could also just leave it out entirely if you don't want a hint of smoky flavor. Bottom line: it's gonna be good no matter what you do and stay safe! xoxo
The recipe has no salt included in it?
Love this recipe!
An all time favorite!! Any excuse to not just eat them out of the bag!